In my search for the perfect wood and finish for the outside of my woody teardrop I went through a variety of options: birch, oak, veneers. None of them allowed for a beautiful dark finish, even staining, nice grain, water resistance, and thin enough to bend to the curves of the profile. After a long search I came across Okoume marine plywood with this beautiful grain similar to mahogany. Okoume is often used in wooden boat hulls and is assembled with waterproof glue. Under a finish of aniline dye, epoxy and varnish I thought it would look fantastic.
Finding a source of okoume might be a bit tricky if you don’t live near the coast or in a boat building area. And if you do find it, it is more expensive than many alternatives.
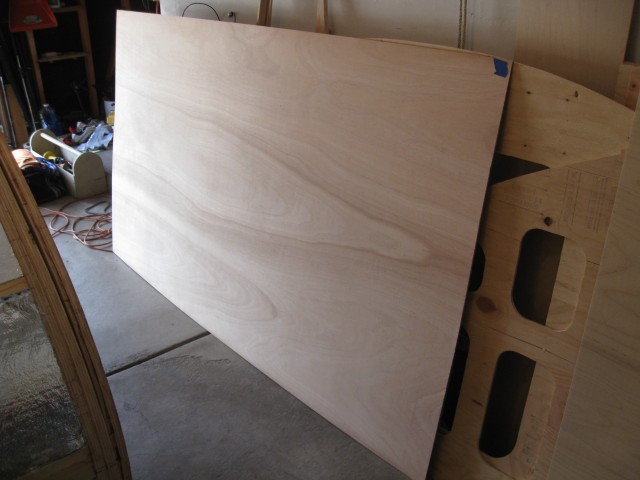
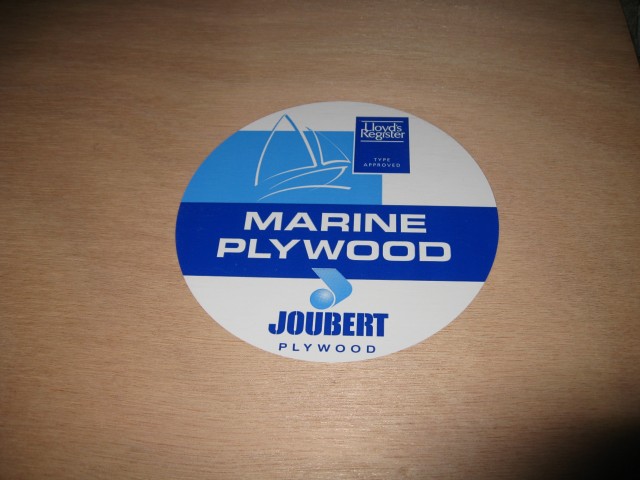
The okoume bends more easily across the grain so I cut the pieces with the grain flowing from front to back for the sides and across the width of the teardrop for the roof sections.
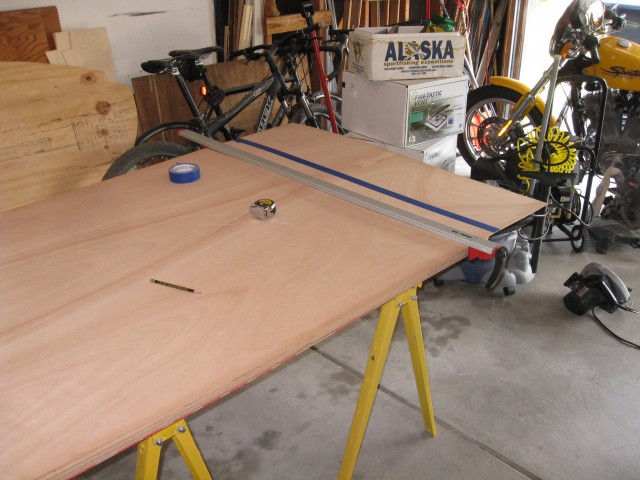
A jigsaw was used to cut the panels to size, tape was used to prevent tear out. The panels were cut an inch or so too large to make sure I had full coverage.
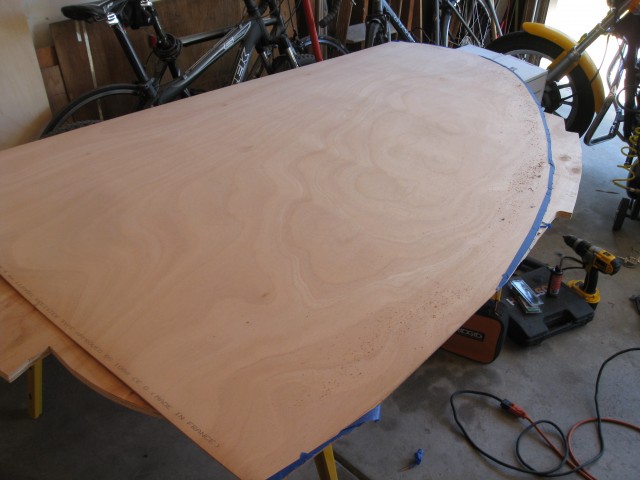
Locating the positioning for the wire holes. I had to pre-drill them in the okoume before mounting them permanently.
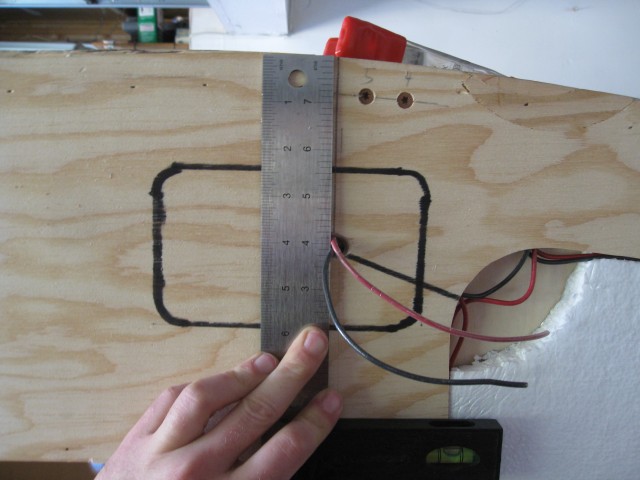
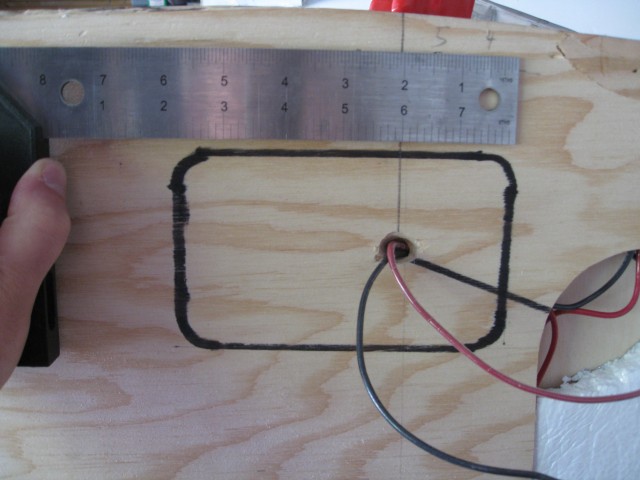
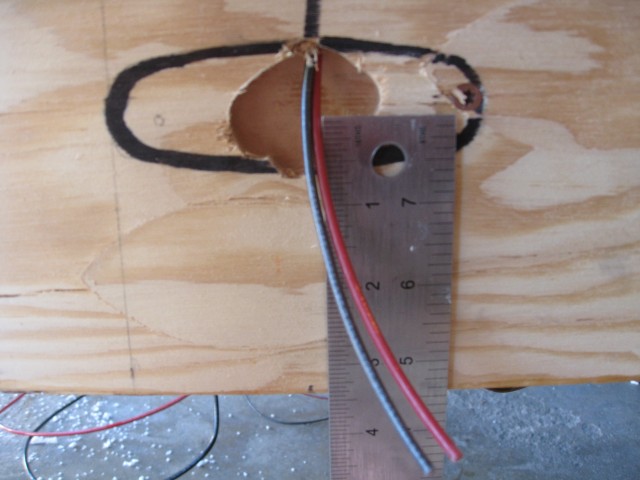
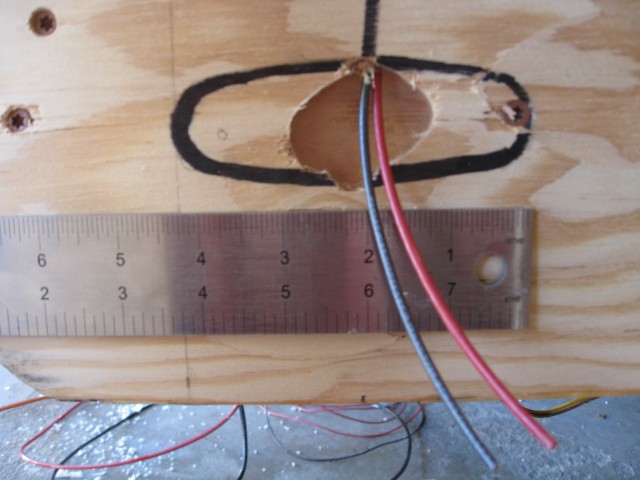
After drilling the holes I dry fit the panels one last time to make sure everything was correct.
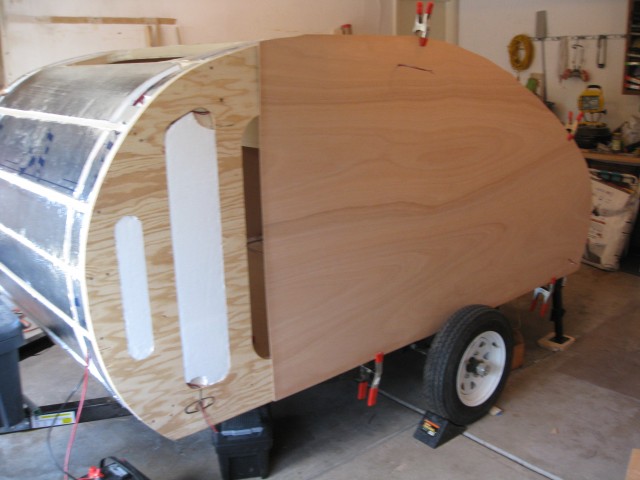
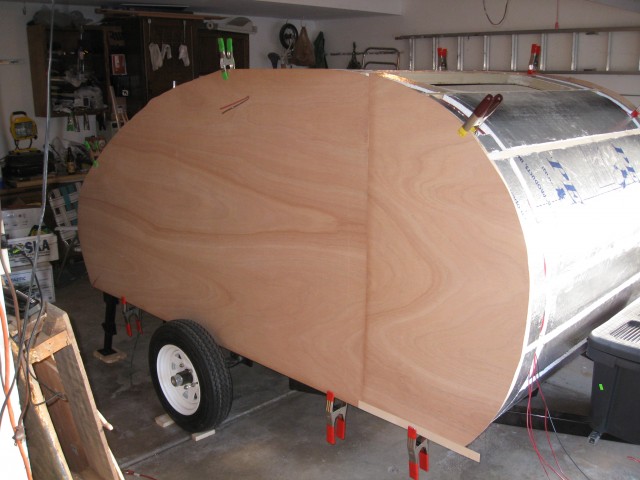
The gluing begins. I used PL 300 foamboard adhesive for the insulation sections, and PL Premium contruction adhesive for the wood to wood areas.
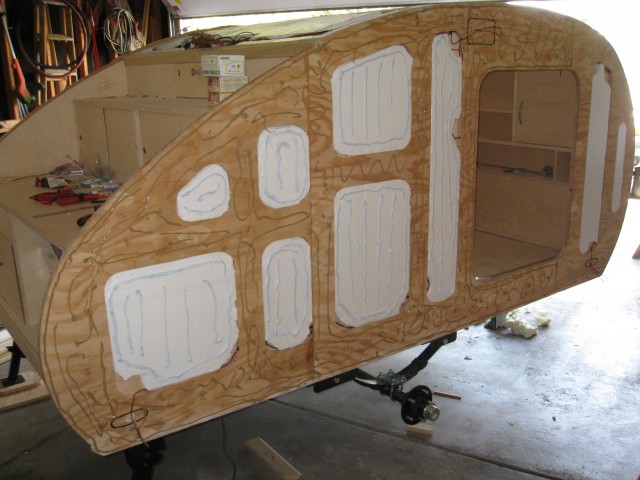
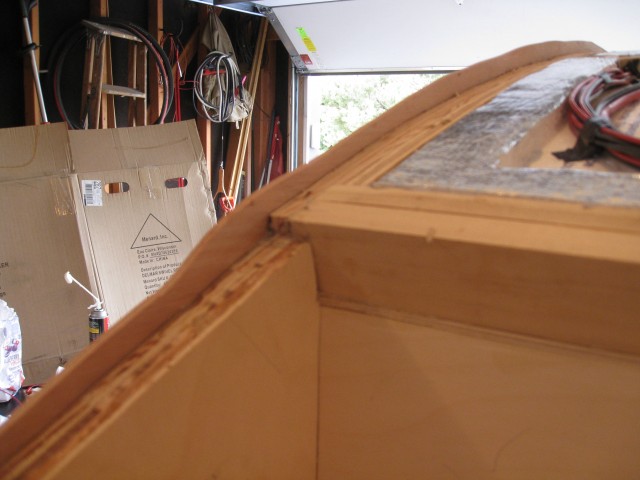
I used the wall templates to help clamp the skins to the walls while the glue dried. The templates had voids where the insulation was so once it was lined up, it was very easy to locate the solid walls and clamp supports across them. The panels were mounted flush with the bottom of the trailer rail.
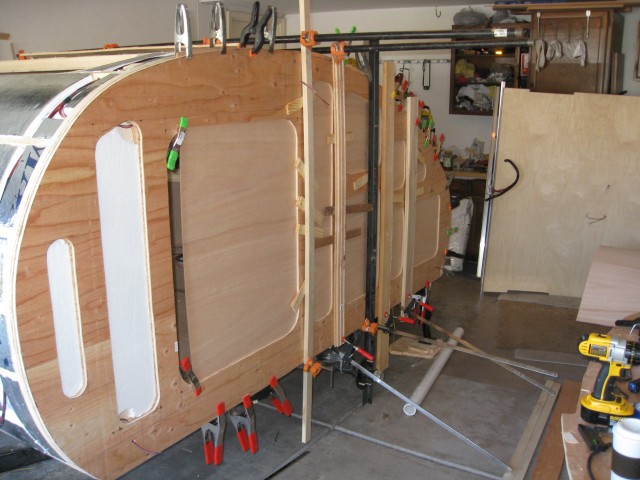
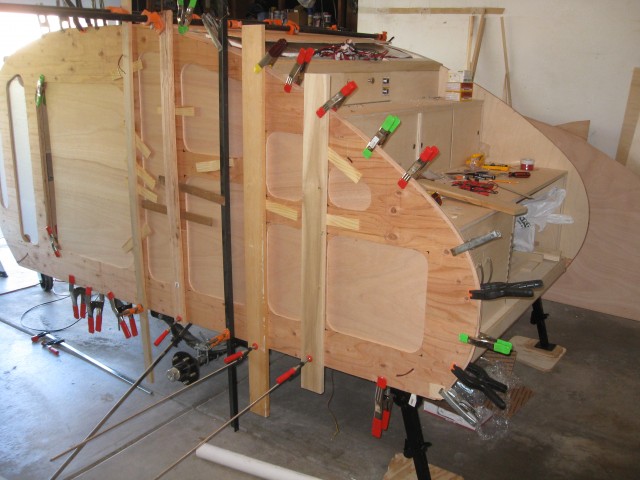
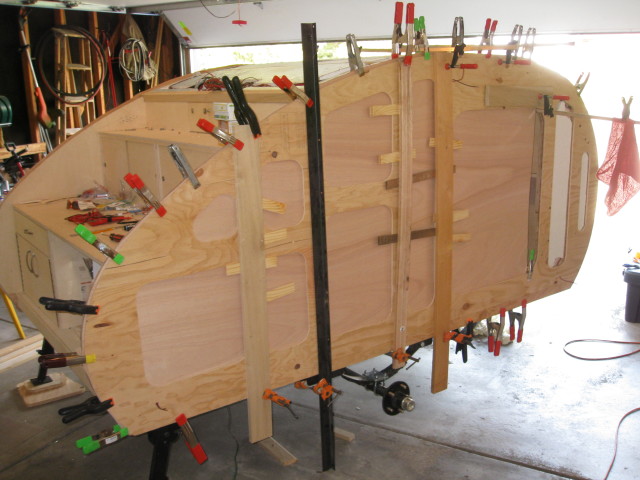
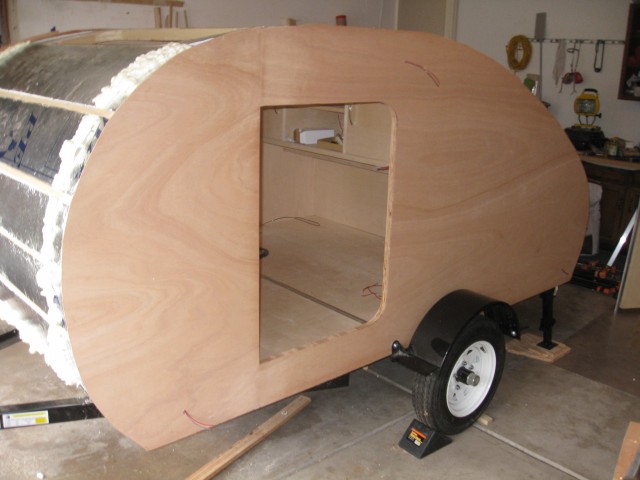
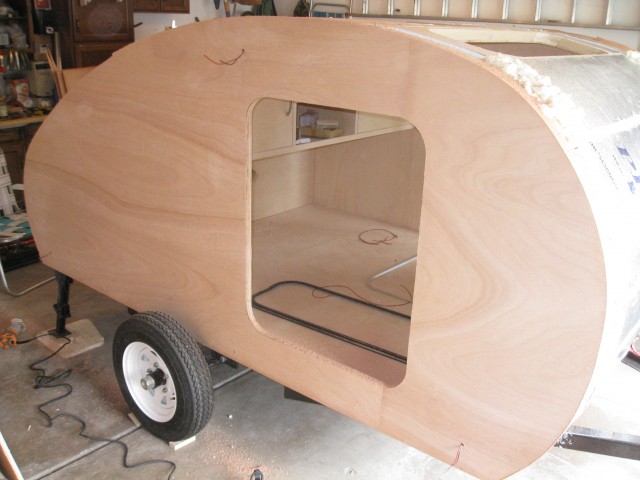
WIth the skin installed I cut the door entrance with a small hand router and a 1/2″ flush trim bit.
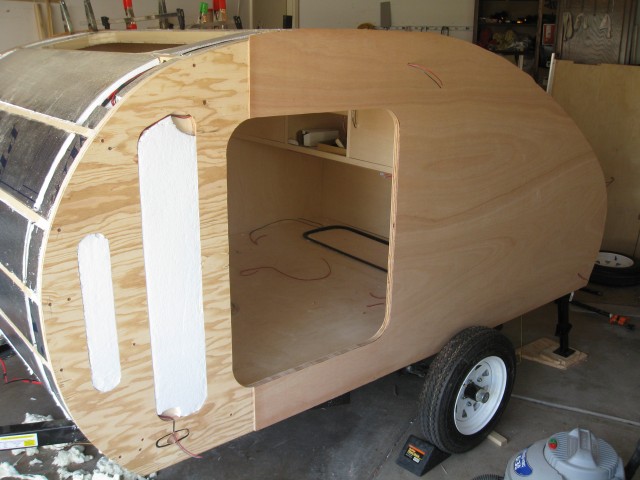
Similar to how I installed the inside skins I left some extra room around the edges to make sure I had full coverage. The edges were trimmed off with the router.

<span class="dsq-postid" data-dsqidentifier="1626 http://teardropbuilder.com/?p=1626">8 Comments
Hi Ryan,
I have a question about the outside skin you applied, according to the sketchup plans the trailer is a little over 5′ wide and you used 5′ wide baltic birch so how did you account for the 1/2″ or so? Is the true dimension of the 5 X 5 more than 5′? Thanks for making this site and the sketchup model, it has helped my planning tremendously.
Dave
Jonsey has it right, the outside is 4′ x 8′ and laid in lengthwise sections across the trailer on the outside. The sections meet up at the skylight opening which hides the seam to a great degree.
Ok gotcha, I didn’t see that!
Dave
Ryan, do you have a thickness spec for the marine plywood you used? I’m trying to source some like it, because I think the way it turned out on yours is gorgeous.
Thank you!
4mm 4′ x 8′ BS1088 okoume marine plywood sheets.
Hi Dave,
The outside skin is marine grade plywood. It comes in 4ft by 8ft sheets.
The Baltic birch is used for the inside skin.
Hi Ryan,
Thought you would enjoy my take on the WW, I took a few liberties with the finishes. Heading your way from NC tomorrow. Thanks for the great design and all of the helpful advice. https://uploads.disquscdn.com/images/2cddc1afdbadc1eb248e740416a00e4a93249c55651fd46638f4de44b6b40e0c.jpg https://uploads.disquscdn.com/images/39d4b8c843400131d8592b7ac98b7f34617ac92818b0f55366463ced0fdc7633.jpg https://uploads.disquscdn.com/images/ed349700f63fb8596d6bb508675ef8b5ff6d1e32e9a3ac6066b9e774bbea4676.jpg https://uploads.disquscdn.com/images/af69debedb9997f182c138abdf63ab45fe914d1f27f0f733abda0db05b29ae39.jpg https://uploads.disquscdn.com/images/2642dccc71c20d36d3793bf632c78f81c754667810d29308e5a9783361d9585d.jpg https://uploads.disquscdn.com/images/2ea0453f208780a40e4b21849eba0f9cc30b97e4148f96fa73693fe7e984dbf2.jpg https://uploads.disquscdn.com/images/d4be424bd4bc012497ac04790951651d445bfcc95b28e115ca62591d99de9145.jpg
Skinning the hatch is proving difficult, just had to peel off all the plywood before the glue set because I was having issues clamping. I’m going to try and reinforce better the bottom, right now it’s just two pieces of plywood meeting, and made clamping difficult.