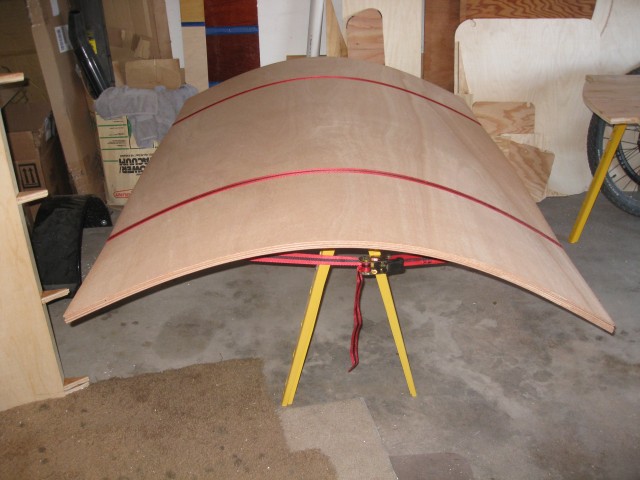
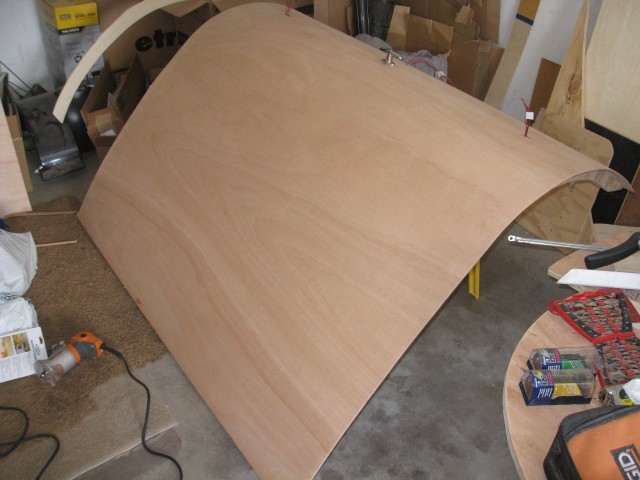
To prepare for the roof I conditioned the okoume plywood for the bend on a saw horse for a few days while I installed the wall skin.
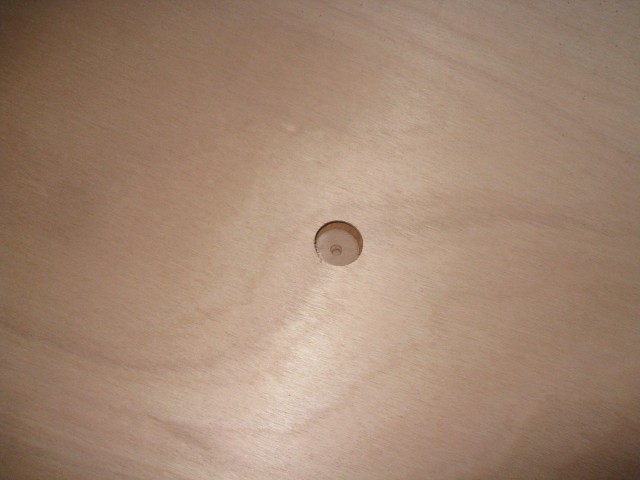
I drilled a large hole at the location for the main wiring port. The wires for the 12v system and the trailer lights will enter the trailer here from the tongue box.
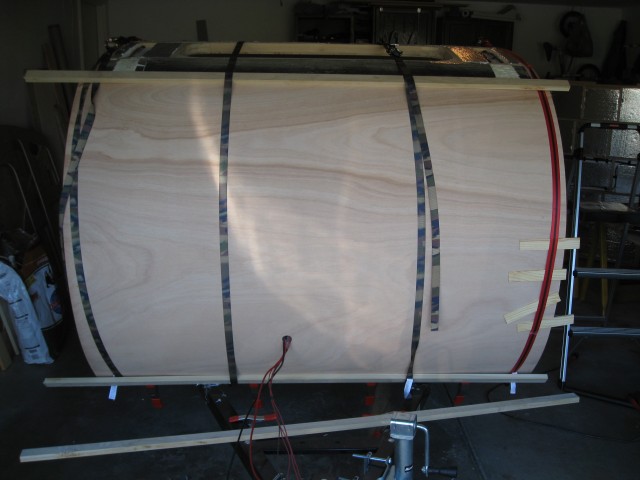
Each panel was installed separately and allowed to dry for 24 hours. They were secured with straps and trim pieces at the seams. I used wax paper in some places to keep the glue separate from the trim holding it in place.
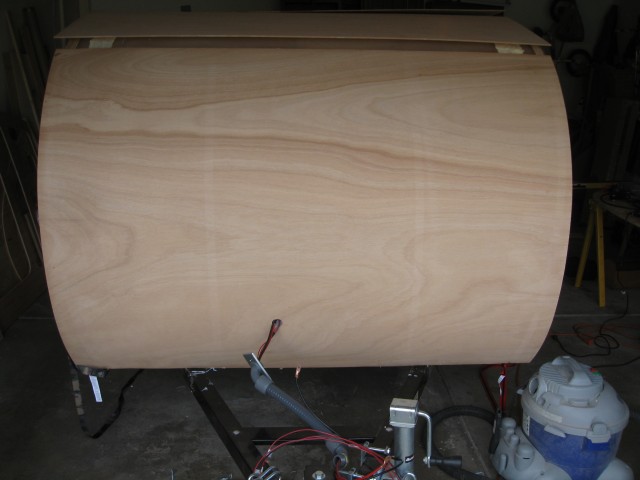
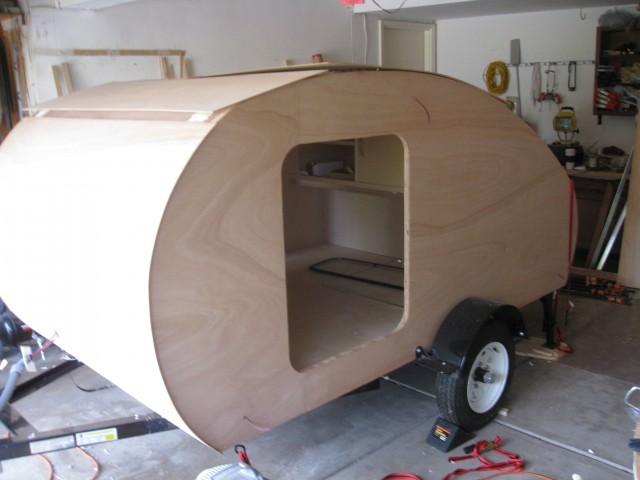
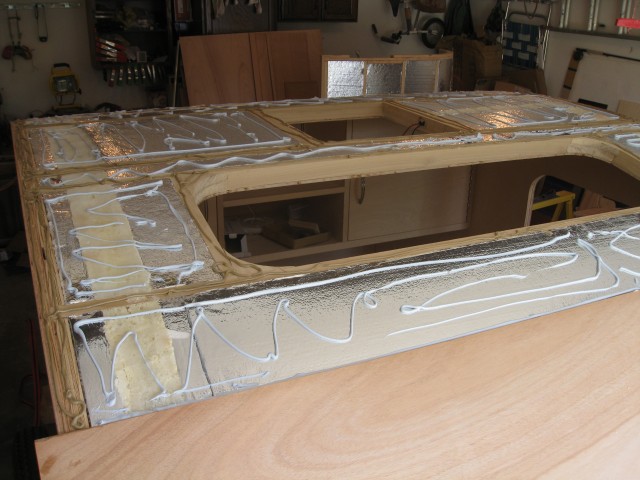
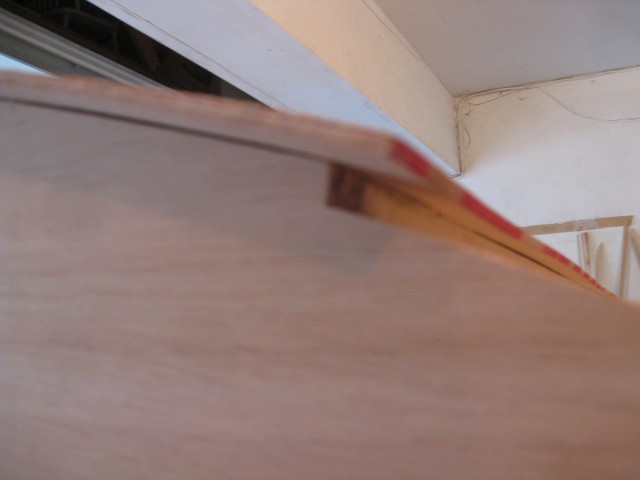
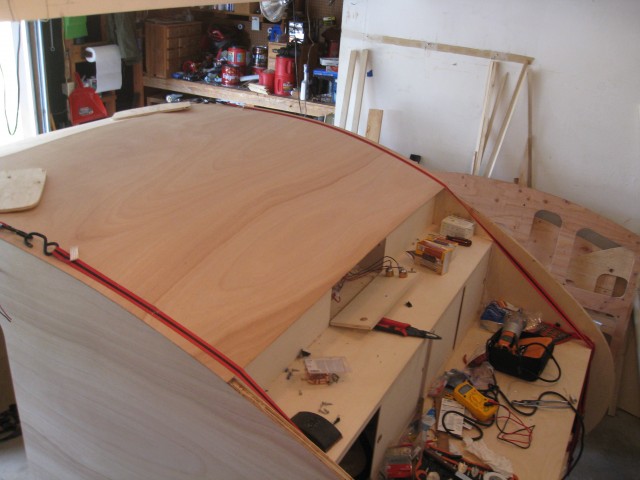
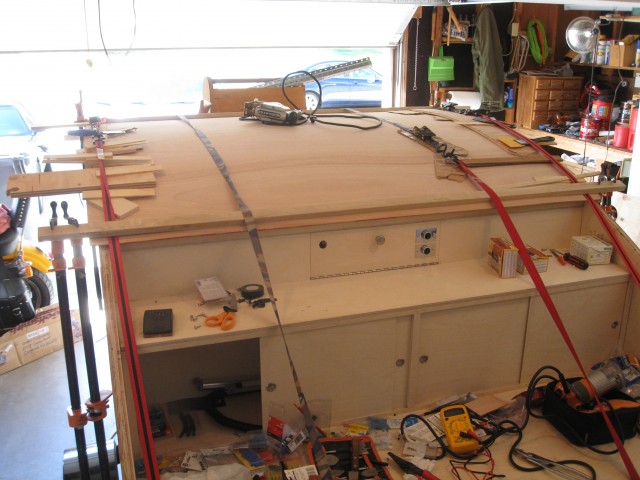
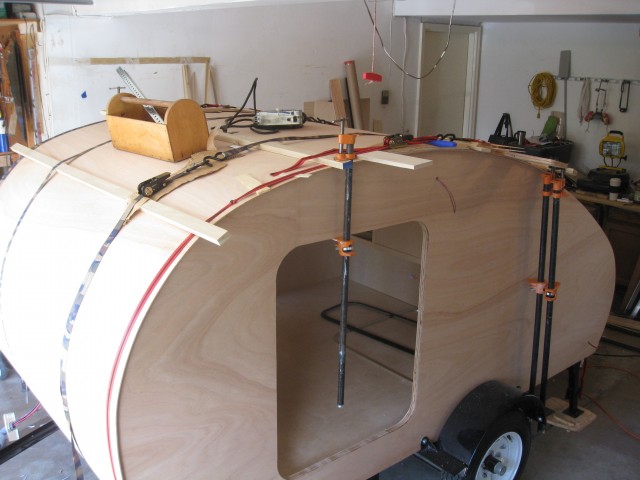
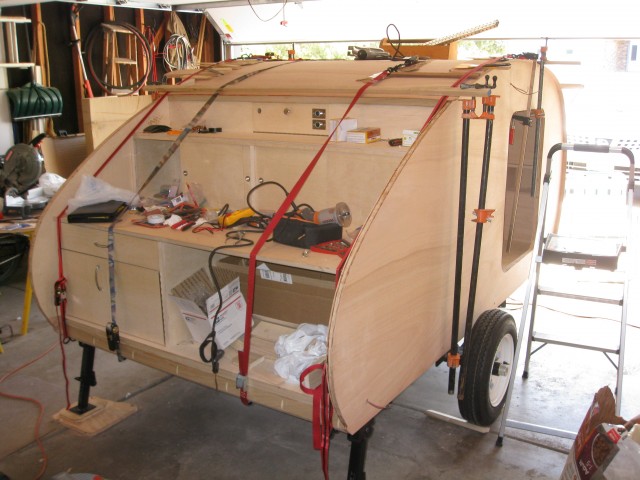
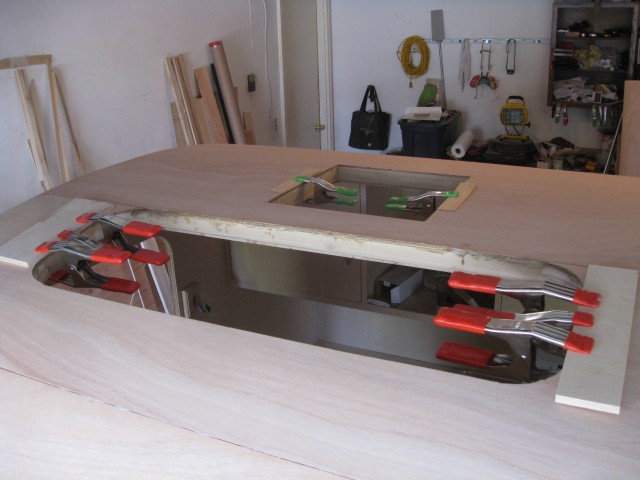
I trimmed the roof edges as well as the window and vent openings with a router once all the panels were installed.
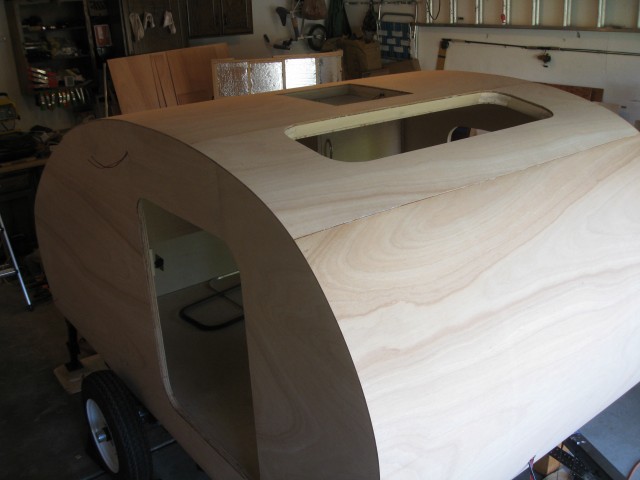
I used a bit more glue to ensure the edges of the openings were properly sealed.
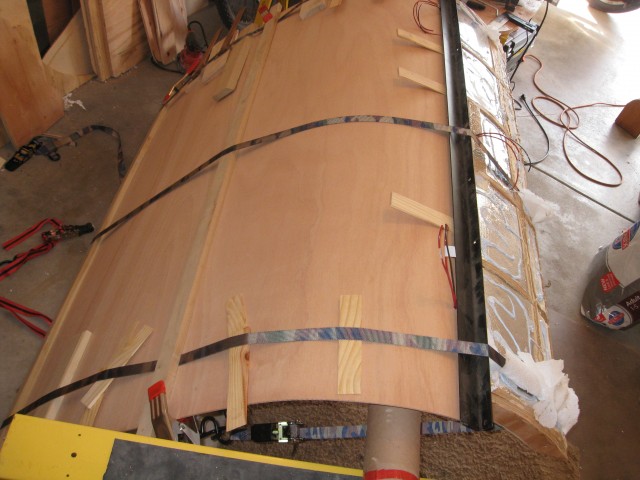
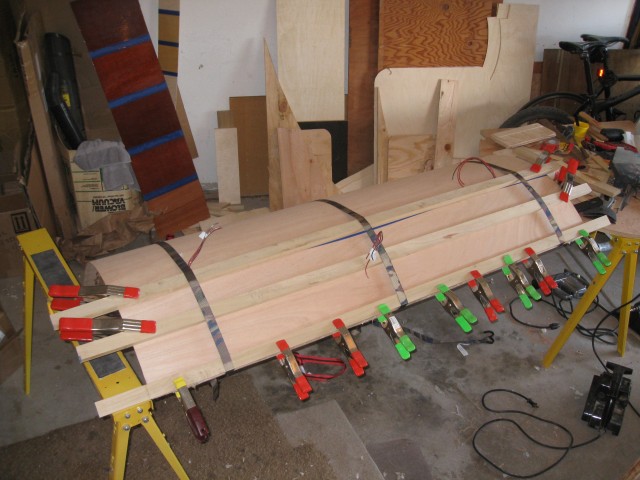
The hatch was a bit more complex. I had to ensure the skins were allowed to dry with a little distortion of the hatch as possible. To do this I checked the distance between opposite corners were equal.

<span class="dsq-postid" data-dsqidentifier="1626 http://teardropbuilder.com/?p=1626">8 Comments
Hi Ryan,
I have a question about the outside skin you applied, according to the sketchup plans the trailer is a little over 5′ wide and you used 5′ wide baltic birch so how did you account for the 1/2″ or so? Is the true dimension of the 5 X 5 more than 5′? Thanks for making this site and the sketchup model, it has helped my planning tremendously.
Dave
Jonsey has it right, the outside is 4′ x 8′ and laid in lengthwise sections across the trailer on the outside. The sections meet up at the skylight opening which hides the seam to a great degree.
Ok gotcha, I didn’t see that!
Dave
Ryan, do you have a thickness spec for the marine plywood you used? I’m trying to source some like it, because I think the way it turned out on yours is gorgeous.
Thank you!
4mm 4′ x 8′ BS1088 okoume marine plywood sheets.
Hi Dave,
The outside skin is marine grade plywood. It comes in 4ft by 8ft sheets.
The Baltic birch is used for the inside skin.
Hi Ryan,
Thought you would enjoy my take on the WW, I took a few liberties with the finishes. Heading your way from NC tomorrow. Thanks for the great design and all of the helpful advice. https://uploads.disquscdn.com/images/2cddc1afdbadc1eb248e740416a00e4a93249c55651fd46638f4de44b6b40e0c.jpg https://uploads.disquscdn.com/images/39d4b8c843400131d8592b7ac98b7f34617ac92818b0f55366463ced0fdc7633.jpg https://uploads.disquscdn.com/images/ed349700f63fb8596d6bb508675ef8b5ff6d1e32e9a3ac6066b9e774bbea4676.jpg https://uploads.disquscdn.com/images/af69debedb9997f182c138abdf63ab45fe914d1f27f0f733abda0db05b29ae39.jpg https://uploads.disquscdn.com/images/2642dccc71c20d36d3793bf632c78f81c754667810d29308e5a9783361d9585d.jpg https://uploads.disquscdn.com/images/2ea0453f208780a40e4b21849eba0f9cc30b97e4148f96fa73693fe7e984dbf2.jpg https://uploads.disquscdn.com/images/d4be424bd4bc012497ac04790951651d445bfcc95b28e115ca62591d99de9145.jpg
Skinning the hatch is proving difficult, just had to peel off all the plywood before the glue set because I was having issues clamping. I’m going to try and reinforce better the bottom, right now it’s just two pieces of plywood meeting, and made clamping difficult.