
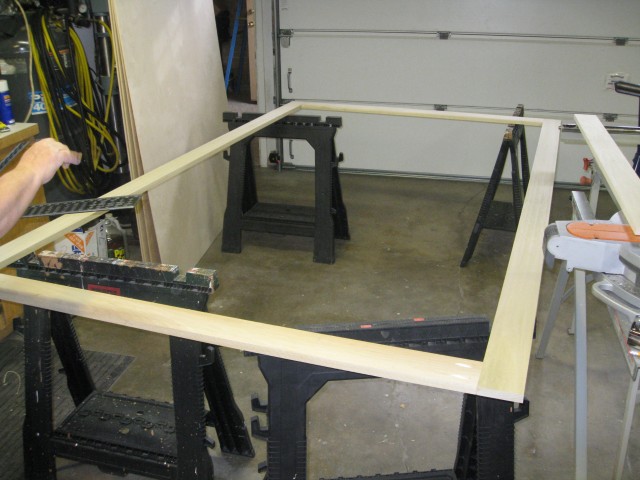
The deck forms the foundation of the teardrop and consists of a poplar 1×4 (3/4″ x 3-1/2″) frame and 3/4″ hard white foam insulation sandwiched between 5′ x 5′ x 1/4″ birch plywood sheets.
It’s nice to have the trailer assembled to haul the wood around, but be careful not to damage it in the process.
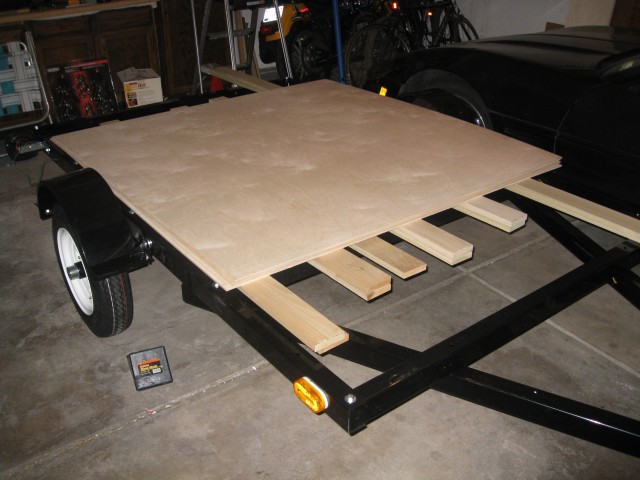
I used pocket screws to attach the frame and check that everything is square before applying Titebond III wood glue.
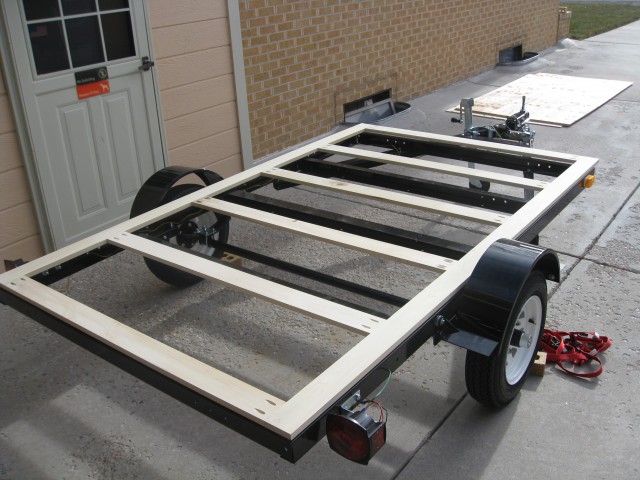
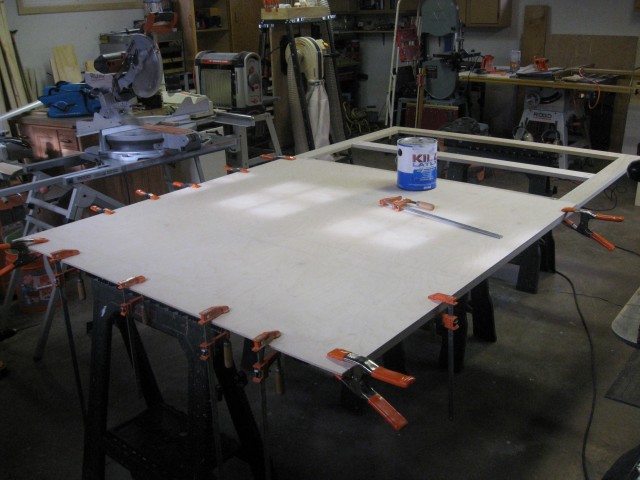
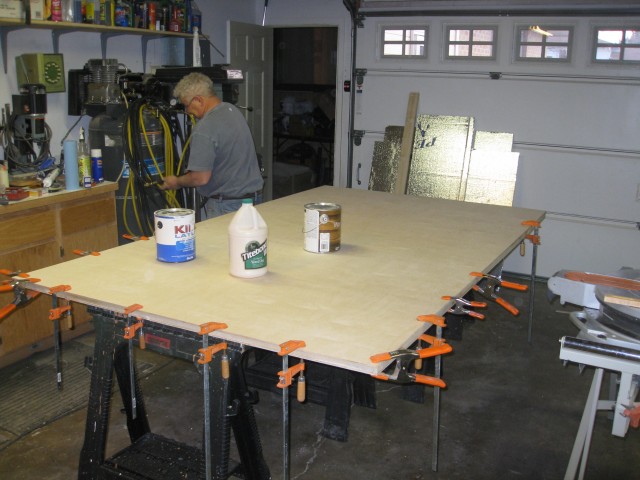
Clamps, you will need lots of them for this project. This side being the eventual underside I used brad nails to hold the birch to the cross members so the glue would bind correctly. On the opposing side, which is the top of the deck and exposed on the inside of the cabin I only used weight. I cut the birch sheet to size using a straight edge and a circular saw.
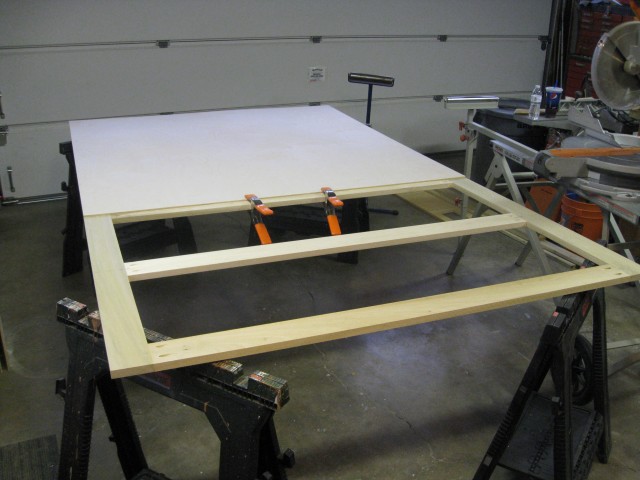
The insulation is 3/4″ hard foam and fit very well leaving only 1/8″ between the top and bottom sheets. I cut the insulation to be 1/8″ larger in width and length than the frame compartment which allowed us to get a nice tight fit. I cut it on the table saw but a straightedge and a utility knife works fine too.
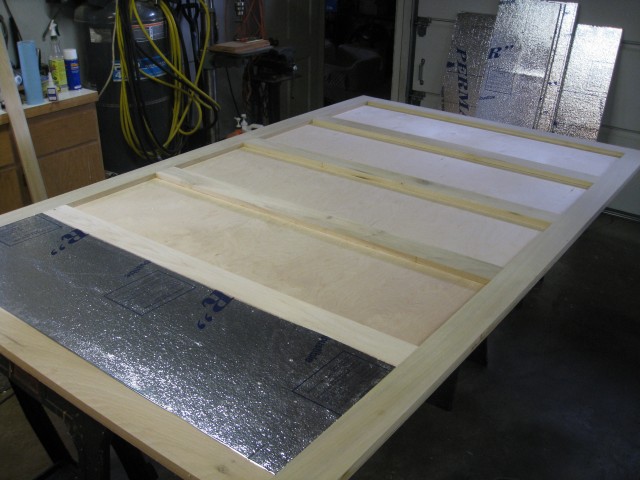
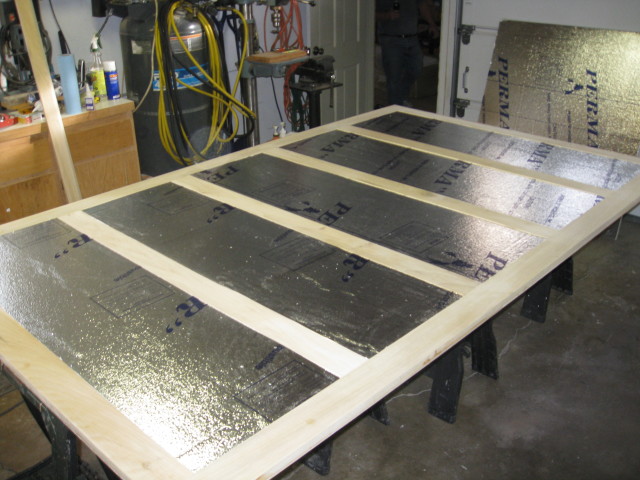
The opposite side showing the weighted objects instead of the brad nails to hold the birch to the frame while the glue is drying.
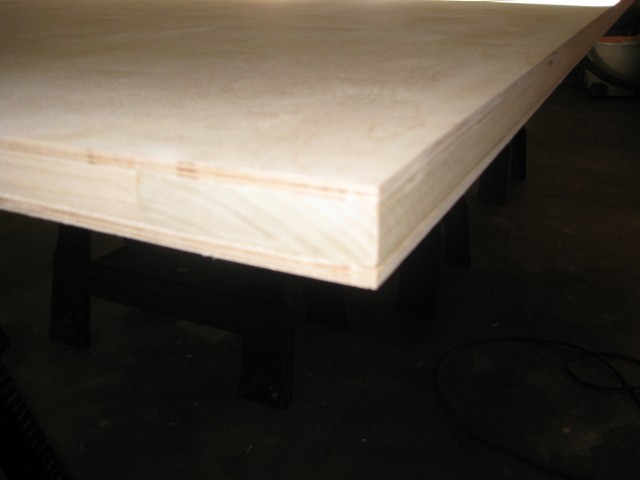
The birch skins had a very slight overlap so I fixed that using a router and a flush trim bit.

<span class="dsq-postid" data-dsqidentifier="58 http://teardropbuilder.com/?p=58">12 Comments
Where did you find 5′ x 5′ sheets of birch plywood? I can’t find anything wiser than 4′.
It’s specifically called “Baltic Birch” and out here there are quite a few places that carry it in 1/8″, 1/4″, 1/2″ and 3/4″ 5’x5′ sheets.
It’s specifically called “Baltic Birch” and out here there are quite a few places that carry it in 1/8″, 1/4″, 1/2″ and 3/4″ 5’x5′ sheets.
Huh, well I went ahead and just bought the 4×8 sheets and am going to do a variation on the blocking of the compartments to allow for the difference in spacing. It will add a tiny amount of weight to the over all end result, but I checked four different lumber yards and nobody had anything wider than 4 feet. One of them actually laughed at me for even asking. Anyway…no big deal.
Are there any alternate plans for putting in storage into the floor here? I would think a foot to a foot and a half deep wells would work but I question what structural integrity would sacrificed.
I don’t have any plans for this but there is no reason why you couldn’t. The only issues I can think of is the road clearance, and access to the storage compartments as there is usually a mattress covering the entire floor.
Edit: Pulled up an old thread I read about this exact thing. http://tnttt.com/viewtopic.php?t=8322
I’m looking at the pictures you have posted and was wondering how you managed to flush mount the wood frame to the trailer bed since there are bolt heads sticking up along the metal trailer frame. Did you cut out pockets/holes in the frame to accommodate for the height of the bolt heads, or did you remove the stock trailer bolts, add the wood frame, and attach the wood frame with the stock trailer bolts?
Check out the third page of this build step: http://teardropbuilder.com/build-journal/building-the-deck/3
I countersunk 3/8″ stainless steel carriage bolts which I covered with birch plugs and sanded flush with the deck surface.
I changed some of these steps up a bit. I just put the bottom skin on, sealed the bottom, then ended up using the anchor bolts with just the frame and one skin. I was then able to add the insulation and just skin over the whole thing without having to do the birch plugs to cover up the carriage bolts.
Hey Rob, I did the same thing. I’m happy with it so far
I plan to build my own trailer but looking at the Ironton trailer, it looks like the crossmembers are 1/8″ lower than the side rails. How did you fill that space when attaching the deck to the trailer?
Hi Yannick,
I have built 2 of these. I glued 1/8 inch plywood to the underside of the deck, to fill the small gap. Then waterproofed the underside. Hope this helps