Facebook Twitter Instagram
    Teardrop Builder
    • Build Journal
      • Planning and Design
      • Trailer Assembly
      • Building the Deck
      • Sealing the Deck
      • Sidewall Templates
      • Building the Walls
      • Building Cabinets
      • Walls and Cabinets to Deck
      • Insulation and Headliner
      • Roof Spars and Blocking
      • Building the Hatch
      • Wiring and Insulation
      • Gluing Outer Skins
      • Dying
      • Epoxy
      • Varnish
      • Finishing Cabinets
      • Toungebox
      • Trim and Final Details
      • Completed Pictures
    • Plans
      • Wyoming Woody Teardrop Plans
      • Wyoming Woody Teardrop SketchUp Model
      • Wyoming Woody Profile
      • Northern Tool Trailer SketchUp Model
      • Wyoming Woody Parts List and Cost Breakdown
      • Wyoming Woody Teardrop CNC files
    • Components
      • Vintage Technologies
      • Li’l Bear Tagalongs
      • superbrightleds.com
      • rvvent.com
      • Jamestown Distributors
      • McMaster-Carr
      • Hobby King
      • The Foam Factory
      • Northern Tool
      • etrailer.com
      • Woodcraft
    • Builder Resources
      • tnttt.com
      • Tear Jerkers
      • Teardrop Trailers Reddit
      • Little Swiss Teardrop
      • Camping Classics
    • Commercial Teardrops
      • Camp Inn
      • Little Guy Trailers
      • TC Teardrops
    • About
    Teardrop Builder

    Finishing with Spar Varnish

    4
    By Ryan on September 16, 2013 Build Journal

    Like the epoxy, marine spar varnish provides protection from the elements and adds to the finish. Unlike epoxy it goes on thinner but provides a great amount of UV protection which will prevent the dye from fading and the epoxy from becoming cloudy, hiding the beautiful grain from the wood.

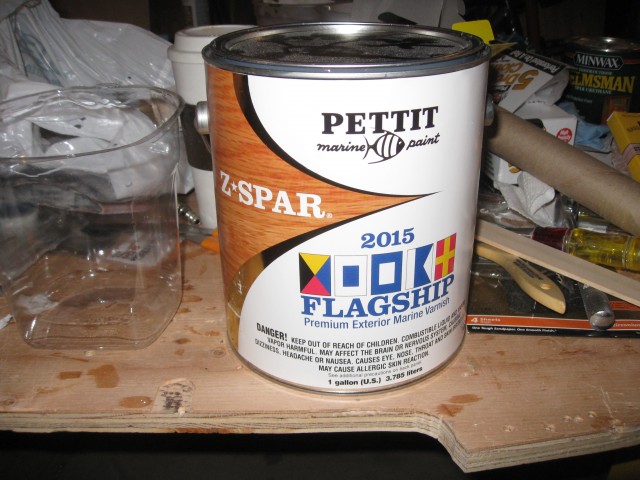
    I used a high end Pettit Z-Spar 2015 Flagship marine spar varnish.
    IMG_6492

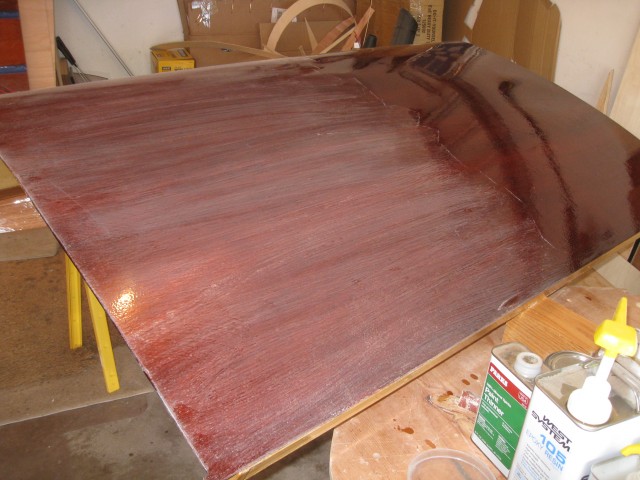
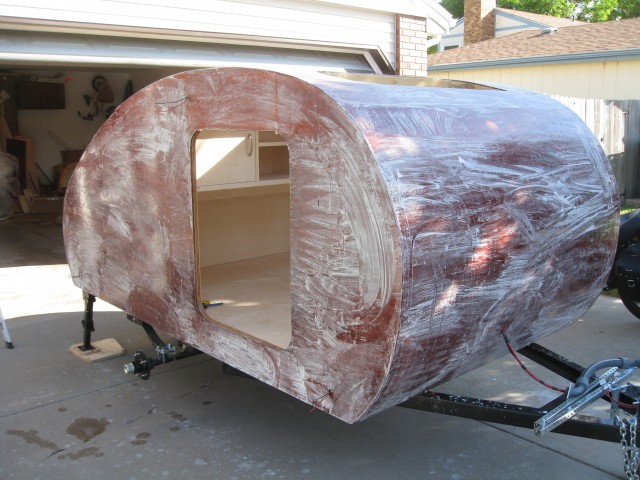
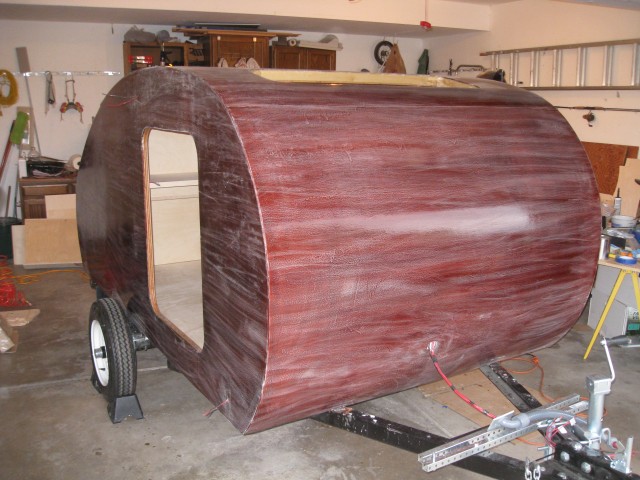
    Before I was ready to varnish I had to sand down the epoxy, knocking down and bumps and providing a good surface for the varnish to adhere to.
    IMG_6486

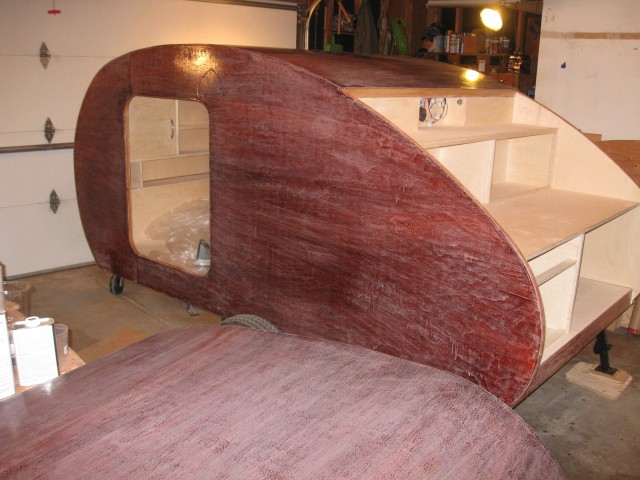
    After sanding I wiped the surface with a rag and some mineral spirits. Like epoxy dust is bad and will ruin your finish, I cannot stress this enough.
    IMG_6488

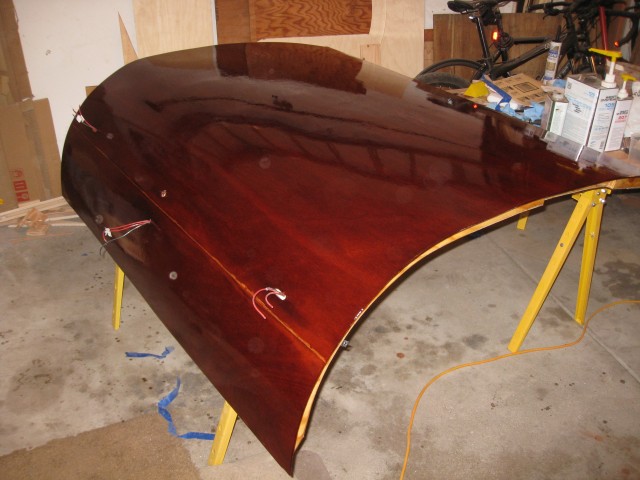
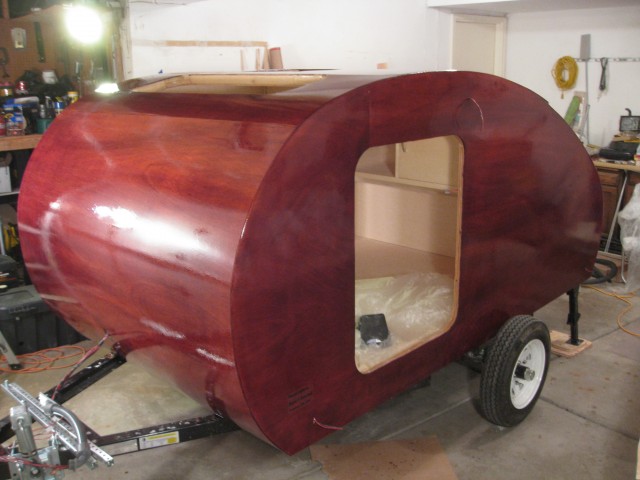
    The process of application is similar to epoxy. With the varnish however I applied it and tipped it off with a natural bristle brush.
    IMG_6494 IMG_6498

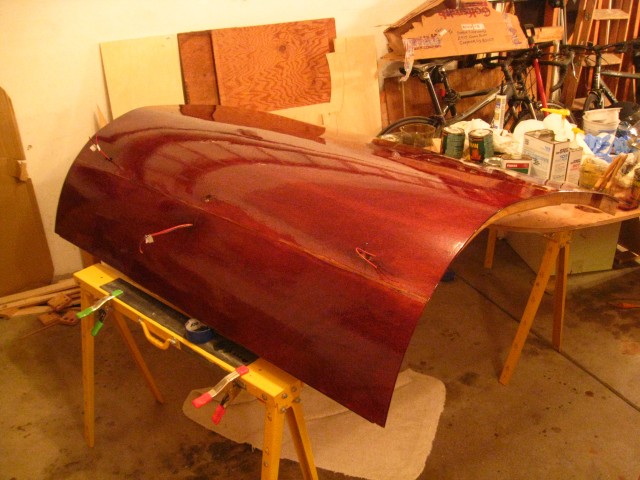
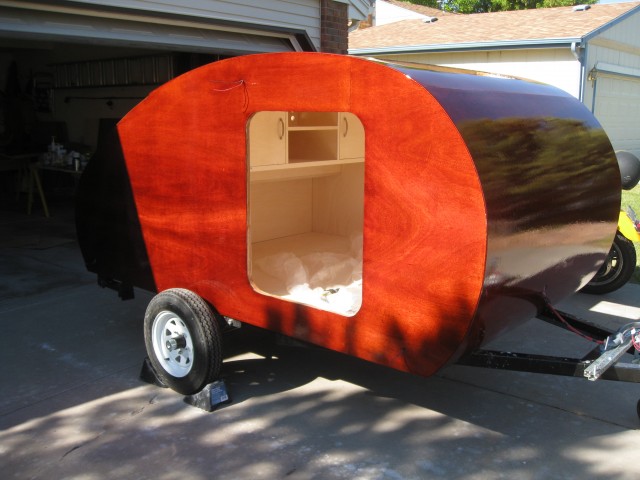
    First coat done, two more to go. You need to let the varnish dry 24 hours between coats.
    IMG_6505

    Another round of sanding. This one is done more lightly as the surface is becoming more smooth with each successive coat.
    IMG_6510 IMG_6524 IMG_6528

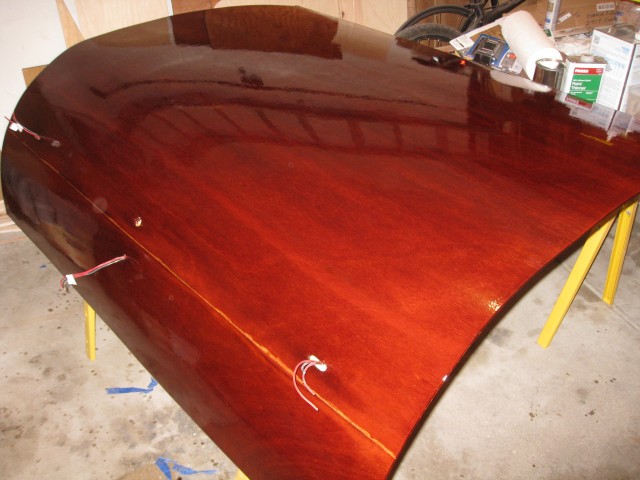
    Two down, one to go.

    IMG_6538 IMG_6541

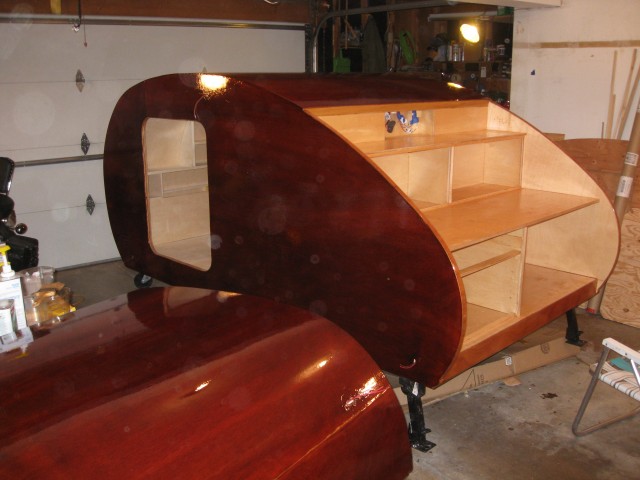
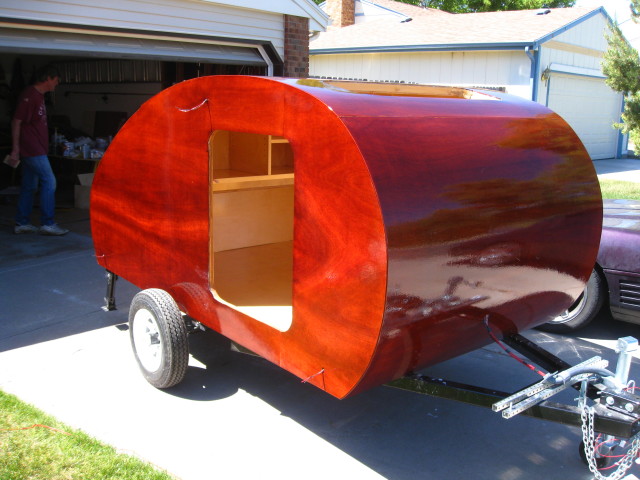
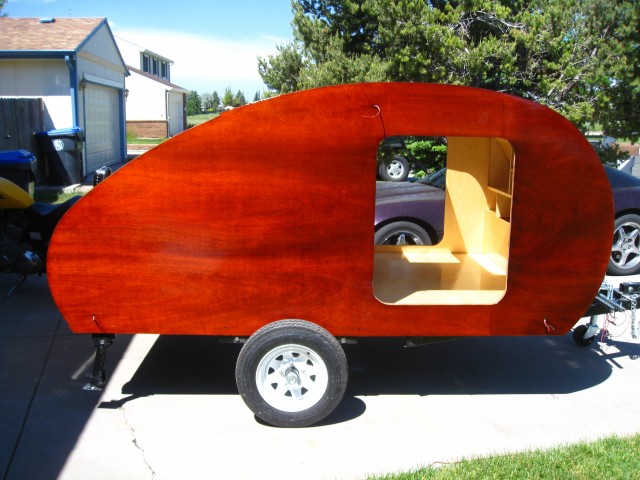
    The final product after 3 coats or epoxy and 3 coats of varnish. After a year or two I will need to sand and apply more coats to repair any micro scratches and to replenish the UV protection.
    IMG_6547IMG_6546 

    1 2
    Share. Facebook Twitter Pinterest LinkedIn Tumblr Email
    Ryan

    Related Posts

    Finishing the Cabinets

    Applying the Epoxy

    Installing the Outer Skins

    <span class="dsq-postid" data-dsqidentifier="1632 http://teardropbuilder.com/?p=1632">4 Comments

    1. Glenn on August 29, 2016 1:24 pm

      Has anyone modify this design for a 5 x 8 ?

      Glenn

      • Ryan on August 29, 2016 5:06 pm

        Most people I have seen stay with a 5′ X 8′, however I think I have seen a custom trailer instead of the Northern Tool. With that said I see no reason why you couldn’t modify it for a different size trailer as long as you plan your cuts accordingly.

    2. Jeff on May 16, 2017 1:17 pm

      Hi Ryan,

      About the varnish, I’m wondering how long you waited for the epoxy to cure before applying. Also how long did you let the varnish cure before adding the doors and windows?

      Thanks!

      • Ryan on May 22, 2017 8:26 am

        I let the epoxy cure overnight and that seemed to work fine, you may wish to wait a full 24 hours but that isn’t really necessary. The epoxy will be solid with no tackiness to it. When that happens its ready to sand.

    Most Commented
    September 19, 2013

    Installing Components and Final Details

    September 11, 2013

    Building the Galley Hatch

    September 20, 2013

    Wyoming Woody Teardrop Completed Pictures

    September 15, 2013

    Applying the Epoxy

    December 19, 2012

    Building the Deck

    Recent Comments
    • The Top Teardrop Trailer Plans - Tiny House Huge Ideas on Wyoming Woody Teardrop Plans
    • Can You Really Build Your Own Teardrop Camper from a Kit? on Wyoming Woody Teardrop Plans
    • Jonesy on Building the Deck
    • Yannick Autphenne on Building the Deck
    • Rob Reynolds on Applying the Epoxy
    © 2026 TeeardropBuilder Designed by ThemeSphere.

    Type above and press Enter to search. Press Esc to cancel.