Facebook Twitter Instagram
    Teardrop Builder
    • Build Journal
      • Planning and Design
      • Trailer Assembly
      • Building the Deck
      • Sealing the Deck
      • Sidewall Templates
      • Building the Walls
      • Building Cabinets
      • Walls and Cabinets to Deck
      • Insulation and Headliner
      • Roof Spars and Blocking
      • Building the Hatch
      • Wiring and Insulation
      • Gluing Outer Skins
      • Dying
      • Epoxy
      • Varnish
      • Finishing Cabinets
      • Toungebox
      • Trim and Final Details
      • Completed Pictures
    • Plans
      • Wyoming Woody Teardrop Plans
      • Wyoming Woody Teardrop SketchUp Model
      • Wyoming Woody Profile
      • Northern Tool Trailer SketchUp Model
      • Wyoming Woody Parts List and Cost Breakdown
      • Wyoming Woody Teardrop CNC files
    • Components
      • Vintage Technologies
      • Li’l Bear Tagalongs
      • superbrightleds.com
      • rvvent.com
      • Jamestown Distributors
      • McMaster-Carr
      • Hobby King
      • The Foam Factory
      • Northern Tool
      • etrailer.com
      • Woodcraft
    • Builder Resources
      • tnttt.com
      • Tear Jerkers
      • Teardrop Trailers Reddit
      • Little Swiss Teardrop
      • Camping Classics
    • Commercial Teardrops
      • Camp Inn
      • Little Guy Trailers
      • TC Teardrops
    • About
    Teardrop Builder

    Installing Walls and Cabinets

    1
    By Ryan on September 8, 2013 Build Journal

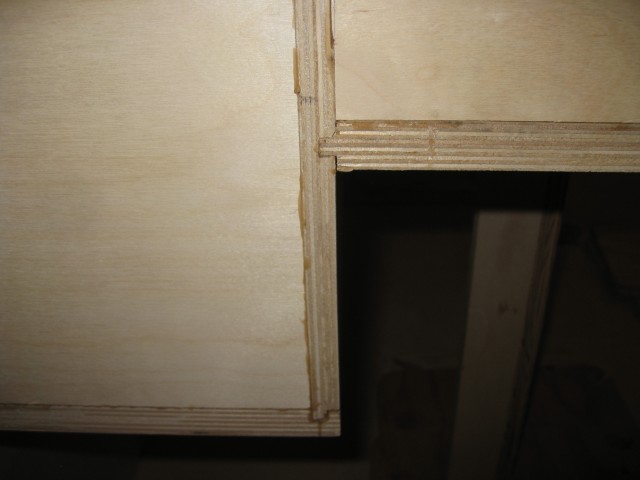
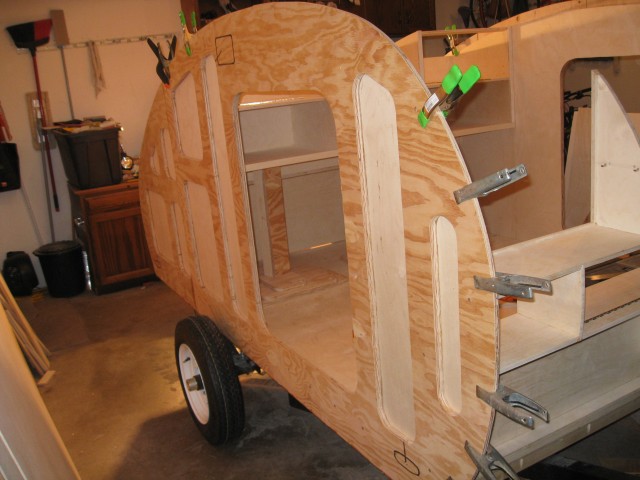
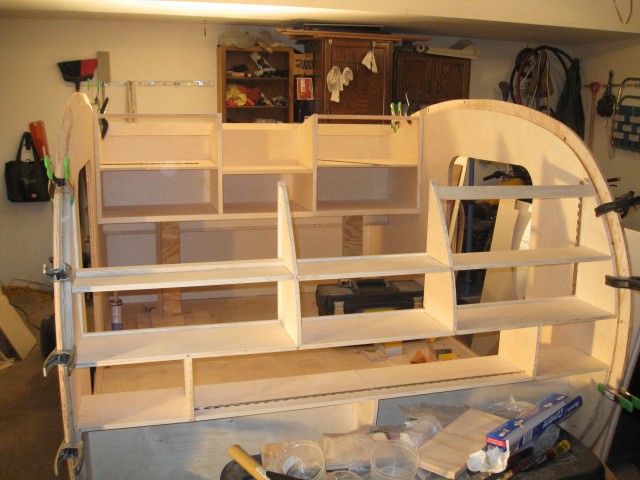
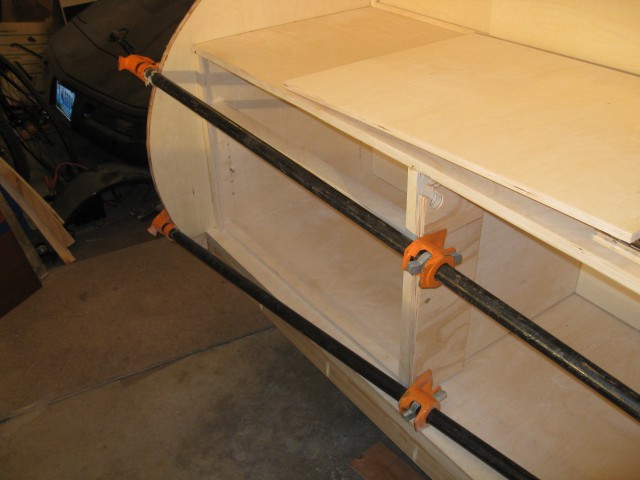
    With the cabinets and walls complete it is now time to install them on the teardrop. I used PL Premium between the wall and deck where there would be very slight gaps, and Titebond III to glue the cabinets to the walls where there would be none. The deck screws provided most of the clamping pressure.

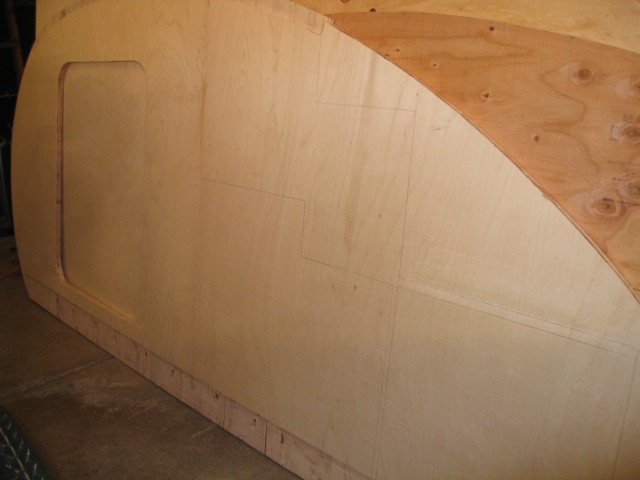
    While the walls were dry fit I outlined the location of the cabinets seen in pencil marks. I chose the placement of the deck screws to correspond with the edges and corners of the cabinet and spaced them 12″ for the cabinets and 8″ across the deck.

    After the holes were marked I drilled a pilot hole from the inside of the walls outward, remounted the walls, and then drilled pilot holes with a countersink bit in from the outside.
    IMG_5511IMG_5512

    You can see the location of all the screw holes in this picture.
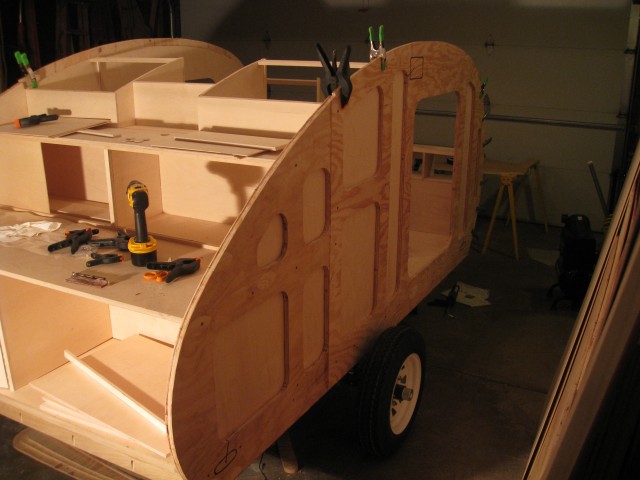
    IMG_5555IMG_5554IMG_5561IMG_5563IMG_5560

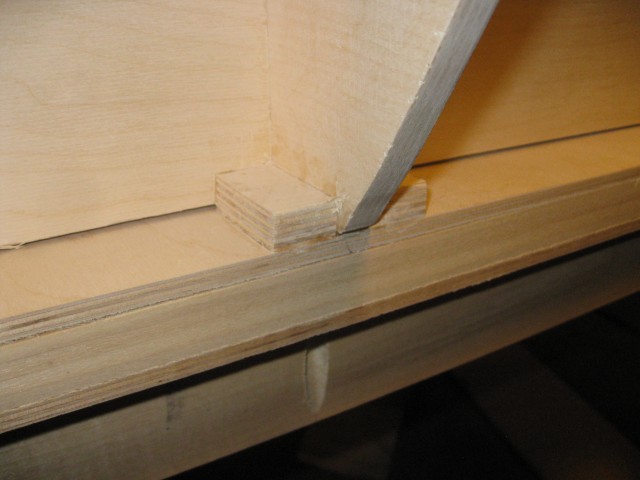
    The cabinets are held in place by the walls however I was concerned that the back of the headboard needed a bit more reinforcement and to ensure that the edge was exactly where it needed to be for the headliner to meet exactly.
    IMG_5617

    1 2
    Share. Facebook Twitter Pinterest LinkedIn Tumblr Email
    Ryan

    Related Posts

    Installing Components and Final Details

    Finishing the Cabinets

    Installing the Outer Skins

    <span class="dsq-postid" data-dsqidentifier="1616 http://teardropbuilder.com/?p=1616">1 Comment

    1. 3GKnight on January 27, 2016 5:47 pm

      Dangit dude…you got me thinkin’ again. lol I hadn’t noticed any other builds with material cut out of the side panels like that. It’d certainly save weight. Hmmm…

    Most Commented
    September 19, 2013

    Installing Components and Final Details

    September 11, 2013

    Building the Galley Hatch

    September 20, 2013

    Wyoming Woody Teardrop Completed Pictures

    September 15, 2013

    Applying the Epoxy

    December 19, 2012

    Building the Deck

    Recent Comments
    • The Top Teardrop Trailer Plans - Tiny House Huge Ideas on Wyoming Woody Teardrop Plans
    • Can You Really Build Your Own Teardrop Camper from a Kit? on Wyoming Woody Teardrop Plans
    • Jonesy on Building the Deck
    • Yannick Autphenne on Building the Deck
    • Rob Reynolds on Applying the Epoxy
    © 2026 TeeardropBuilder Designed by ThemeSphere.

    Type above and press Enter to search. Press Esc to cancel.