Epoxy provides a plastic layer to seal and protect the trailer from the elements. It also increases the depth and shine of the finish. The only problem is that epoxy takes a beating from UV damage so applying further protection from something like Marine Spar varnish afterward is required.
I used West system epoxy with the 207 clear hardener which has a very slight protection from UV, but not enough to go without the spar varnish. Other essentials include epoxy rollers and disposable pots for mixing the batches.
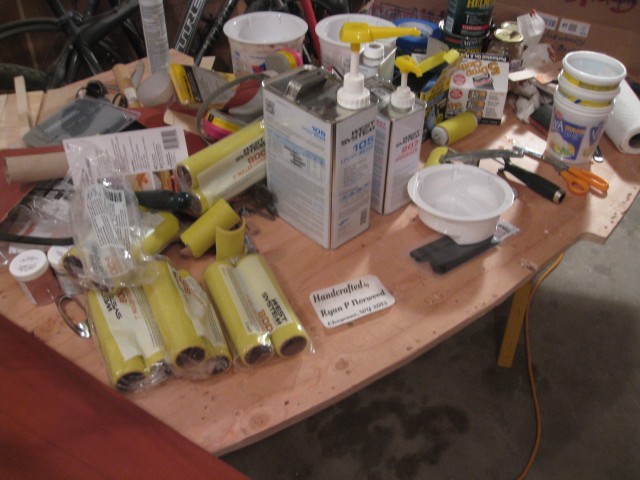
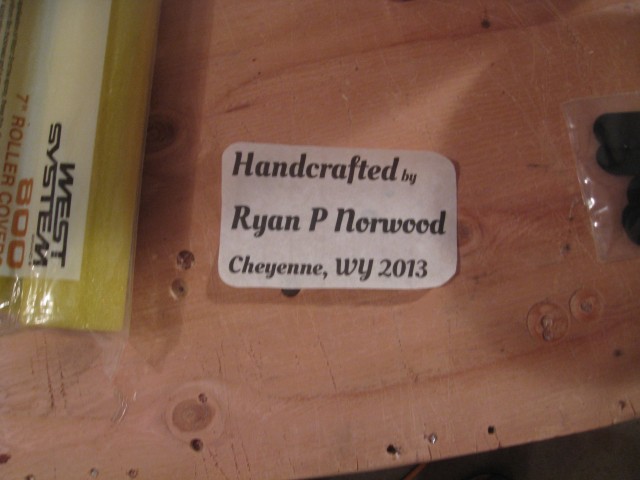
I made a logo on rice paper to show the build date and builder. I used rice paper which all but disappears underneath the layers of epoxy.
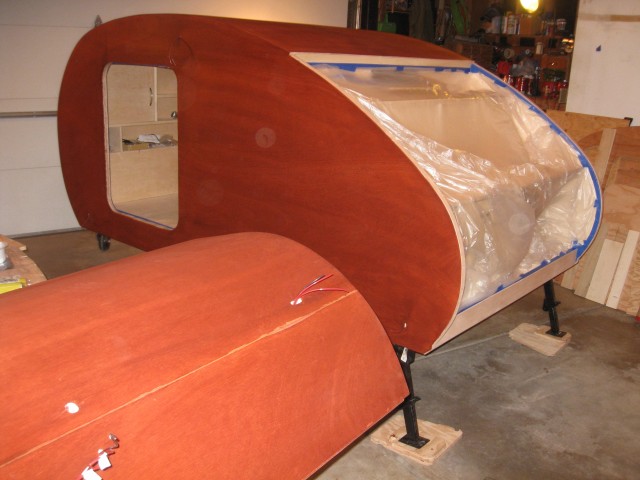
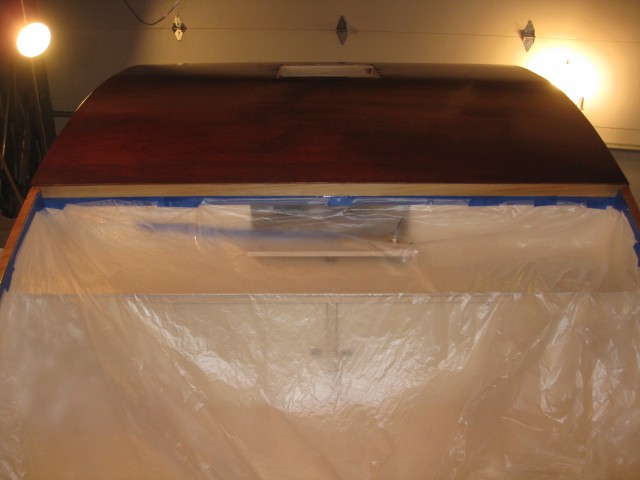
Laying the first layer of epoxy. I won’t get into all the details but the process involves rolling on a small area and then “tipping it off” with a cut section of foam roller to smooth it out. It is a slow and precise process, especially on a vertical surface. The other thing to note is the cleanliness of your area. Any dust you might disturb will end up in the epoxy and will ruin it. I took the afternoon before to thoroughly clean the garage.
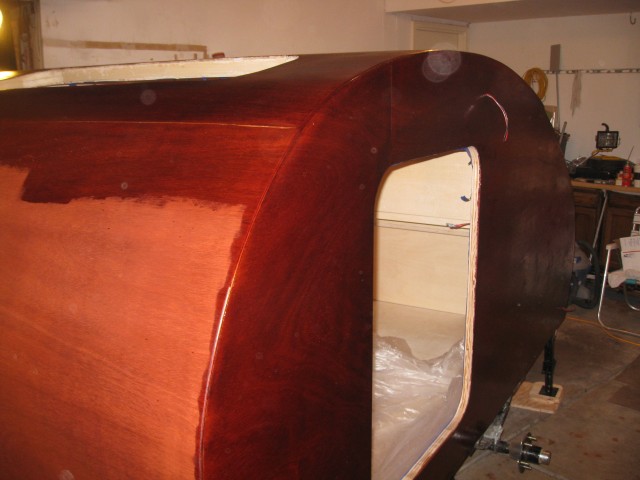
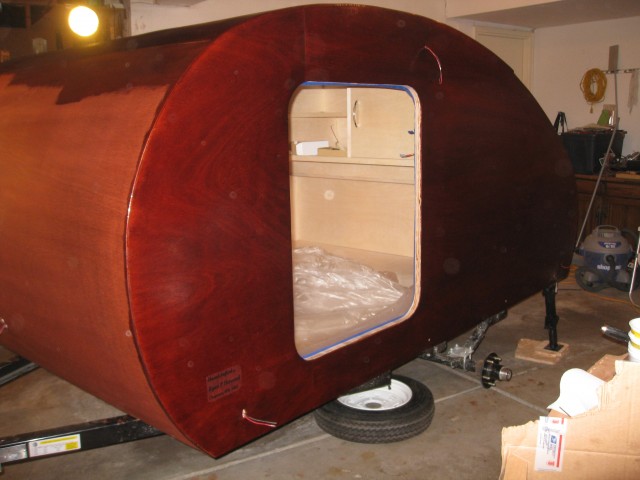
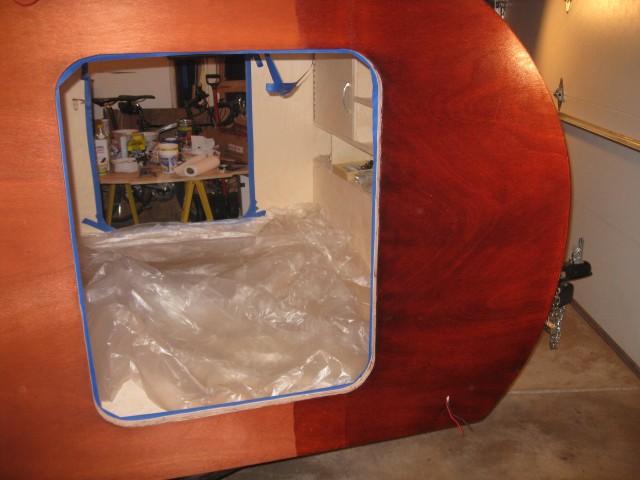
The rice paper under the first epoxy layer.
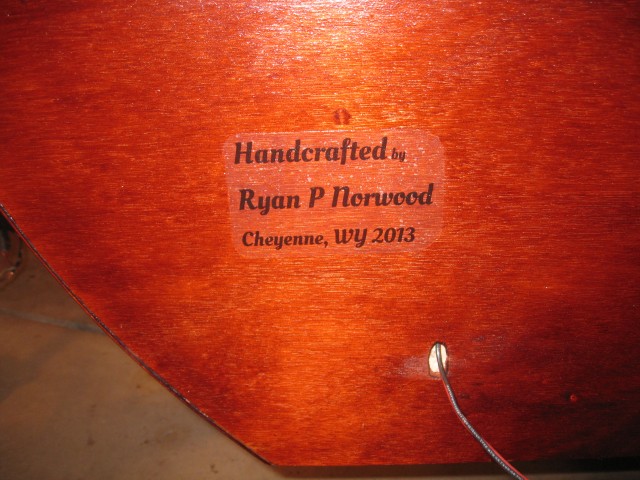
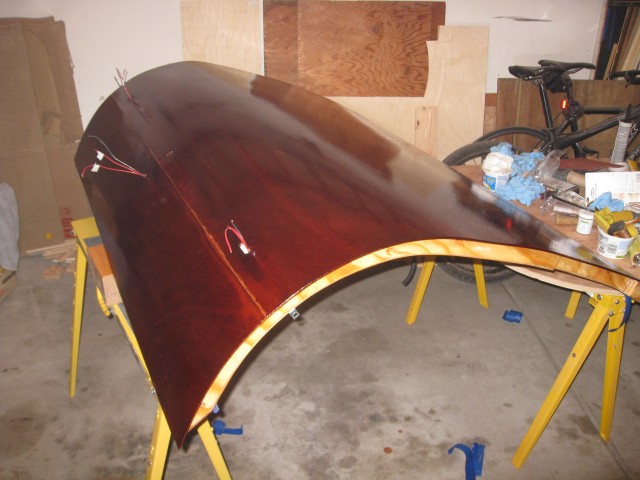
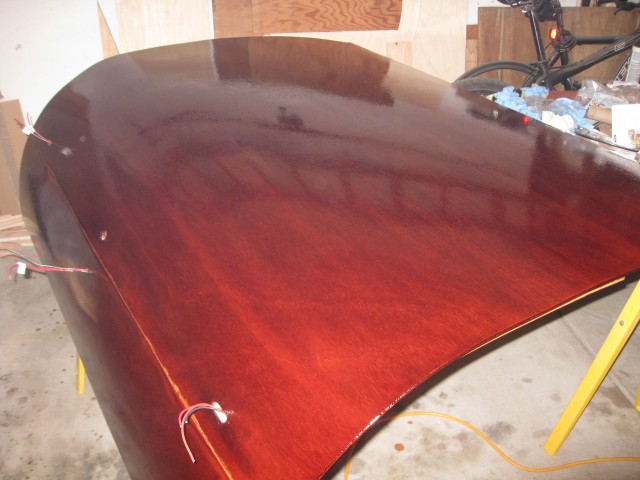
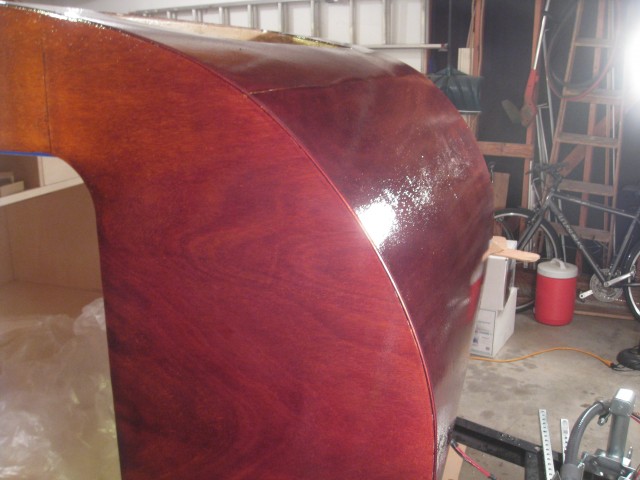
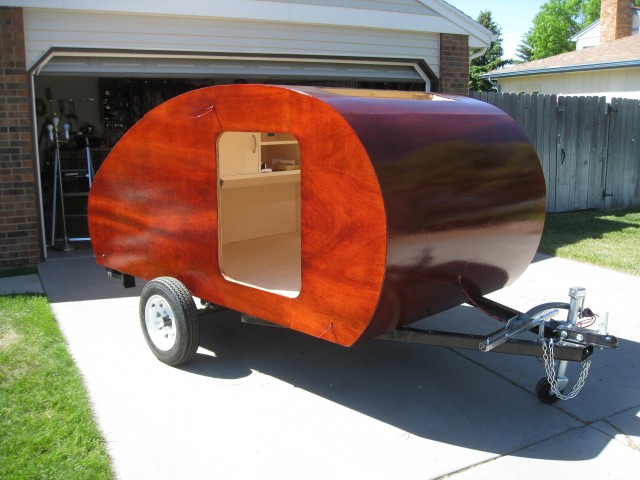
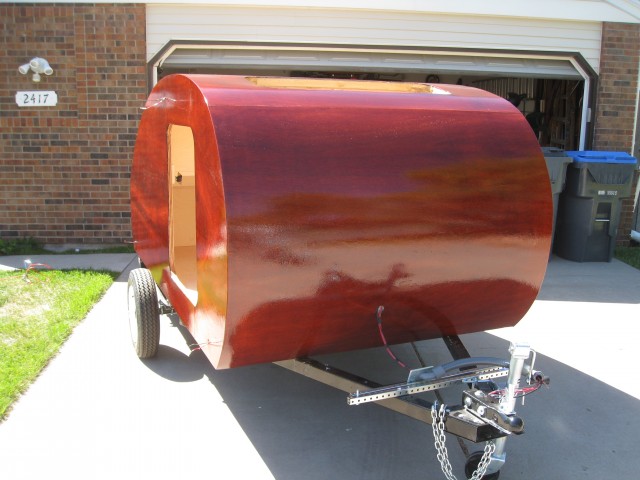
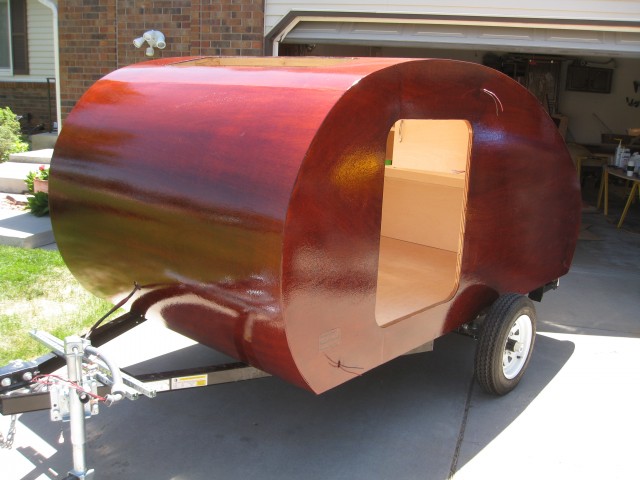
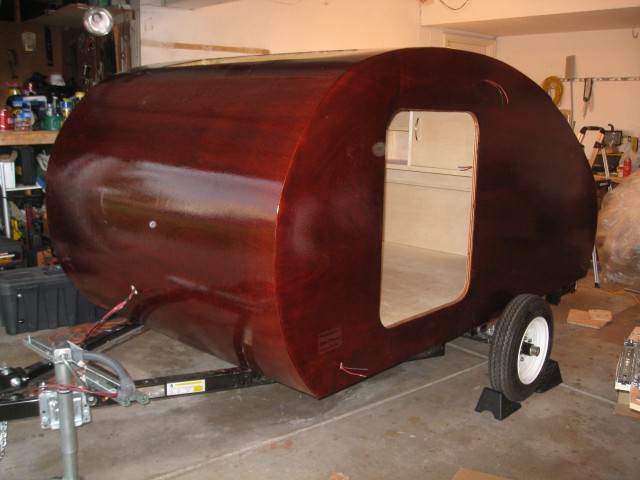
I applied a total of 3 coats. Each was applied after the first one was tacky to the touch and ready to accept more epoxy. Applying the epoxy in this manner ensures that all the coats will be chemically bonded making the final result that much better. As it turns out by the time I finishing each coat the next was ready to be applied. 10 hours of laying epoxy later I was done! I took these pictures the next day.
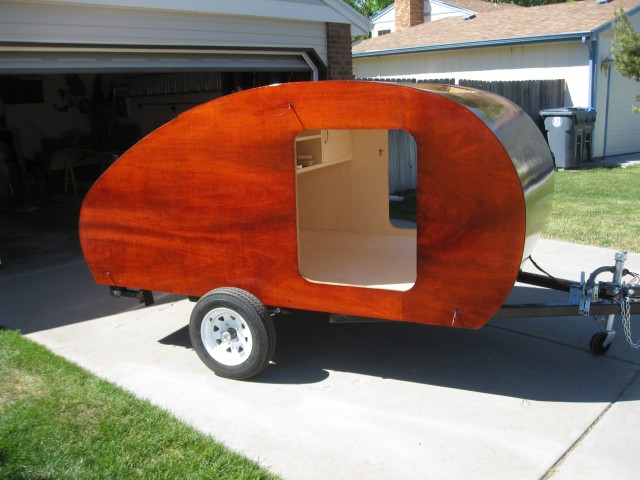

<span class="dsq-postid" data-dsqidentifier="1630 http://teardropbuilder.com/?p=1630">16 Comments
Ryan, First, thank you so much for this site. Your documentation is fantastic! I’m curious. In retrospect, would you still use the epoxy layer, or just varnish? How has it held up over the past couple of years?
Hi, and thank you!
Both the epoxy and the varnish are needed as the epoxy goes on thicker and provides most of the gloss and physical protection, while the varnish protects against the UV damage which can make your epoxy cloudy. In reality you could go with varnish alone but it would take 10 or more coats, spread out over 24 hours of drying each, to get the same thickness as 3 coats of epoxy applied in the same day.
I keep the teardrop garaged so it looks the same as it did originally. If left in the elements for a long period of time I doubt it would fair nearly as good!
Ryan,
You’re teardrop looks amazing. I’m to the stage of my design where I’m trying to decide the exterior colors for mine. I came across your post just by spending hours of looking throught pics online. The red color you have chosen looks similar to the color my wife and I want. I was wondering what color die you used?
At first I was just going to stain it red mahogany but I really like the shine and color yours turned out.
Thanks
The finishing included the following. J.E. Mosers Dark Colonial Red Mahogany Aniline Dye + West Epoxy w/207 clear hardener + Pettit Z-Spar 2015 Flagship marine spar varnish.
The final shine and color comes form the epoxy and varnish. The varnish specifically gives it a very slight amber tint.
Thanks that’s exactly what I need to know.
Hi, and thank you! Both the epoxy and the varnish are needed as the epoxy goes on thicker and provides most of the gloss and physical protection, while the varnish protects against the UV damage which can make your epoxy cloudy. In reality you could go with varnish alone but it would take 10 or more coats, spread out over 24 hours of drying each, to get the same thickness as 3 coats of epoxy applied in the same day.
I keep the teardrop garaged so it looks the same as it did originally. If left in the elements for a long period of time I doubt it would fair nearly as good!
Hi Ryan,
Firstly, your blog has been an indispensable source of information for me as I built my first trailer. Thank you!
I am now moving onto build #2 and I was wondering if you would recommend applying the epoxy to the exterior walls before they go up to take advantage of doing the application on a flat surface?
Cheers!
That’s awesome, I’m glad you found the information helpful! Send me some pics of the first build and this one once its complete and I’ll add it to the other pictures of user teardrops on the site. I love to see the changes people make to the base design!
To your question, while epoxying the walls before they go up would have some advantages, it wouldn’t work with the method I used for a couple reasons.
First off the walls are attached to the deck and cabinets with glue and screws which in turn is covered with an external skin which the epoxy is applied. Applying the epoxy first would require drilling through the outer skin, creating holes which will both be unsightly and causing you to patch them with epoxy anyway.
Secondly in order to get a good water seal between the walls and roof the epoxy is applied all at once over the entire trailer surface after everything are permanently attached. Doing this at once ensures the epoxy forms a chemical bond over the 3 layers. Separating this into multiple steps would require sanding the epoxy at the top edge of the walls so that when you went to apply the roof epoxy application it would form a less desired physical bond to the walls.
Finally if you happened to get any epoxy over the edge of the walls this would have to be removed completely before attaching the walls as wood glue and construction adhesive wont bond correctly to cured epoxy.
Basically it would work, but it may have some drawbacks depending on your desired outcome. Good luck on your second build!
Hi Ryan – firstly, I can only echo what everybody else already posted here – thank you so much for such a great documentation and sharing it with the rest of the world 😉 My build is almost complete and I’m about to start with the epoxy. Can you tell me if you used all of the epoxy you purchased (1 gal resin and 42oz hardener)? It seems like a lot so wanted to kindly ask you how much is really needed.
Also – for the 207 hardener: the 207 is a clear hardener. Any reason you didn’t use the 205 hardener? The 205 has a faster cure time and it seems it would be beneficial.
Thanks!
Hi Thomas,
Pulling some info from way back in my memory banks I believe I used about 1/2 – 1/3 of the resin. It was too much but I wan’t sure how much I would need and running out would have been a VERY bad situation as I wanted to apply all the coats while it had not cured completely.
The 207 is clear and the 205 has an amber color. When it comes down to it if you have a really nice wood finish with grain details that you want to show off then the 207 will not obscure it. It is all personal preference though. Check out some youtube videos that show the differences and you can make a more educated decision.
As far as the cure time, having it take longer was beneficial as I had to do the entire trailer and apply the next coat before the first had fully cured.
Good luck to you! Sounds like you are almost to the finish line!
Hi Ryan-
I have a follow-up question: I will apply the epoxy this weekend and have tried around with it a little bit. Is it possible to apply the varnish first, then put epoxy over the varnish, and then add another layer of varnish over the epoxy for the UV protection? The wood finish looks nicer when I apply varnish first vs the epoxy (I won’t paint the trailer outside as you did and will only put epoxy/ varnish on the wood to maintain the natural look). Thank you!
Personally I would not. I do not believe that the epoxy will bond correctly with the varnish, but even if it does the varnish would need to cure fully as it may off-gas and cause issues underneath the epoxy. Check the West website though, I believe that it lists what the epoxy will bond with and what will cause problems. For instance something as simple as a wood stain cannot be applied underneath as it will cause bonding issues.
Hi Ryan, we are building our second teardrop. The first one lasted 11 years, but now it is leaking. So we decided to start over and build again. I love how your teardrop looks and sounds like it would be much more waterproof than what we did. Did you mix the dye in the epoxy or the varnish? Also how long did you wait after epoxy before you Thank you.
Hi Shana,
I used an aniline dye that was rubbed onto the bare wood followed by 3 layers of epoxy and 3 coats of marine spar varnish. Check out the dye step here: http://teardropbuilder.com/build-journal/dying-the-with-aniline-dye
The time between the epoxy and varnish was only 24 hours.
Good luck on your build!
on peu le transporter derrière en vélo ???
Just a tip for anyone dying, be very careful with your sample board. I prepared it different than the trailer itself, and after the mineral spirit wash, it came out super dark on the trailer compared to the board. I was able to lighten it by repeatedly washing the trailer with a sponge and fresh clean water, but took a long time.