Facebook Twitter Instagram
    Teardrop Builder
    • Build Journal
      • Planning and Design
      • Trailer Assembly
      • Building the Deck
      • Sealing the Deck
      • Sidewall Templates
      • Building the Walls
      • Building Cabinets
      • Walls and Cabinets to Deck
      • Insulation and Headliner
      • Roof Spars and Blocking
      • Building the Hatch
      • Wiring and Insulation
      • Gluing Outer Skins
      • Dying
      • Epoxy
      • Varnish
      • Finishing Cabinets
      • Toungebox
      • Trim and Final Details
      • Completed Pictures
    • Plans
      • Wyoming Woody Teardrop Plans
      • Wyoming Woody Teardrop SketchUp Model
      • Wyoming Woody Profile
      • Northern Tool Trailer SketchUp Model
      • Wyoming Woody Parts List and Cost Breakdown
      • Wyoming Woody Teardrop CNC files
    • Components
      • Vintage Technologies
      • Li’l Bear Tagalongs
      • superbrightleds.com
      • rvvent.com
      • Jamestown Distributors
      • McMaster-Carr
      • Hobby King
      • The Foam Factory
      • Northern Tool
      • etrailer.com
      • Woodcraft
    • Builder Resources
      • tnttt.com
      • Tear Jerkers
      • Teardrop Trailers Reddit
      • Little Swiss Teardrop
      • Camping Classics
    • Commercial Teardrops
      • Camp Inn
      • Little Guy Trailers
      • TC Teardrops
    • About
    Teardrop Builder

    Roof Spars and Blocking

    4
    By Ryan on September 10, 2013 Build Journal

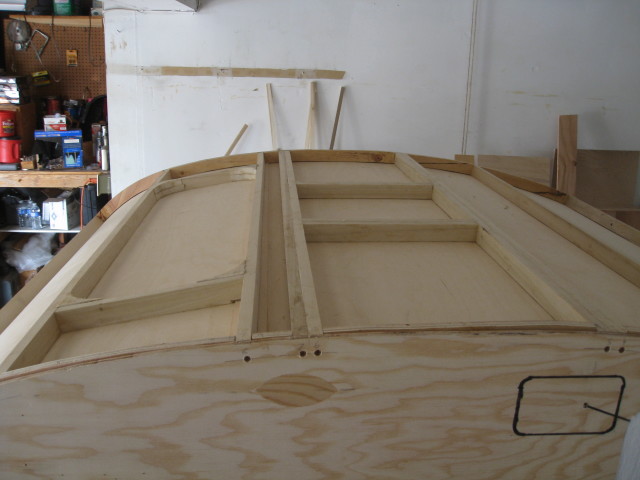
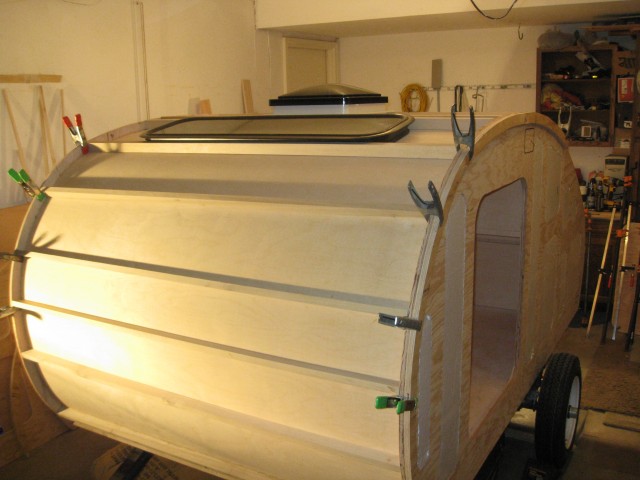
    I dry fit the roof spars and finalized their positions. I doubled up the spars near the galley and the top of the roof where the fan would be mounted to provide extra support.
    IMG_5704

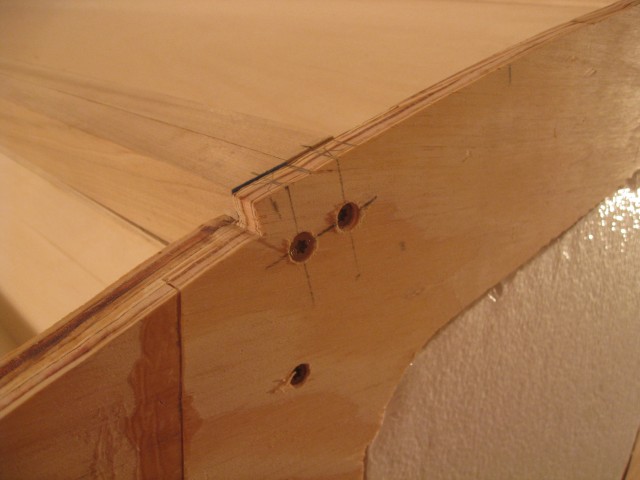
    I used 1-5/8″ deck screws which were countersunk to hold them in place for the fitting. I will use Loctite PL Premium to glue them to the top of the headliner and the walls a bit later on.
    IMG_5706

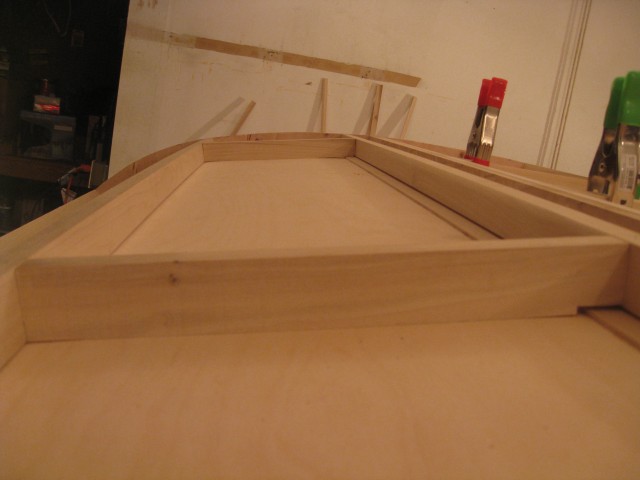
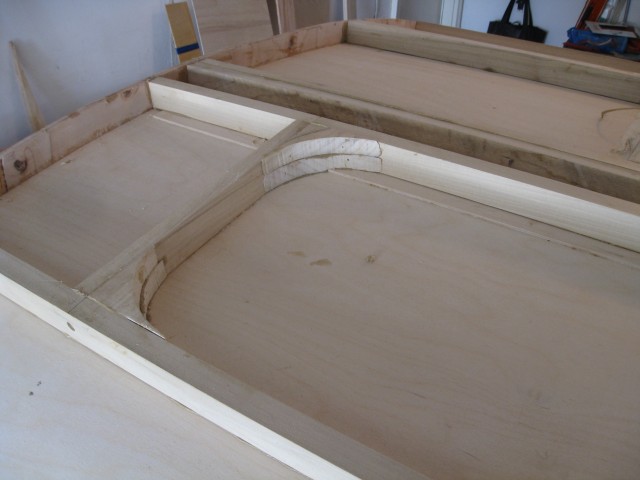
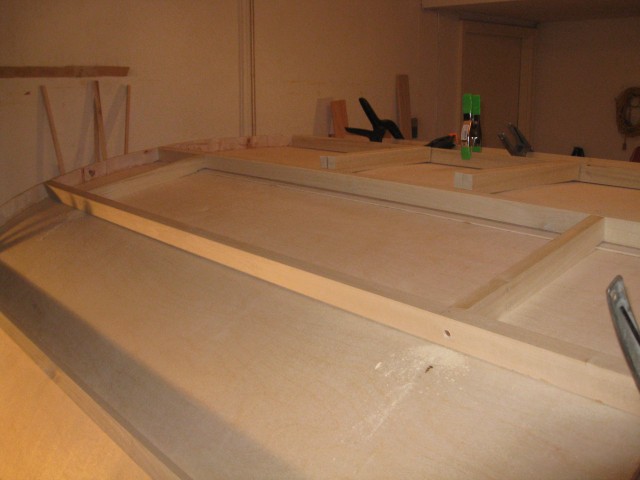
    Building the frame for the window and fan. As you can see the window will be placed so the seam in the headliner will be hidden for the length of the window. The transition from a curved roof to a flat window frame made me trim the cross spars in the frame slightly so they would meet up flush with the top of the roof spars while allowing the birch headliner to contour itself from the curved to the flat surface.
    IMG_5708IMG_5711

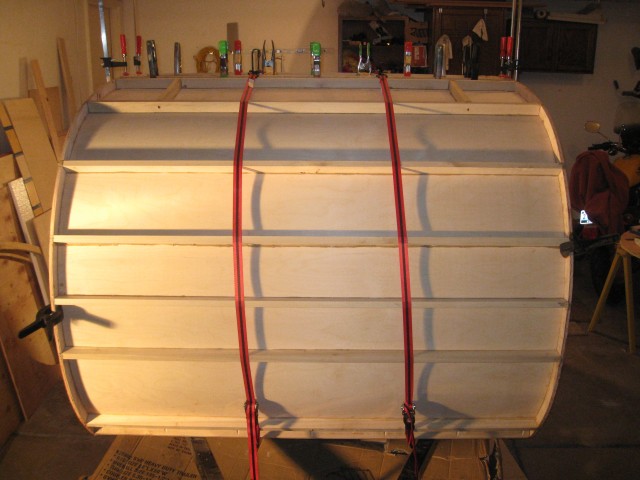
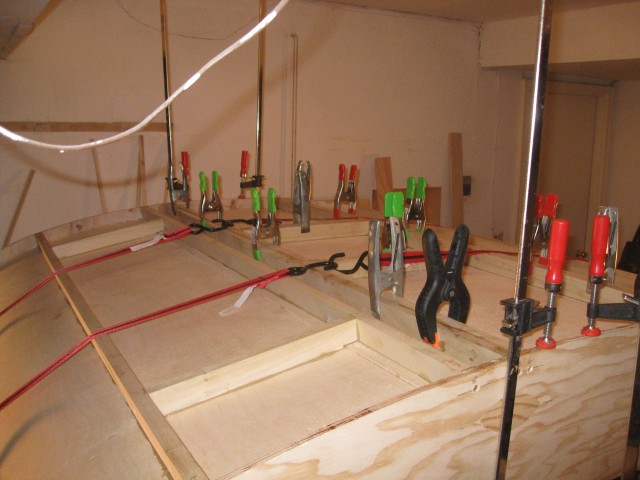
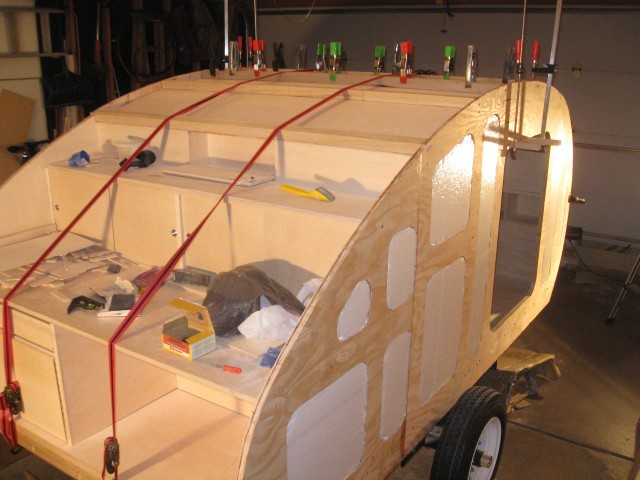
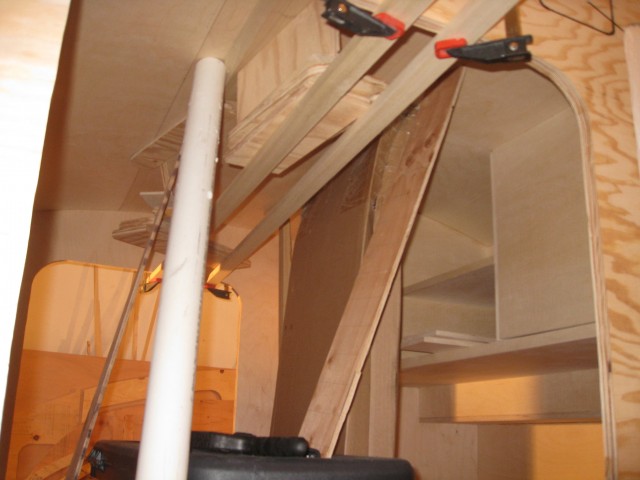
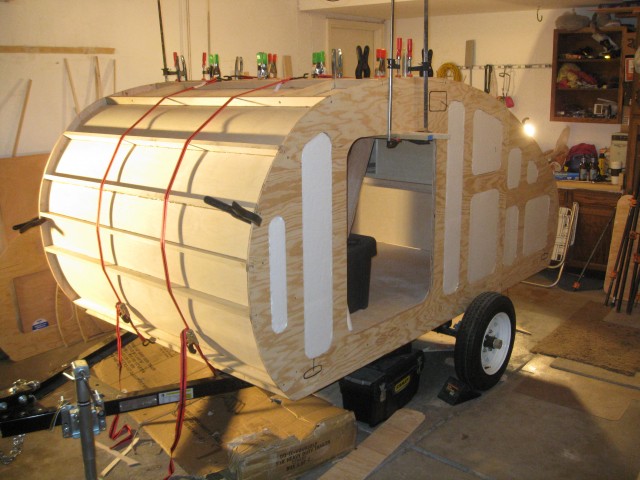
    I glued the roof spars into position with Loctite PL Premium in sections allow one group to dry before moving onto the next. The tie down straps kept them snugly up against the headliner for the construction adhesive to dry correctly.
    IMG_5716IMG_5718IMG_5719IMG_5721IMG_5723IMG_5724


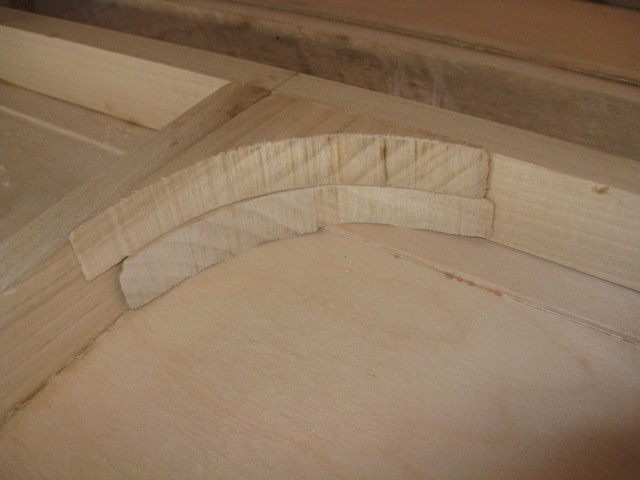
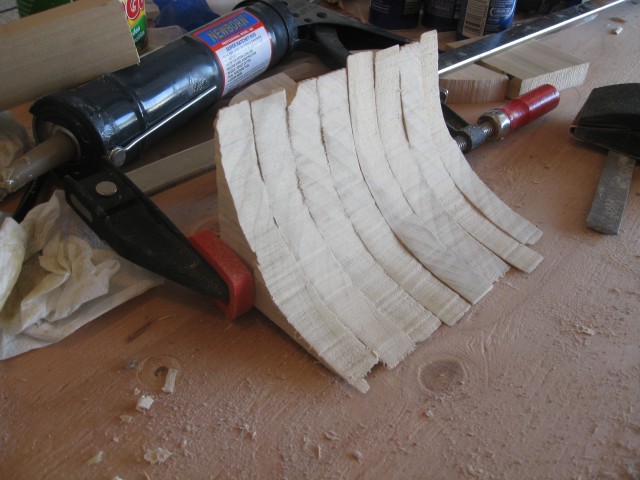
    I then made some corner framing for the skylight using the windows’s trim ring as a template and a band saw. They were glued with PL Premium and secured with brad nails.
    IMG_5731IMG_5733IMG_5737

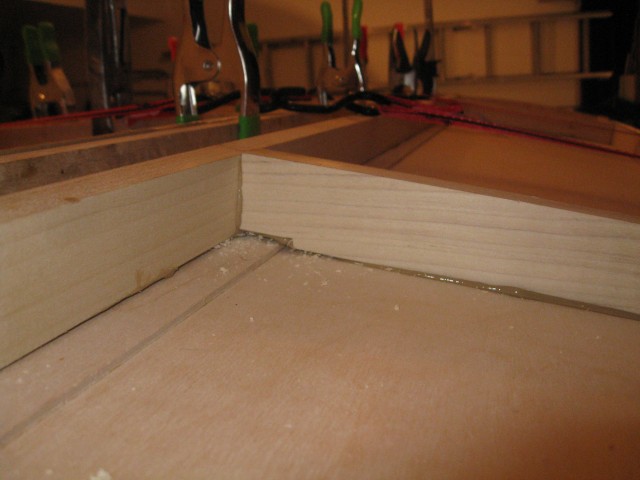
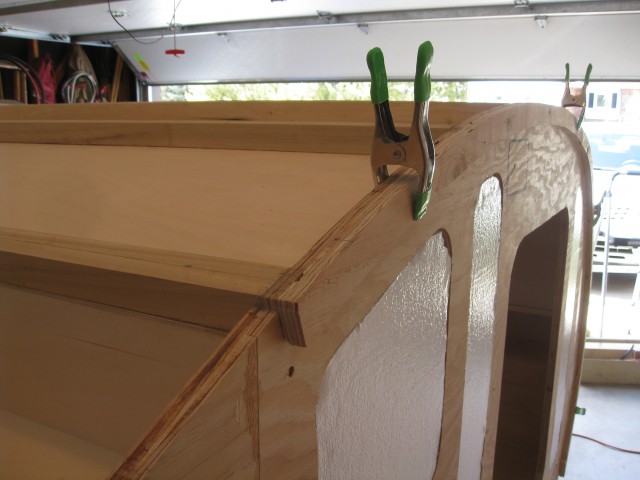
    The roof blocking will be installed on the inside edge of the wall between the roof spars. They will provide greater rigidity and greater surface area for the outside skin to be glued upon. I clamped the roof blocking strip to the outside of the wall and planned my relief cuts I would make so the individual blocks would fit between the spars.
    IMG_5738

    Making marks to cut the blocking.

    IMG_5741

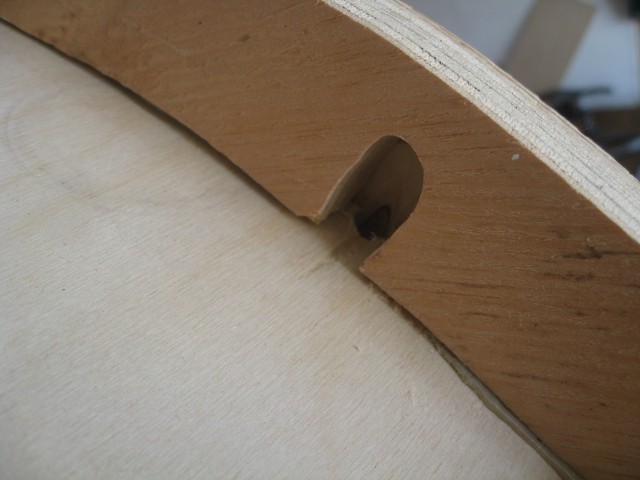
    I cut the blocking with a chop/mitre saw. I also made sure to allow for holes for my wiring that I had drilled in the walls. The blocks were then permanently glued them using PL Premium and held by brad nails.IMG_5878IMG_5746
    1 2 3 4
    Share. Facebook Twitter Pinterest LinkedIn Tumblr Email
    Ryan

    Related Posts

    Wyoming Woody Teardrop Completed Pictures

    Installing Components and Final Details

    Installing the Outer Skins

    <span class="dsq-postid" data-dsqidentifier="1620 http://teardropbuilder.com/?p=1620">4 Comments

    1. Aaron on June 1, 2015 6:02 pm

      What was your reasoning behind choosing poplar 4/4’s instead of using another material such as 3/4″ plywood?

      • ryan_teardropbuilder on June 6, 2015 8:32 am

        The main reason is stability. Plywood is made up of many laminated sheets, and when you cut smaller strips it bends very easily in the direction of those laminations. Poplar is ridged in both dimentions and is best used for framing. In reality any solid wood such as oak could be used but poplar is cheap and light.

    2. Stewart Smith on January 17, 2018 2:03 pm

      I’ve been studying your plans and pictures for quite a while. The blocking is actually backing for the inner roof material where it meets the wall. The poplar you used looks like you started with a plank not a 4″x 4″, am I missing something?

      • Ryan on January 21, 2018 6:59 am

        4/4 is “four quarter” rough cut board not 4×4, so you are correct.

    Most Commented
    September 19, 2013

    Installing Components and Final Details

    September 11, 2013

    Building the Galley Hatch

    September 20, 2013

    Wyoming Woody Teardrop Completed Pictures

    September 15, 2013

    Applying the Epoxy

    December 19, 2012

    Building the Deck

    Recent Comments
    • The Top Teardrop Trailer Plans - Tiny House Huge Ideas on Wyoming Woody Teardrop Plans
    • Can You Really Build Your Own Teardrop Camper from a Kit? on Wyoming Woody Teardrop Plans
    • Jonesy on Building the Deck
    • Yannick Autphenne on Building the Deck
    • Rob Reynolds on Applying the Epoxy
    © 2026 TeeardropBuilder Designed by ThemeSphere.

    Type above and press Enter to search. Press Esc to cancel.