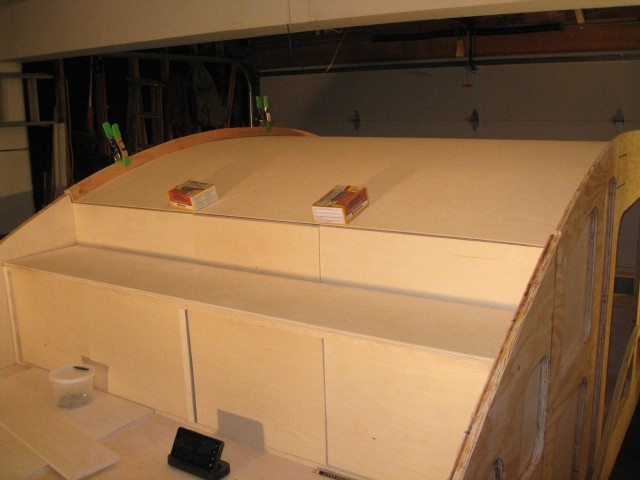
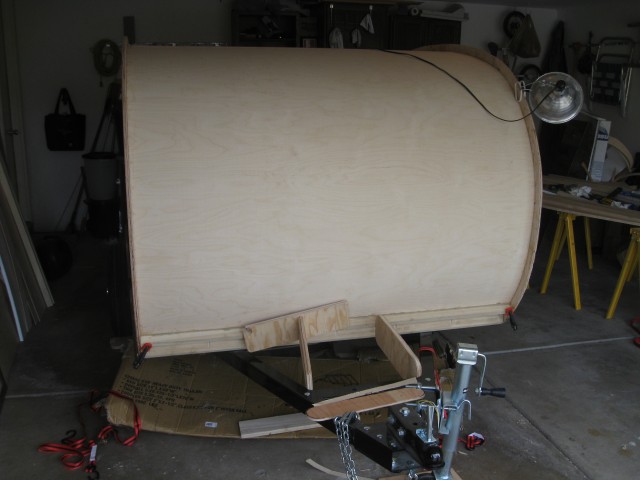
Fitting the headliner for the first time and making sure all the joints are as flush as possible.The headliner just slides into position between both shoulders on the sidewalls.
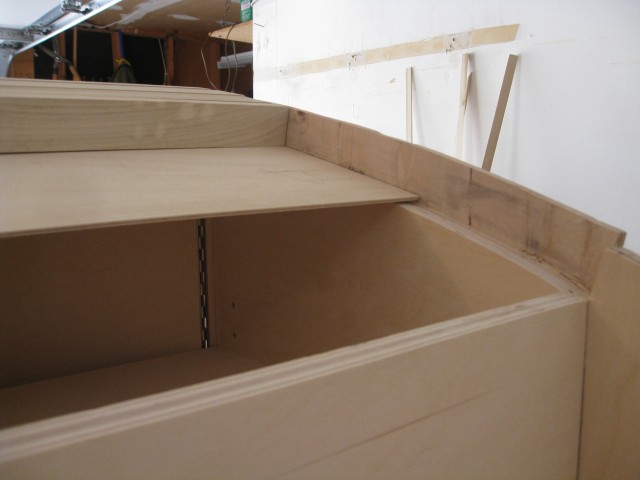
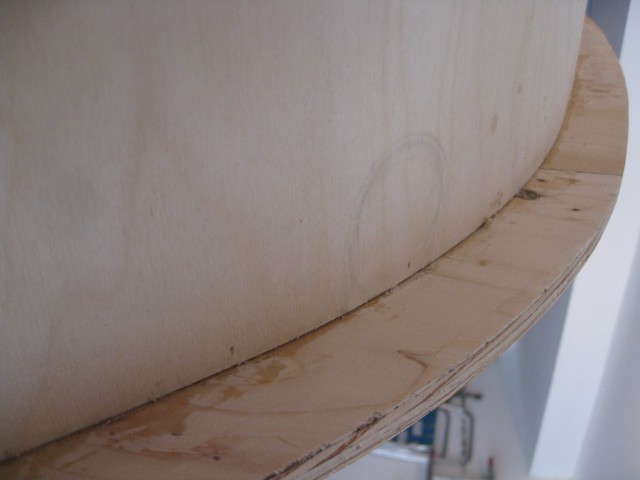
An even closer view. You can see from left to right: plywood outside wall, birch wall skin, cabinet outside. The headliner sits on top of these layers and will look seamless form the inside.
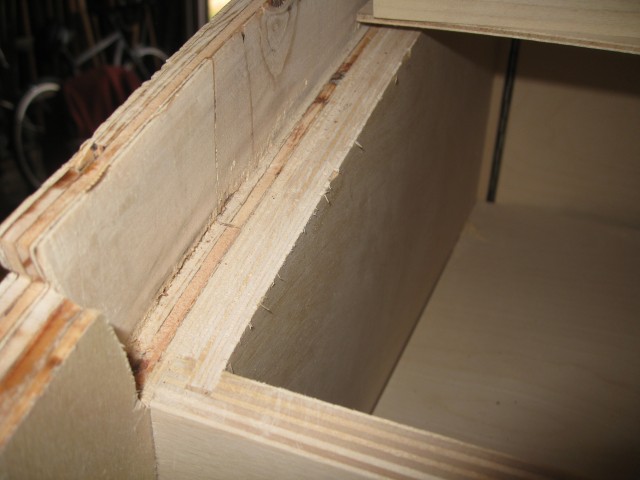
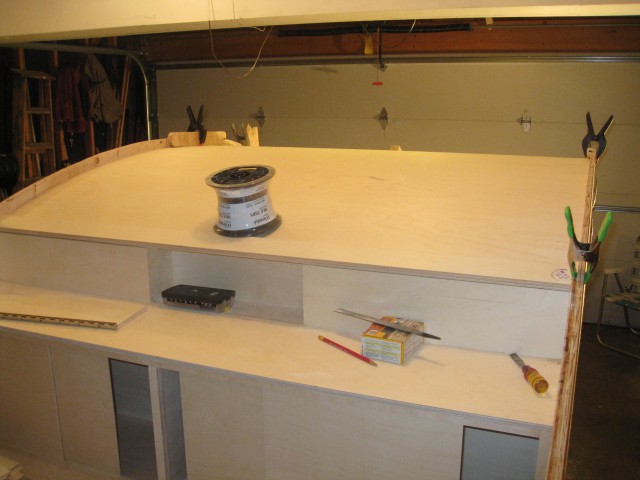
I had to figure out the total length of headliner I needed before I cut the extension.
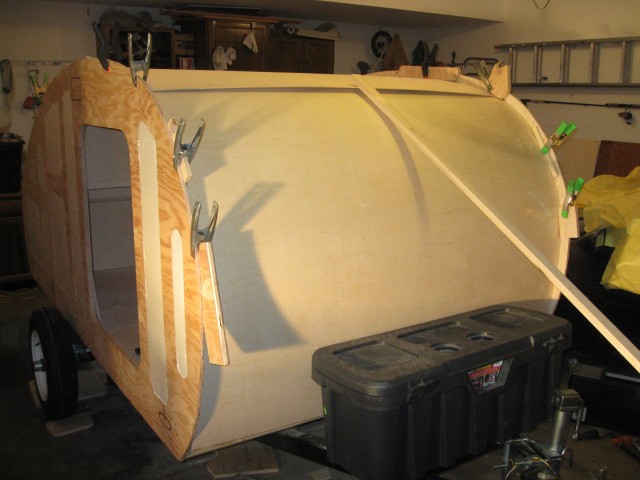
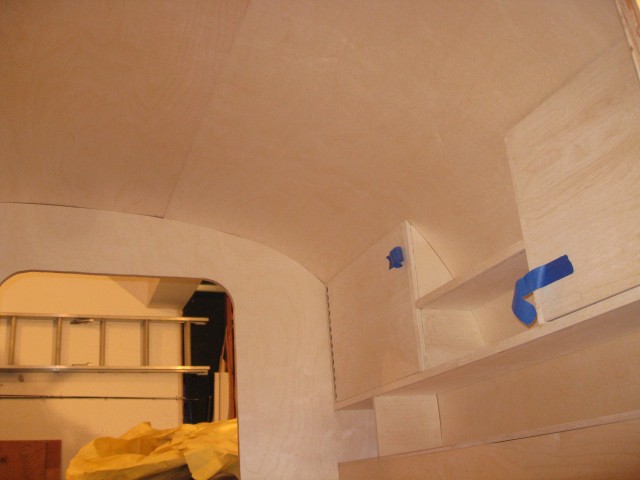
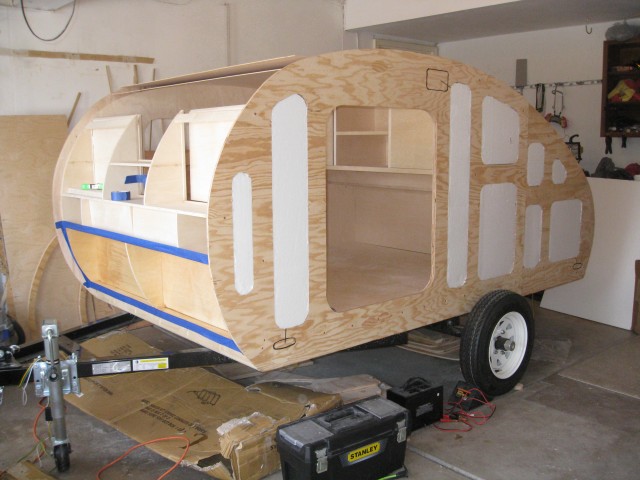
Leading up to the headliner installation I had to finish the inside of the lower front compartments as they will only be accessible through the swinging hatch doors after the headliner is installed. I put on 3 coats of satin Minwax Helmsman spar urethane making sure not to cover any areas that would be receiving glue.
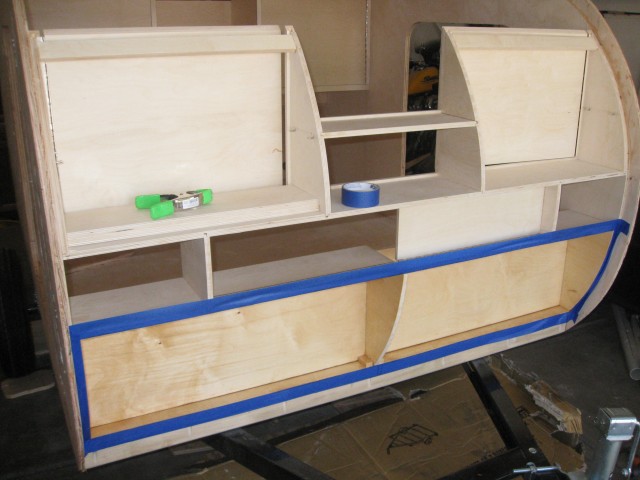
This picture highlights the profile curve and the beveled cabinet edges where the headliner will lay. I wanted to make sure I had a picture of this before it was too late. It is likely one of those things that people won’t ever notice, but one of the few things that I am the most proud of during this build process.
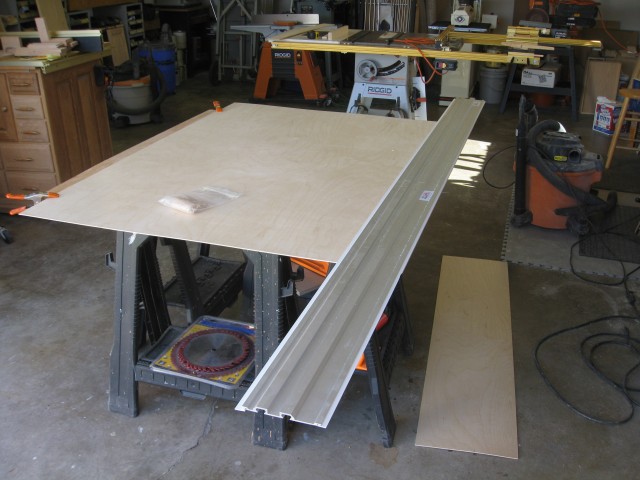
Using a circular saw and a straight edge I cut the headliner extension and the joining piece.
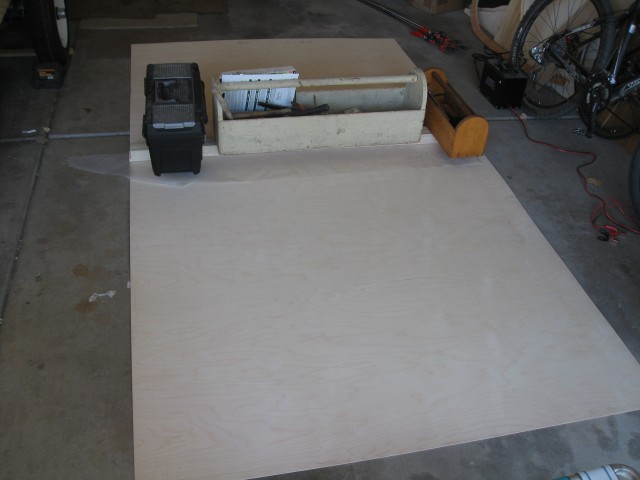
Joining the headliner with the extension. I used a 2″ strip of the same 1/8″ birch as the headliner glued with Titebond III on the outside to make a nearly seamless piece. The seam was placed where the window would be installed to minimize the seam as much as possible. In the end it is almost unnoticeable.
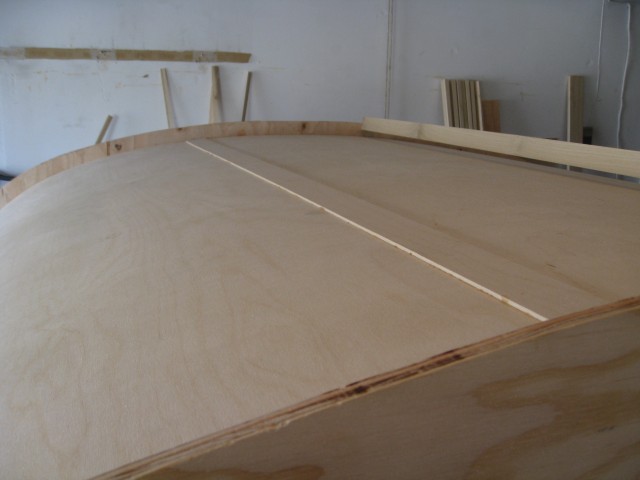
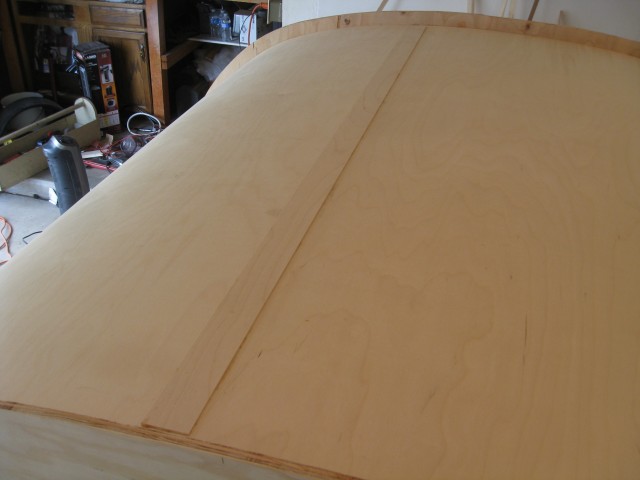
After another test fit I began the gluing process. I used PL Premium on all the cabinet edges and sidewall where it connects to the headliner. I then used 5/8″ brad nails space about 6″ apart. It was important that the brad nails were shot as vertically as possible so they did not poke out from the walls inside the cabin.
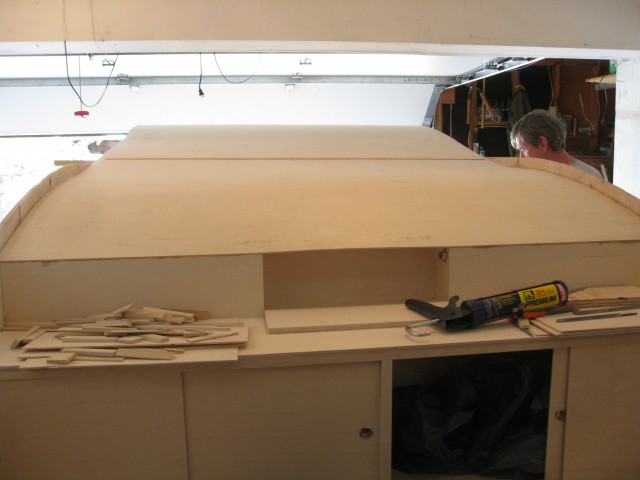
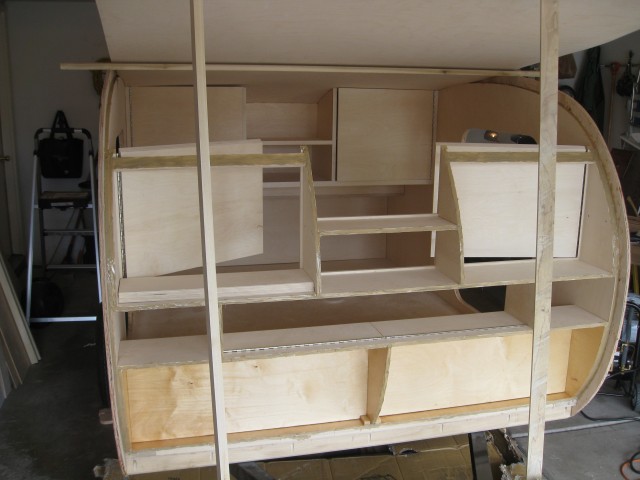
I used a piece of scrap wrapped with wax paper and straps to put pressure on the bottom of the headliner where it attached to the deck. The wax paper prevented the board from becoming attached to the trailer as well.
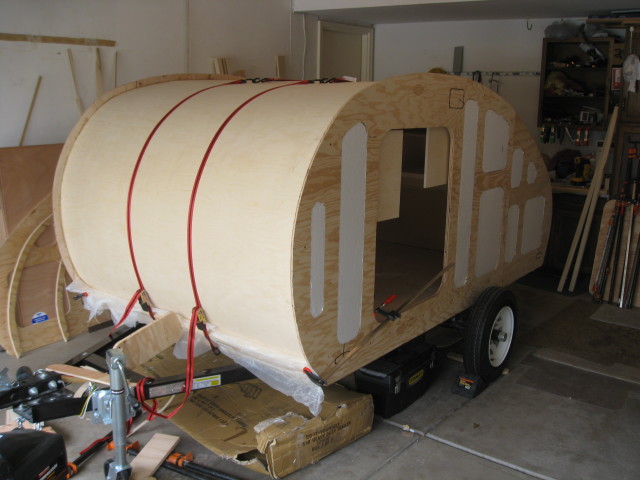

<span class="dsq-postid" data-dsqidentifier="1618 http://teardropbuilder.com/?p=1618">4 Comments
Hi Ryan, I’m about a month away from the start of my build of your build! Can’t wait to get started. Question re: the extra cutouts on the sidewalls (which are back-filled with the 3/4″ insulation). Why?
I’m assuming to increase the R value of the walls?
Yes they do increase the insulation factor but they also remove a considerable amount of weight and provide a space to run the wires.
Good luck on your build!
Hi Ryan…my build is progressing! I know I’ve seen mention in previous posts but I cannot locate the model #’s used for the side door(s) and the star gazer window? Need to ensure I purchase correctly. Thanks!
I personally used the 26″ x 32″ RV Teardrop Trailer doors from Vintage Technologies, I know of people who used the 26″ x 36″ as well and they worked fine. As far as the window, it was a custom unit I found on ebay. The star gazer window you are referring to will work fine, just make sure the roof spars are spaced correctly or its width.
Good luck, I can’t wait to see pictures!