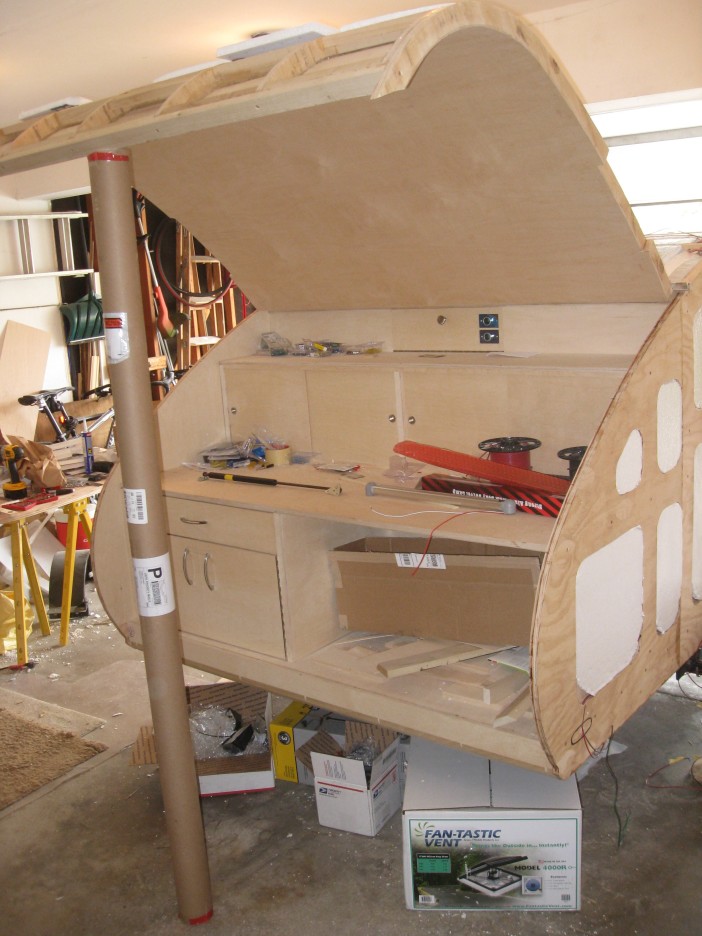
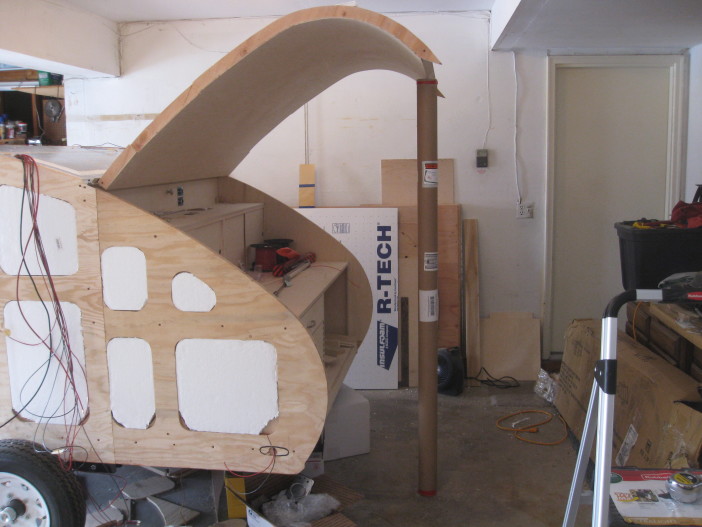
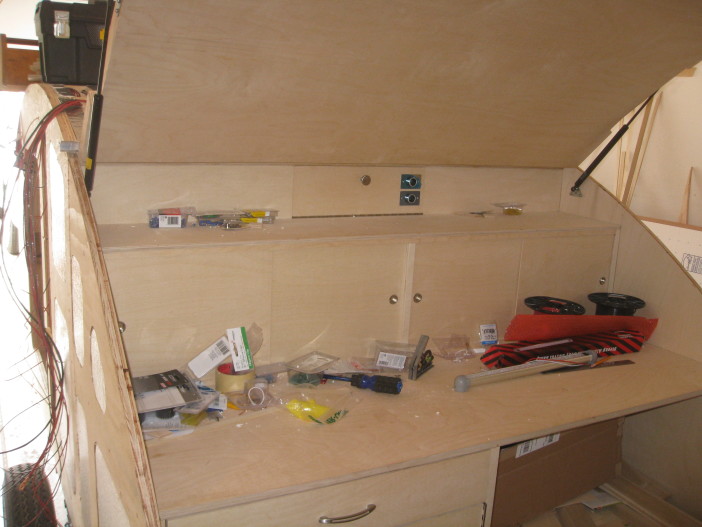
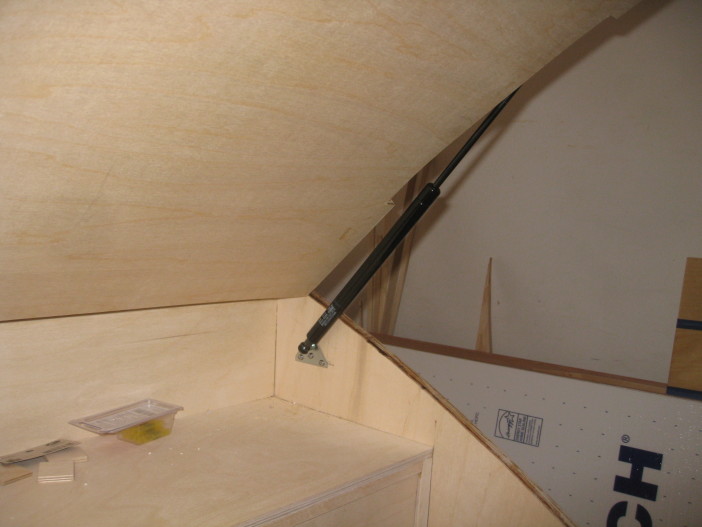
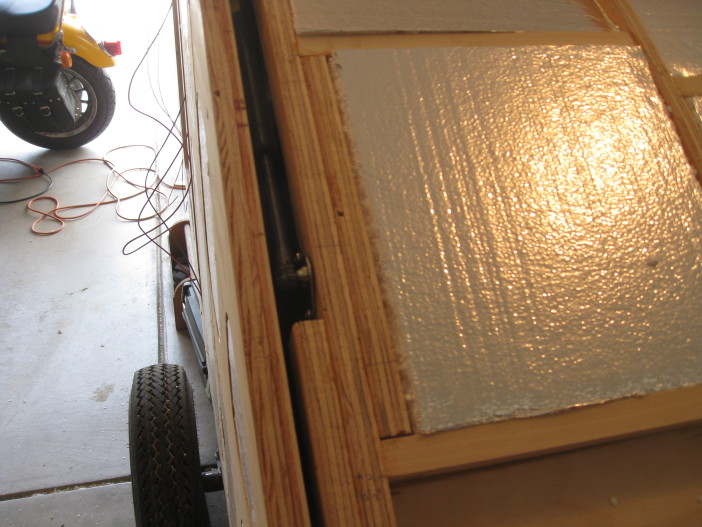
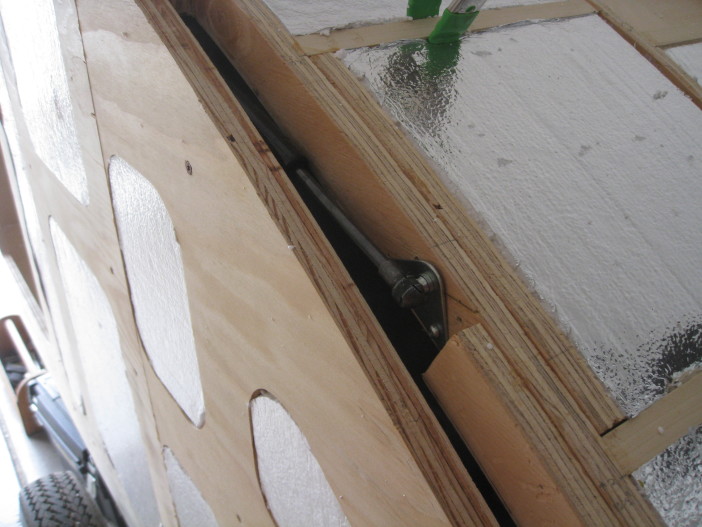
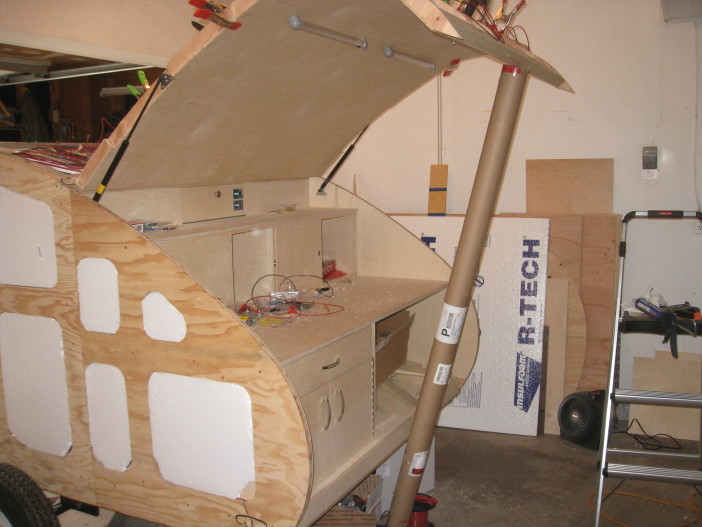
Ryan, I’m thinking about the galley supports. You used gas struts. Have you seen the spring supports at http://teardroptrailerparts.com/Galley_Props_Large.html? Might eliminate the cutout in the sides of the hatch for the struts when hatch is closed.
How heavy is the galley hatch? Is it light enough to be lifted without the gas struts and held up with some manual method? Thanks.
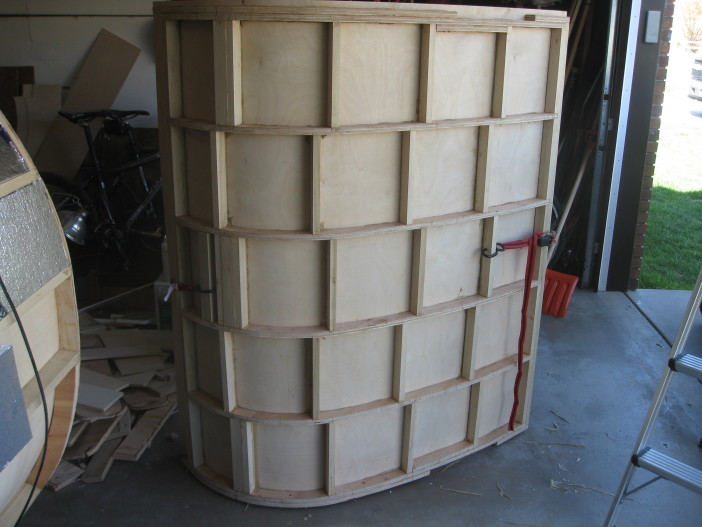
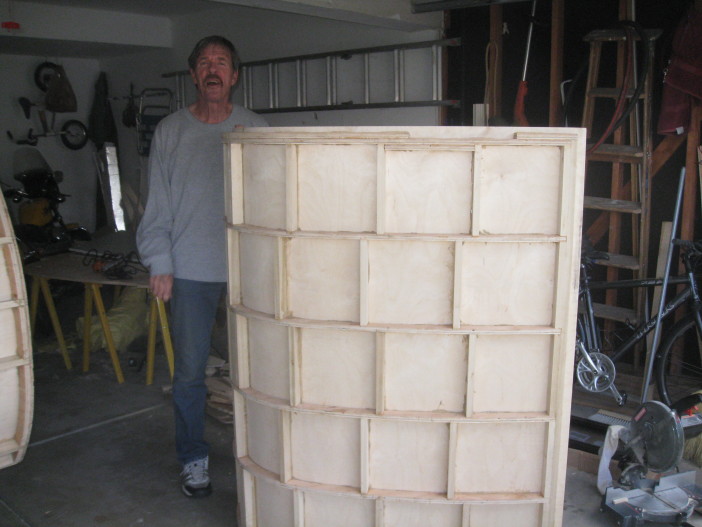
The hatch is heavy… It probably weighs 80-100 pounds but I could have made it lighter I’m sure and have been fine. This would allow you to lift it manually and have a support which holds it in the open position. I believe the Camp Inn teardrops do this very thing and have a very nice wooden support.
The spring supports scare me because if you accidentally hit the spring for any reason the whole thing will drop on your head. The wooden supports I have seen lock into place and are very secure.
That’s a great idea! I have never considered those but they would probably work and look to be quite compact.
David on
The springs have an offset on one of the arms. If you look at the ones in the picture you will notice that both arms are straight. I had to straighten out the offset so that they would be flush. If one pair of these are not strong enough you can double them by placing a right and a left together with the springs facing out on each side of the hatch. The cutout on your hatch looks like it should be wide enough for them to fit.
Ryan, thank you so much for posting such great detail on your teardrop build. My husband and I have enjoyed following your plans and building our own. You have created a great teardrop!
If you are interested, I created a CAD file for CNC cut sheets on the cabinetry, sidewalls, and hatch struts.
We purchased gas springs that match your specifications on the itemized list. When we test fit everything prior to staining/varnishing, we installed one gas spring and could not get it to compress. Before we start drilling holes for the second gas spring, I wanted to get your input. Is there a trick to the springs? Should they compress without difficulty?
Very cool! I would gladly take your CNC specs and add them to the website. Email them to me at ryan at teardropbuilder dot com. If you want to send some pictures my way of your build I will post them as well.
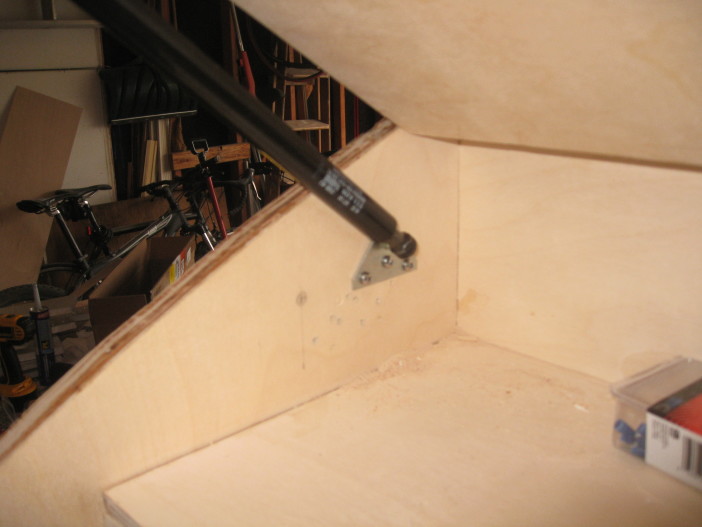
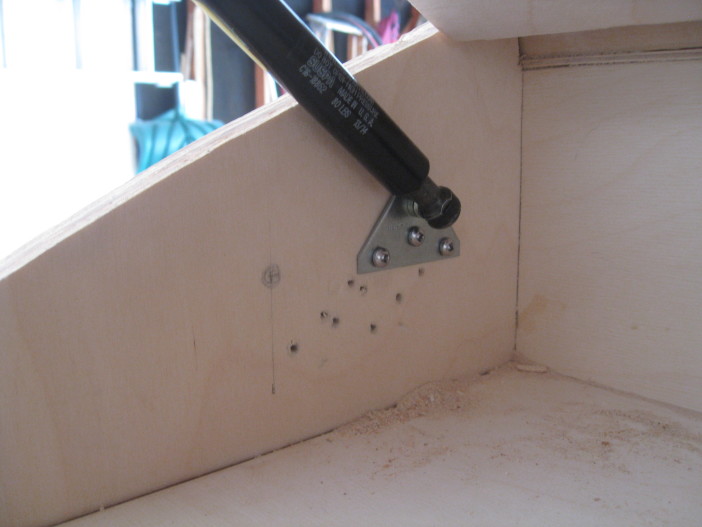
The hatch struts are a fickle beast. You will likely not be able to compress them (safely) until they are both installed in the galley. You will have to ensure your clearance and angles are correct and hope for the best. I have a couple extra small holes near my mount in my galley as proof of this where I was forced to remount one of them because I got the clearance wrong.
Good luck!
Martin Peat on
Jenna, I’m embarking on some pre-planning… would be interested in the CAD files if you’re willing to share… martinpeat at gmail dot com
Ryan,
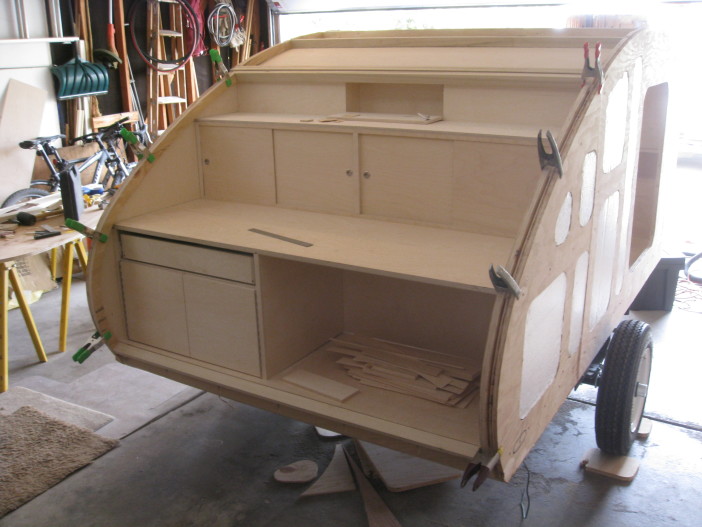
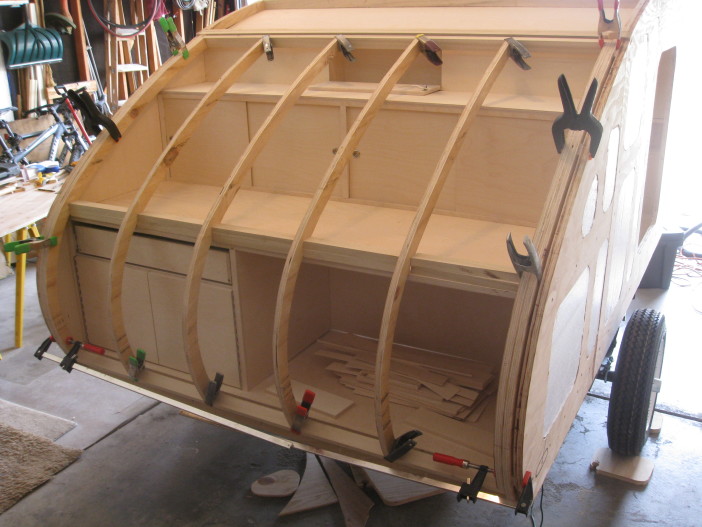
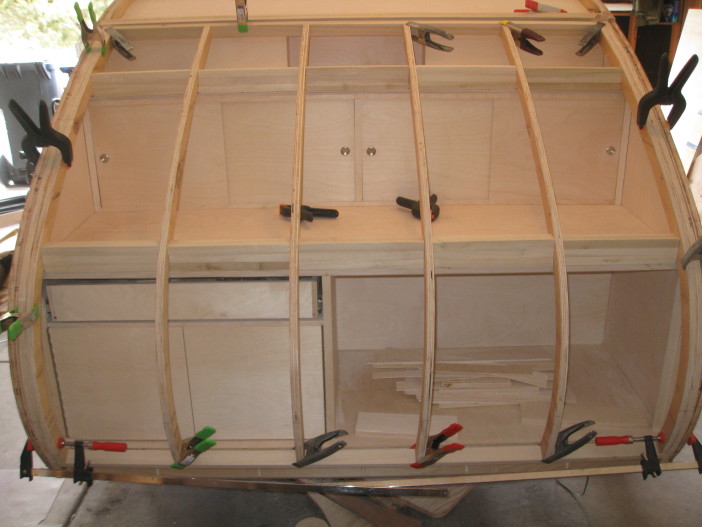
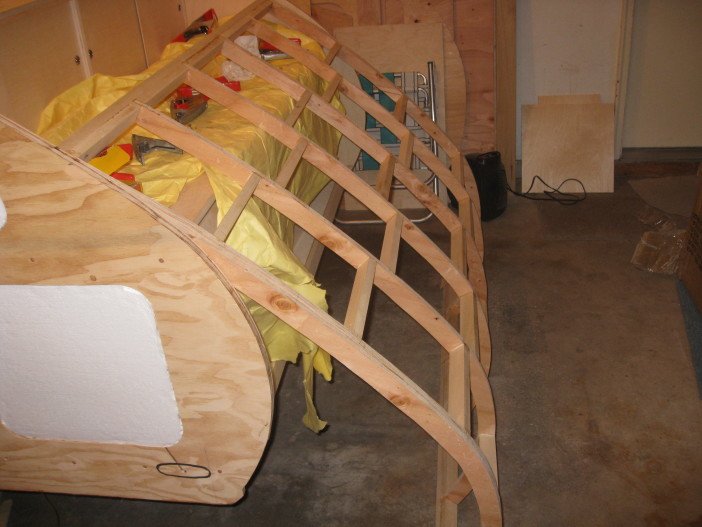
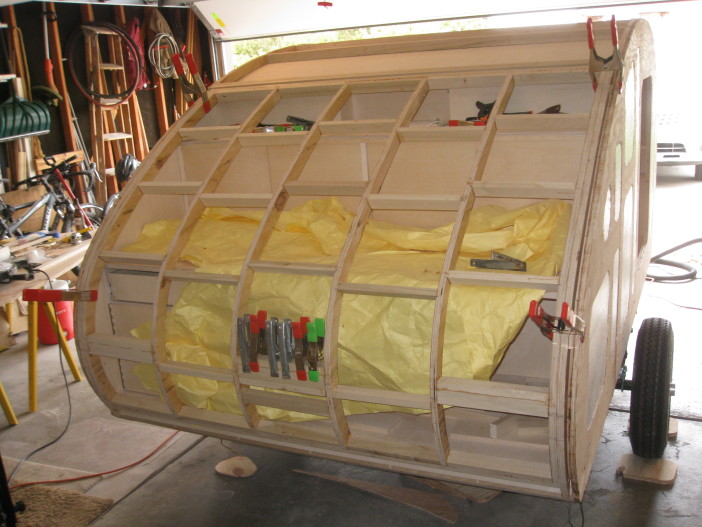
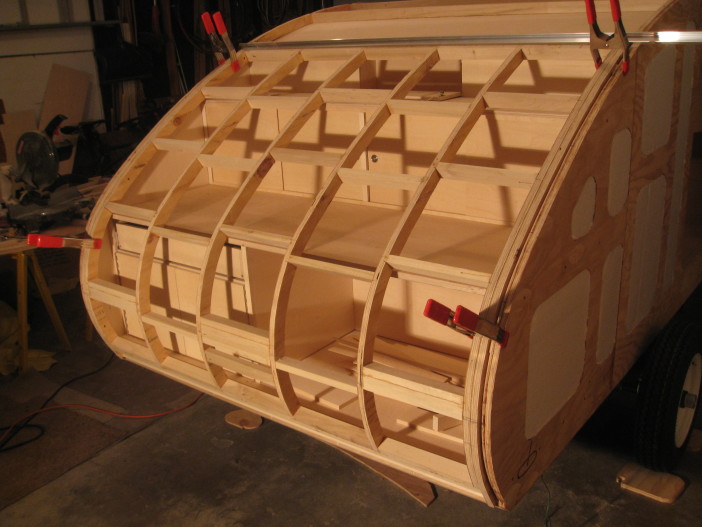
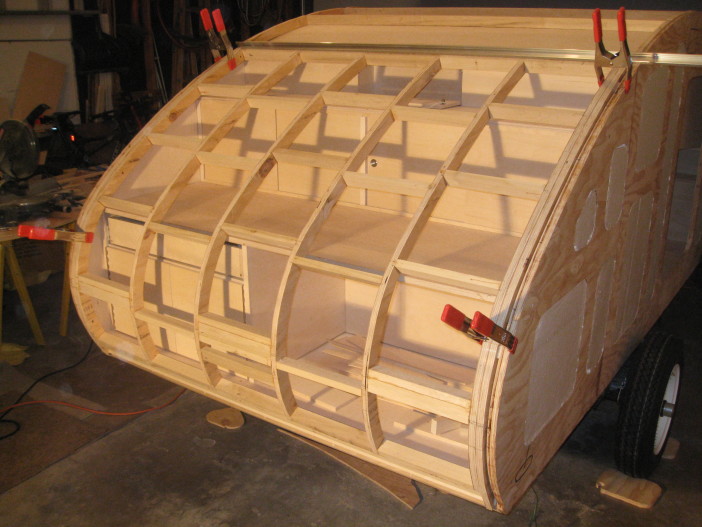
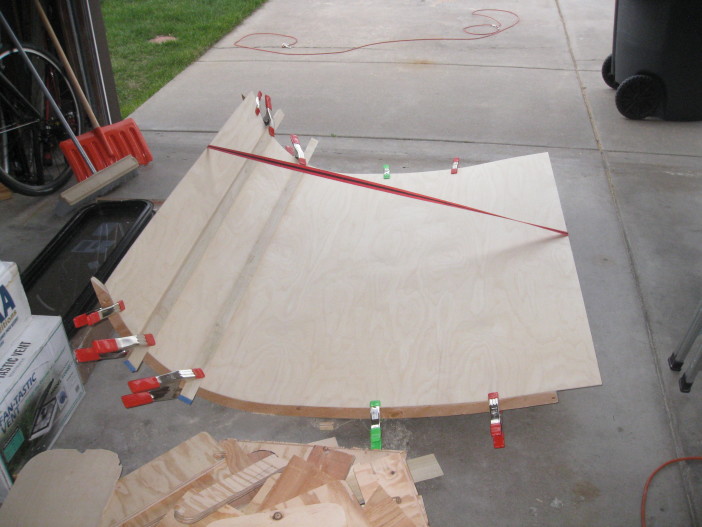
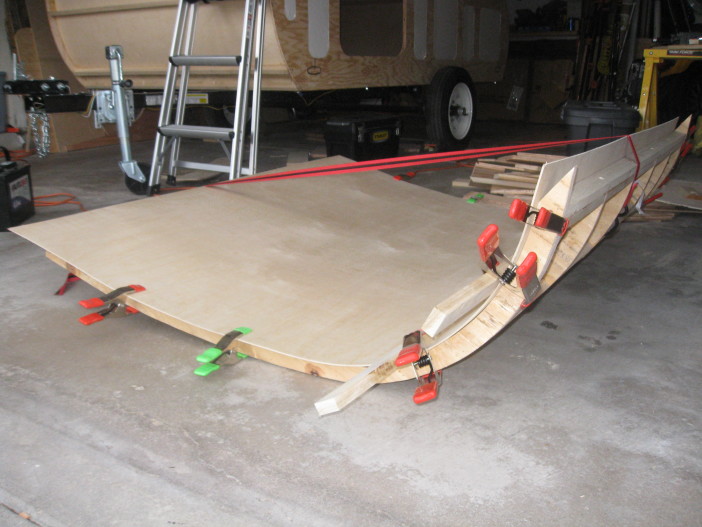
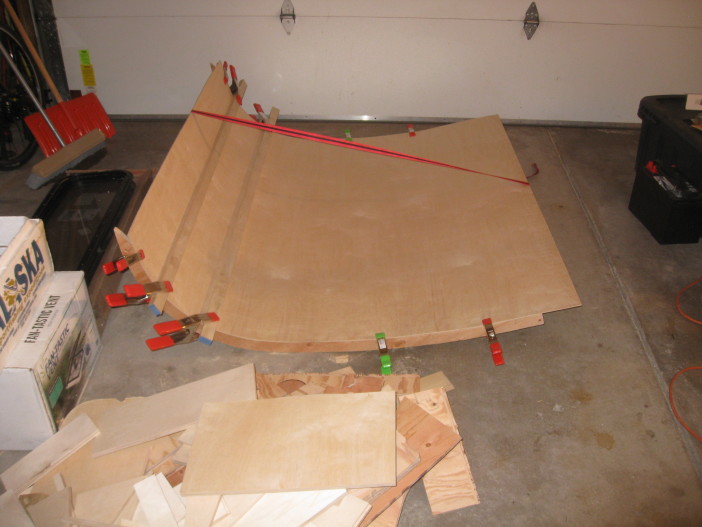
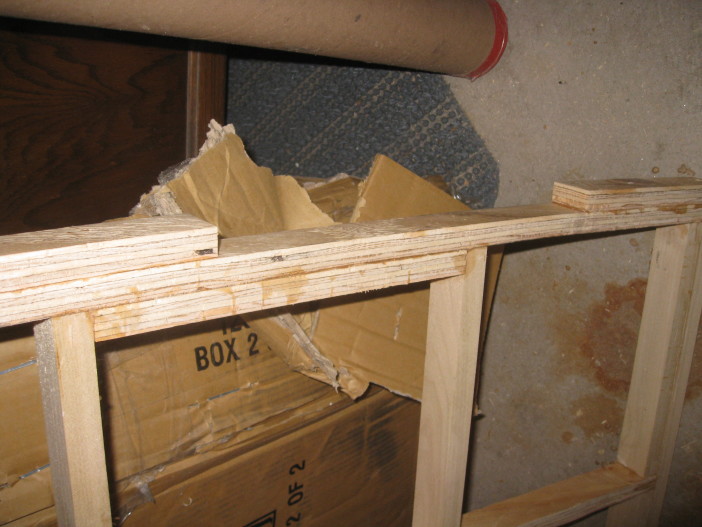
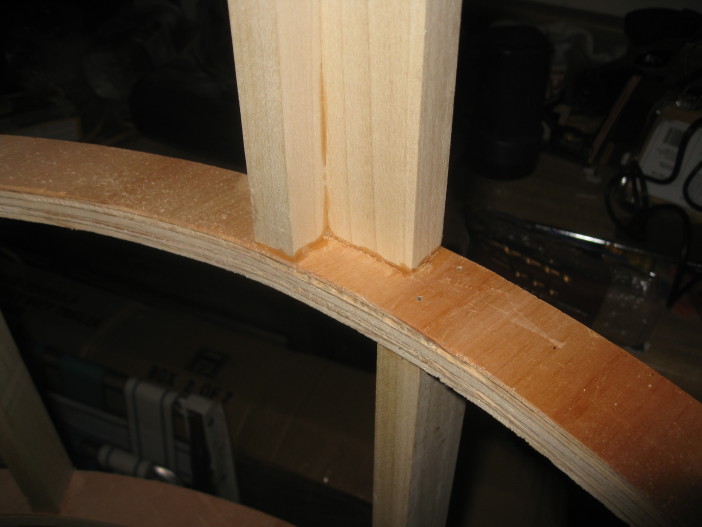
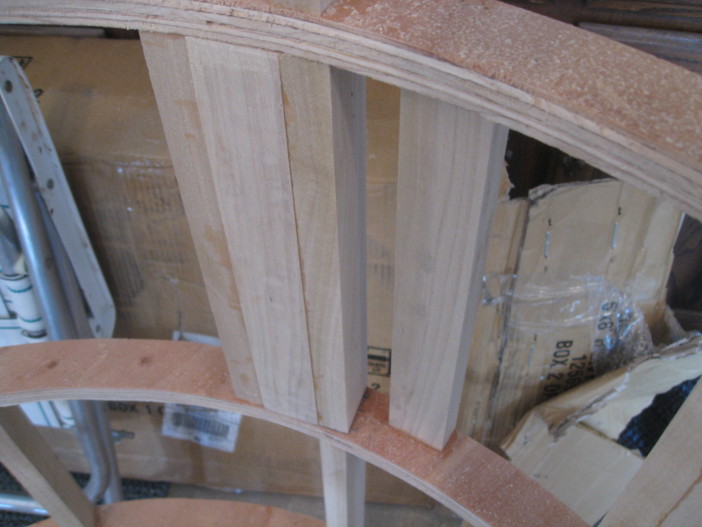
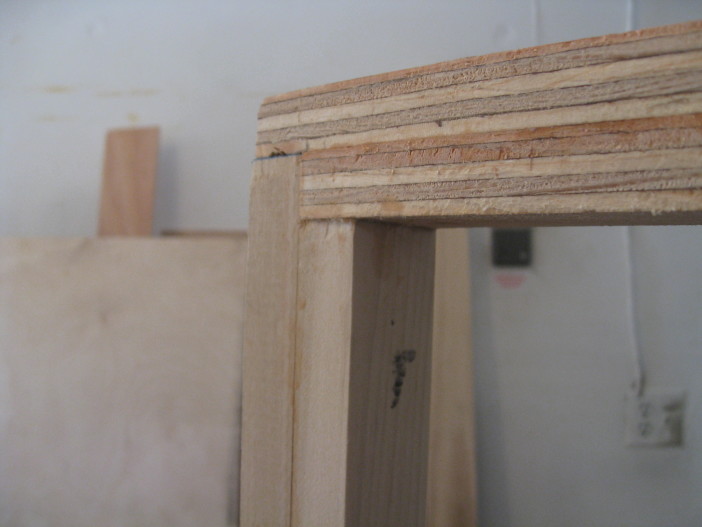
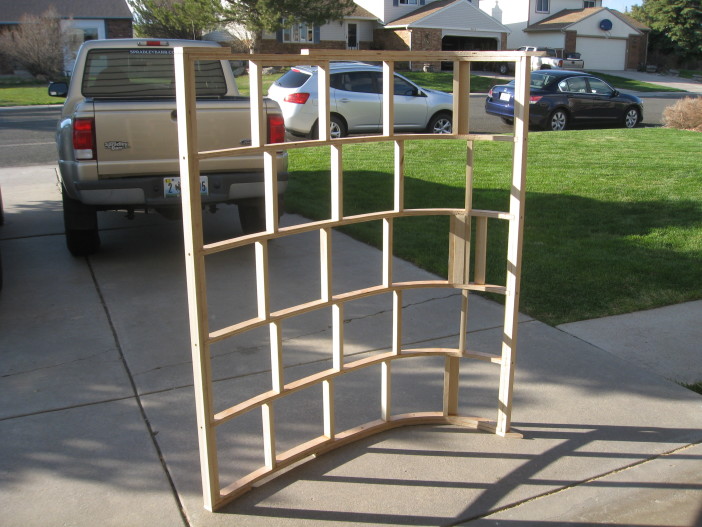
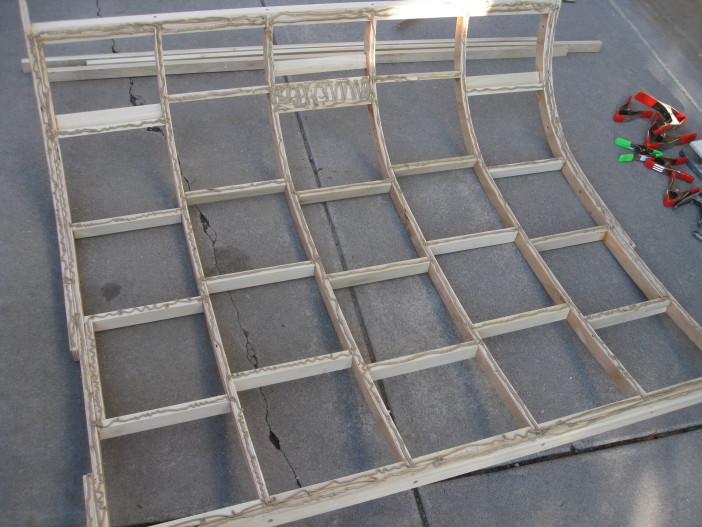
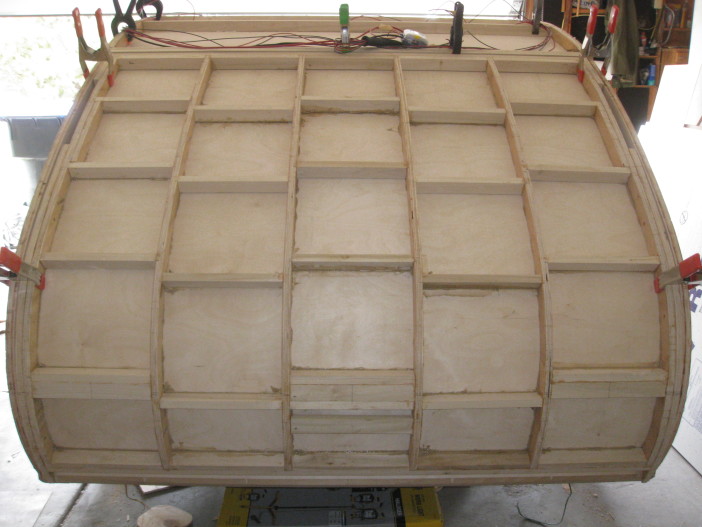
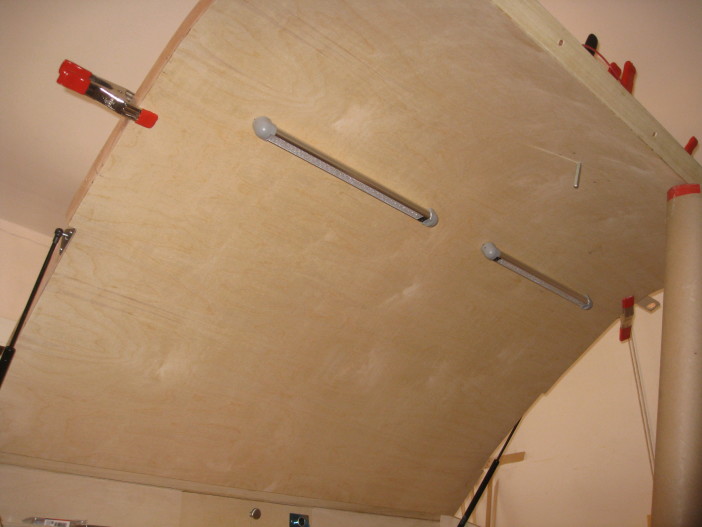
I see you used quite a bit more support framing in your galley hatch than in your main roof. Then, in some comments, I see you say that if you had it to do again, you’d make the hatch lighter. Do you think the hatch would be sufficiently strong and stiff if it were framed more like your main roof, with ribs on the sides only (maybe one down the middle)?
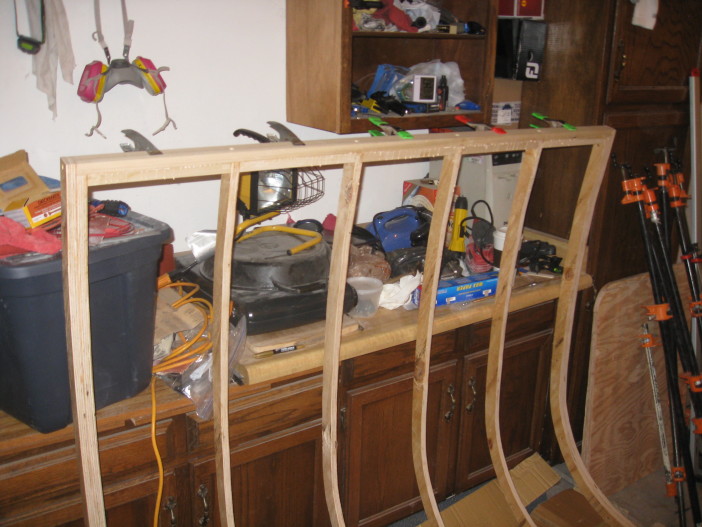
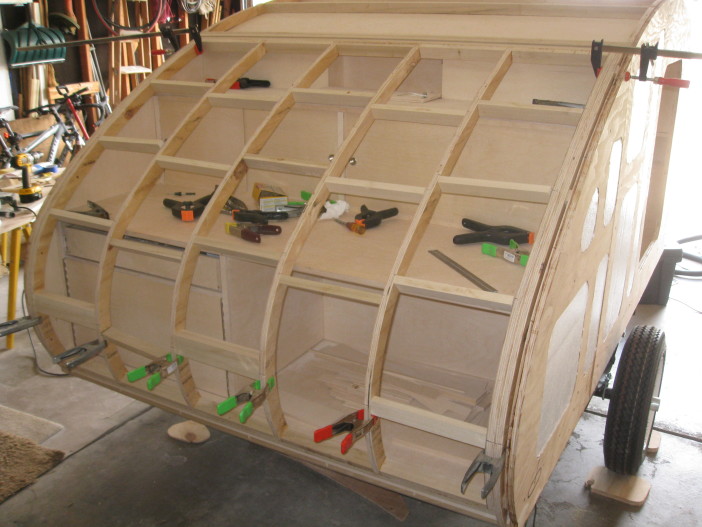
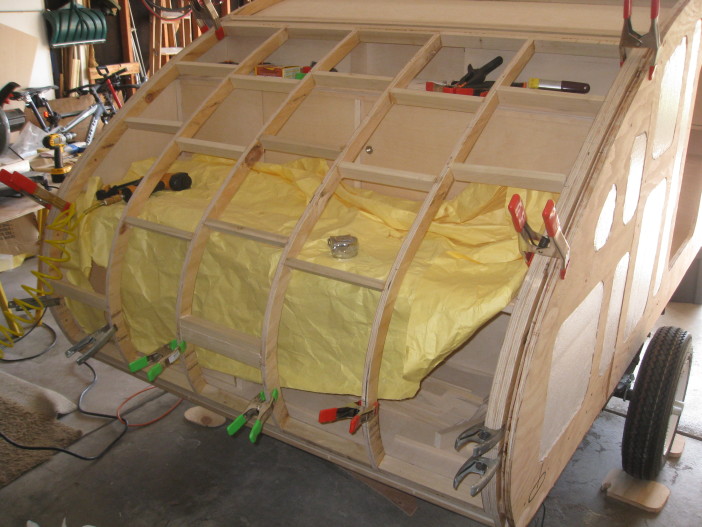
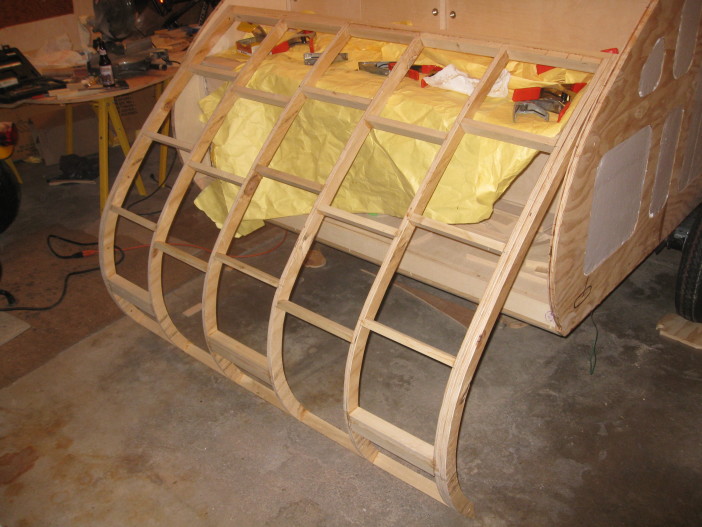
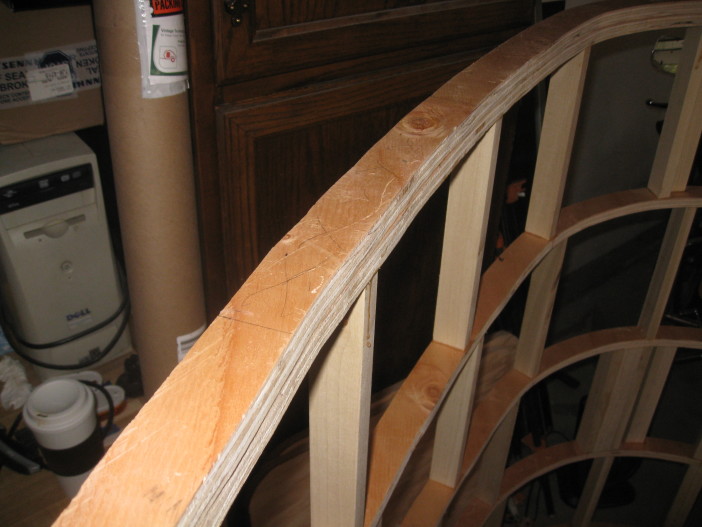
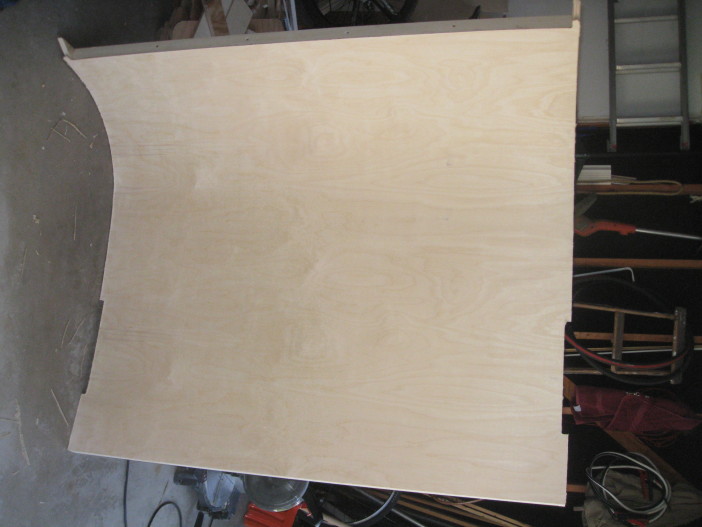
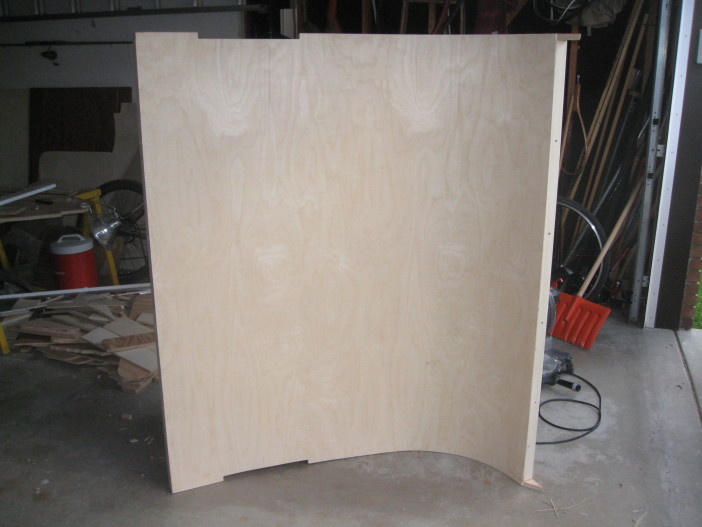
Weight is a killer for sure. The roof is reinforced by the walls and the hatch doesn’t have that support so I would recommend at least a couple ribs in the center to prevent the frame from twisting. If I did it again I would use 2 internal ribs instead of 4, and reduce the number of cross supports as well.
David on
Ryan,
Your camper is awesome. I noticed that several people on this site as well as other sites have had a problem with cold temperatures effecting the support shocks. Has anyone ever tried hood support springs? A couple of years ago I built a hog cooker. I know we are talking about teardrop campers but this will make sense when you see the picture. When I started gathering information I heard and read about similar comments about the shocks and temperature causing failure. While looking at other builds I saw hood springs on one build so that is what I used. I’m not sure what my grill lid weighs but I can say it is heavy. For my grill I turned them around backwards because I installed them on the outside away from heat. Anyone who owns a GM or Caddillac pickup or suv has seen these.
on the gas springs: would you recommend going with the 130lbs force version or with ones with less or more lbs force? I assume the gas expands/ contracts when it’s cold or warm so wondering if 130lbs is the best choice. How has your experience been so far?
It all depends on the weight of hatch and the angle of your mounting. For mine I started out with 90 or 100 and ended up moving to 110, 120, and finally 130. There is some guesswork so make sure you order them from somewhere that takes returns like McMaster-Carr 🙂
Cold weather affects its lift capacity by 15% so make sure it has plenty of strength if you are building and testing in the warmer months so you are not surprised in the colder ones. Also after a couple years you will notice some loss of force as some gas naturally escapes over time.
Hope that helps you out!
Dan Strong on
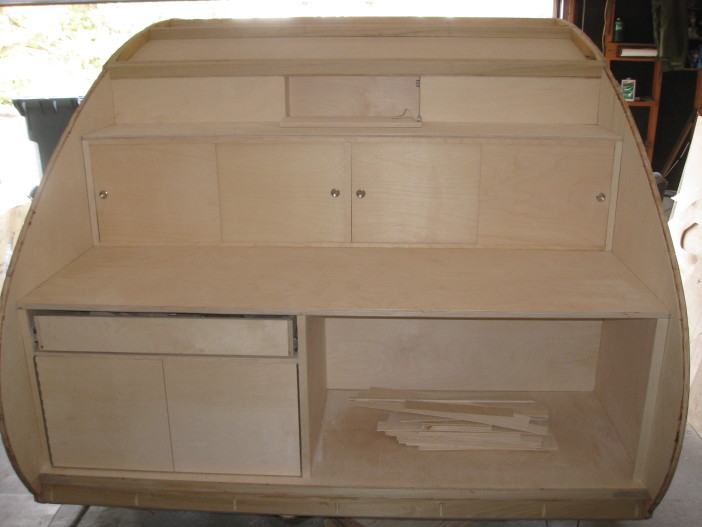
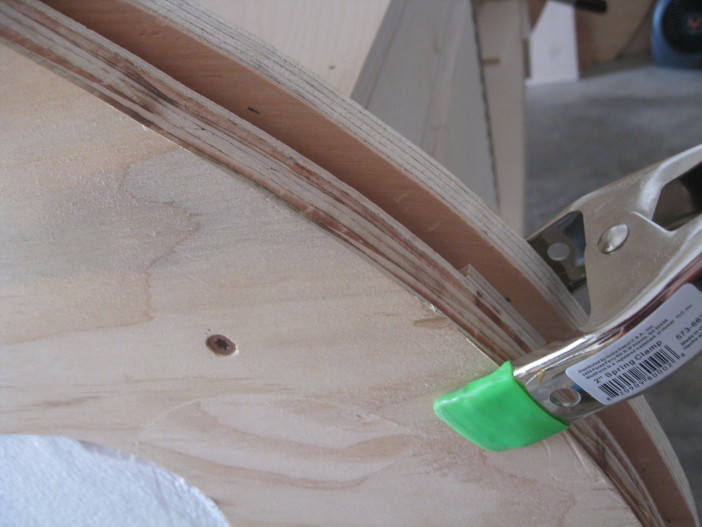
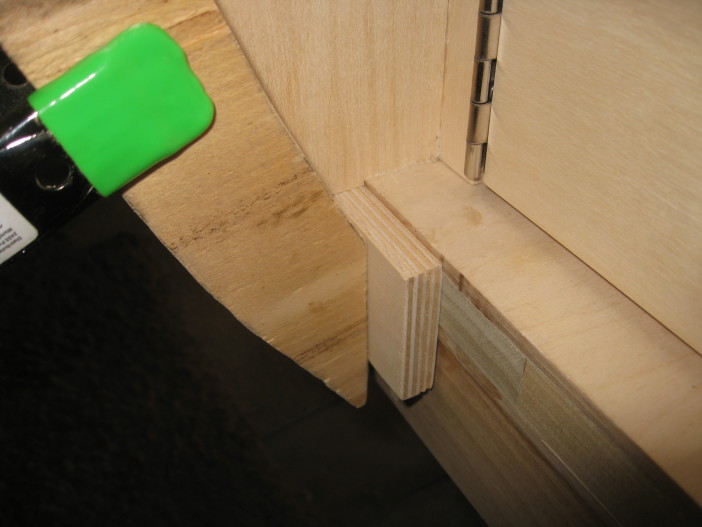
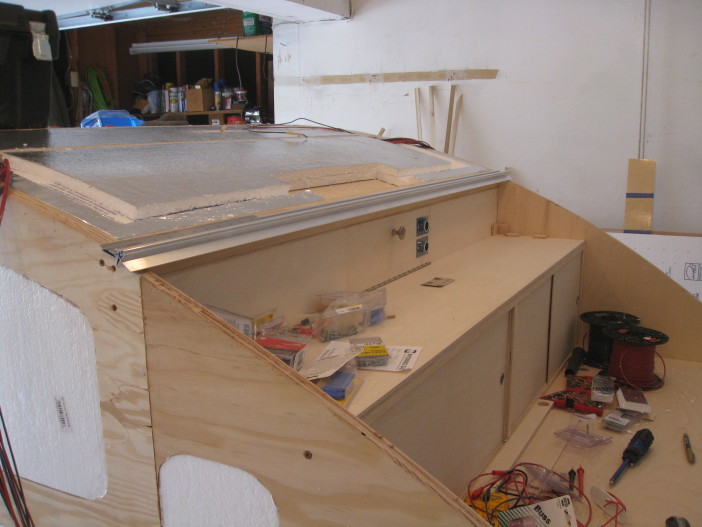
Hi Ryan, I love your trailer and am working on something similar. I’m wondering how you handled the bottom of the hatch here, where it connects with the bottom of the trailer. On most other builds I’ve seen, the hatch sits on a floor in the galley. On yours, it seems to rest flat agains the bumper, kind of perpendicular to the galley floor. I love your method because it allows you to use the entire galley floor space without leaving room for the hatch door to rest. Can you tell me more about how you made that work?
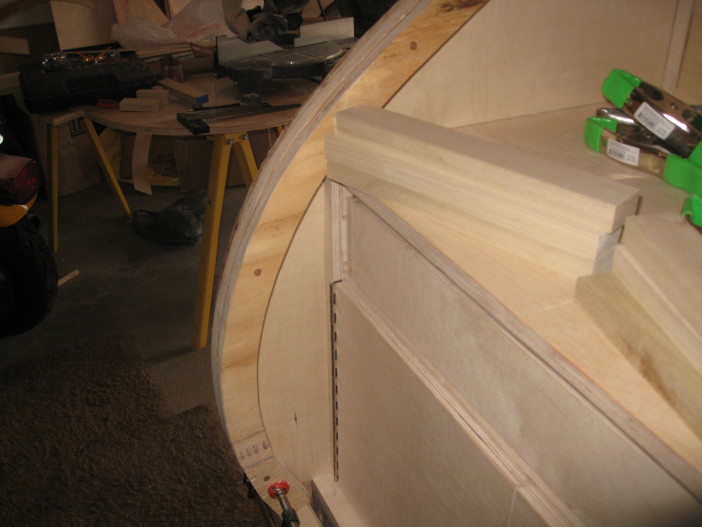
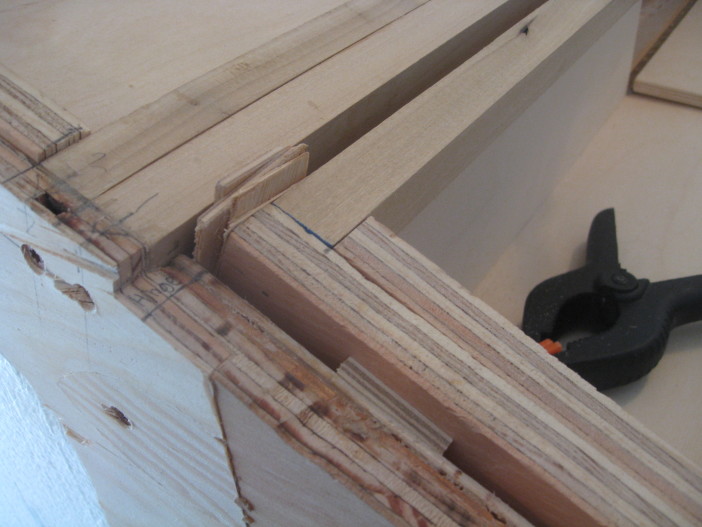
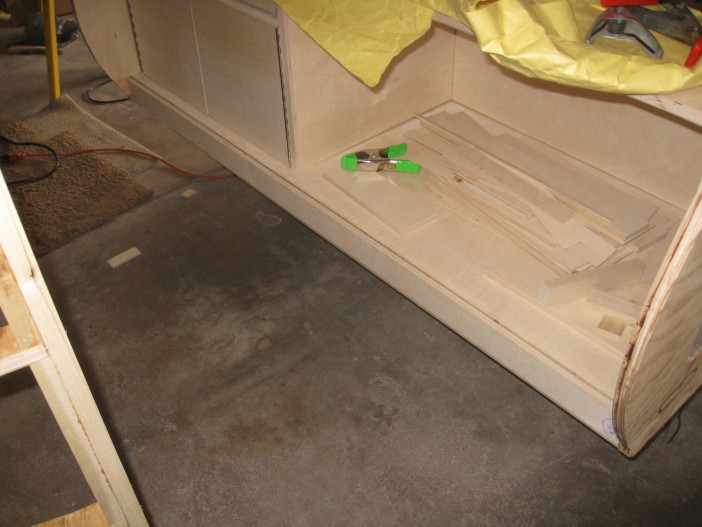
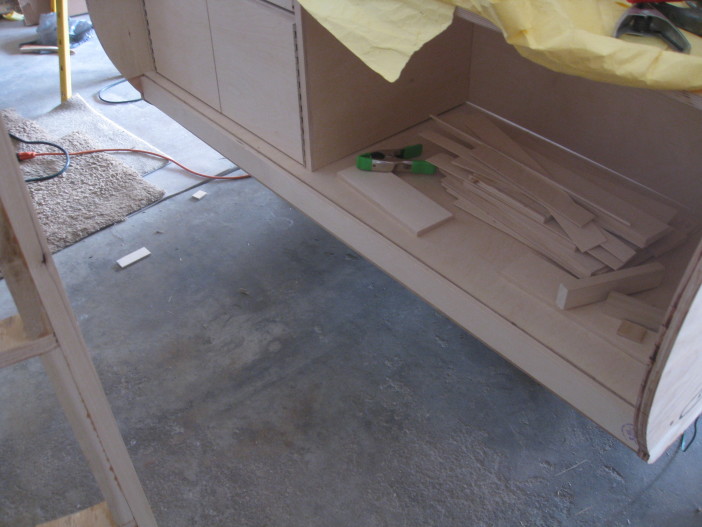
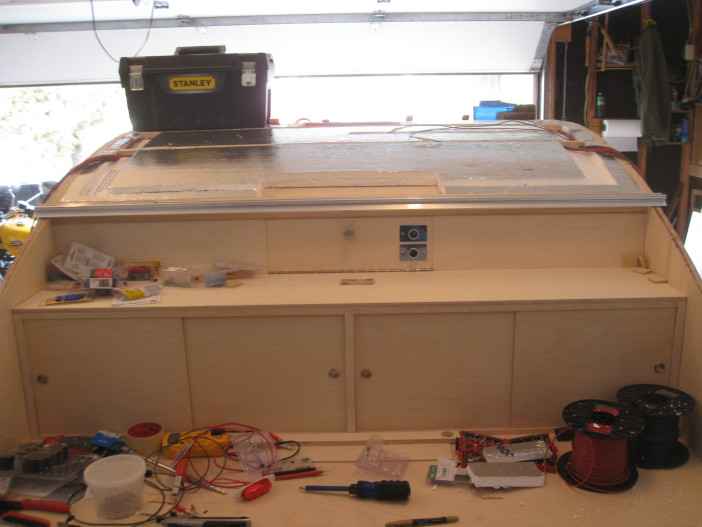
Thanks! I just didn’t like the look of the frame being visible from the outside. As you can see I boxed the rear of the frame and had the the hatch meet at the outside of that box. The key is lengthening the walls so they match the profile of the hatch and it can rest on them in the closed position.
Dominic Wippler on
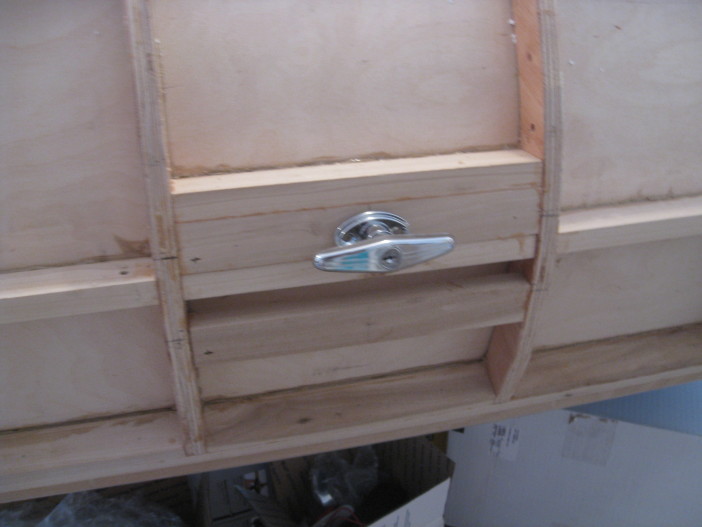
Hi Ryan, I am looking at building a teardrop and really love your design. I have been viewing it using sketchup and am wondering why you have a gap between the hatch and the side walls when the hatch is closed? Thank you!
It gives enough room for the hatch to clear the walls without rubbing or binding. Being that it is made out of wood you have to think about seasonal changes with temperature and humidity.
Dominic Wippler on
Thank you for the reply. That makes sense. Have you ever had any leakage problems with water getting in under the hatch?



















<span class="dsq-postid" data-dsqidentifier="1622 http://teardropbuilder.com/?p=1622">23 Comments
Ryan, I’m thinking about the galley supports. You used gas struts. Have you seen the spring supports at http://teardroptrailerparts.com/Galley_Props_Large.html? Might eliminate the cutout in the sides of the hatch for the struts when hatch is closed.
How heavy is the galley hatch? Is it light enough to be lifted without the gas struts and held up with some manual method? Thanks.
The hatch is heavy… It probably weighs 80-100 pounds but I could have made it lighter I’m sure and have been fine. This would allow you to lift it manually and have a support which holds it in the open position. I believe the Camp Inn teardrops do this very thing and have a very nice wooden support.
The spring supports scare me because if you accidentally hit the spring for any reason the whole thing will drop on your head. The wooden supports I have seen lock into place and are very secure.
Ryan
Awesome build you got there. With all of the talk about galley hatch supports, have you thought about using automotive hood springs? Several years ago I built a large hog cooker (36″ x 60″). When I was deciding on what to use to support the lid I looked at a lot of builds. I had heard about temperature effecting support shocks. While looking, I saw one build with GM full size pickup/suv hood springs. I purchased a set from a junkyard and installed them. They worked great. I’m not sure what it weighs but I’m sure it’s close to what a galley hatch weighs. Here is what they look like. https://uploads.disquscdn.com/images/454c80ff28cd66adecb35ff9471da129c0954f7a2018c1cda04e36c39b2c8566.jpg https://uploads.disquscdn.com/images/decfff7760d8d6dd8bf1a3c93856285f21b8b2000a2182cd93abbca81d7be931.jpg https://uploads.disquscdn.com/images/4130698fa3b2e1257906a8c074a368d18a371b5f449713eb70e737360930812b.jpg
That’s a great idea! I have never considered those but they would probably work and look to be quite compact.
The springs have an offset on one of the arms. If you look at the ones in the picture you will notice that both arms are straight. I had to straighten out the offset so that they would be flush. If one pair of these are not strong enough you can double them by placing a right and a left together with the springs facing out on each side of the hatch. The cutout on your hatch looks like it should be wide enough for them to fit.
https://uploads.disquscdn.com/images/26f9533963173b045b92cfd1dfc515820c88adae090445022fce5141879486b0.jpg
Ryan, thank you so much for posting such great detail on your teardrop build. My husband and I have enjoyed following your plans and building our own. You have created a great teardrop!
If you are interested, I created a CAD file for CNC cut sheets on the cabinetry, sidewalls, and hatch struts.
We purchased gas springs that match your specifications on the itemized list. When we test fit everything prior to staining/varnishing, we installed one gas spring and could not get it to compress. Before we start drilling holes for the second gas spring, I wanted to get your input. Is there a trick to the springs? Should they compress without difficulty?
Very cool! I would gladly take your CNC specs and add them to the website. Email them to me at ryan at teardropbuilder dot com. If you want to send some pictures my way of your build I will post them as well.
The hatch struts are a fickle beast. You will likely not be able to compress them (safely) until they are both installed in the galley. You will have to ensure your clearance and angles are correct and hope for the best. I have a couple extra small holes near my mount in my galley as proof of this where I was forced to remount one of them because I got the clearance wrong.
Good luck!
Jenna, I’m embarking on some pre-planning… would be interested in the CAD files if you’re willing to share… martinpeat at gmail dot com
Hi Martin,
The CNC files have been uploaded here.
Ryan,
I see you used quite a bit more support framing in your galley hatch than in your main roof. Then, in some comments, I see you say that if you had it to do again, you’d make the hatch lighter. Do you think the hatch would be sufficiently strong and stiff if it were framed more like your main roof, with ribs on the sides only (maybe one down the middle)?
Weight is a killer for sure. The roof is reinforced by the walls and the hatch doesn’t have that support so I would recommend at least a couple ribs in the center to prevent the frame from twisting. If I did it again I would use 2 internal ribs instead of 4, and reduce the number of cross supports as well.
Ryan,
Your camper is awesome. I noticed that several people on this site as well as other sites have had a problem with cold temperatures effecting the support shocks. Has anyone ever tried hood support springs? A couple of years ago I built a hog cooker. I know we are talking about teardrop campers but this will make sense when you see the picture. When I started gathering information I heard and read about similar comments about the shocks and temperature causing failure. While looking at other builds I saw hood springs on one build so that is what I used. I’m not sure what my grill lid weighs but I can say it is heavy. For my grill I turned them around backwards because I installed them on the outside away from heat. Anyone who owns a GM or Caddillac pickup or suv has seen these.
https://uploads.disquscdn.com/images/decfff7760d8d6dd8bf1a3c93856285f21b8b2000a2182cd93abbca81d7be931.jpg https://uploads.disquscdn.com/images/4130698fa3b2e1257906a8c074a368d18a371b5f449713eb70e737360930812b.jpg
Hi Ryan-
on the gas springs: would you recommend going with the 130lbs force version or with ones with less or more lbs force? I assume the gas expands/ contracts when it’s cold or warm so wondering if 130lbs is the best choice. How has your experience been so far?
Thanks!
Thomas
Hi Thomas,
It all depends on the weight of hatch and the angle of your mounting. For mine I started out with 90 or 100 and ended up moving to 110, 120, and finally 130. There is some guesswork so make sure you order them from somewhere that takes returns like McMaster-Carr 🙂
Cold weather affects its lift capacity by 15% so make sure it has plenty of strength if you are building and testing in the warmer months so you are not surprised in the colder ones. Also after a couple years you will notice some loss of force as some gas naturally escapes over time.
Hope that helps you out!
Hi Ryan, I love your trailer and am working on something similar. I’m wondering how you handled the bottom of the hatch here, where it connects with the bottom of the trailer. On most other builds I’ve seen, the hatch sits on a floor in the galley. On yours, it seems to rest flat agains the bumper, kind of perpendicular to the galley floor. I love your method because it allows you to use the entire galley floor space without leaving room for the hatch door to rest. Can you tell me more about how you made that work?
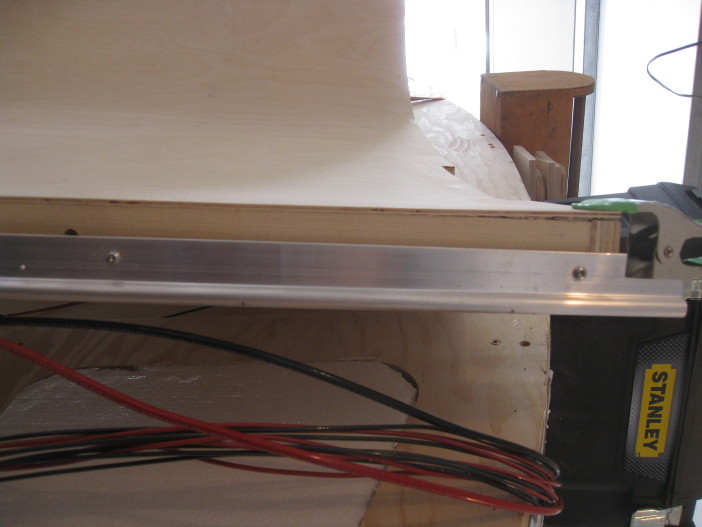
Thanks! I just didn’t like the look of the frame being visible from the outside. As you can see I boxed the rear of the frame and had the the hatch meet at the outside of that box. The key is lengthening the walls so they match the profile of the hatch and it can rest on them in the closed position.
Hi Ryan, I am looking at building a teardrop and really love your design. I have been viewing it using sketchup and am wondering why you have a gap between the hatch and the side walls when the hatch is closed? Thank you!
It gives enough room for the hatch to clear the walls without rubbing or binding. Being that it is made out of wood you have to think about seasonal changes with temperature and humidity.
Thank you for the reply. That makes sense. Have you ever had any leakage problems with water getting in under the hatch?
Luckily no. 🙂
Are there any ideas for heating and cooling? The S.O. says we need air-conditioning.