Facebook Twitter Instagram
    Teardrop Builder
    • Build Journal
      • Planning and Design
      • Trailer Assembly
      • Building the Deck
      • Sealing the Deck
      • Sidewall Templates
      • Building the Walls
      • Building Cabinets
      • Walls and Cabinets to Deck
      • Insulation and Headliner
      • Roof Spars and Blocking
      • Building the Hatch
      • Wiring and Insulation
      • Gluing Outer Skins
      • Dying
      • Epoxy
      • Varnish
      • Finishing Cabinets
      • Toungebox
      • Trim and Final Details
      • Completed Pictures
    • Plans
      • Wyoming Woody Teardrop Plans
      • Wyoming Woody Teardrop SketchUp Model
      • Wyoming Woody Profile
      • Northern Tool Trailer SketchUp Model
      • Wyoming Woody Parts List and Cost Breakdown
      • Wyoming Woody Teardrop CNC files
    • Components
      • Vintage Technologies
      • Li’l Bear Tagalongs
      • superbrightleds.com
      • rvvent.com
      • Jamestown Distributors
      • McMaster-Carr
      • Hobby King
      • The Foam Factory
      • Northern Tool
      • etrailer.com
      • Woodcraft
    • Builder Resources
      • tnttt.com
      • Tear Jerkers
      • Teardrop Trailers Reddit
      • Little Swiss Teardrop
      • Camping Classics
    • Commercial Teardrops
      • Camp Inn
      • Little Guy Trailers
      • TC Teardrops
    • About
    Teardrop Builder

    Building the Cabinets

    6
    By Ryan on September 7, 2013 Build Journal

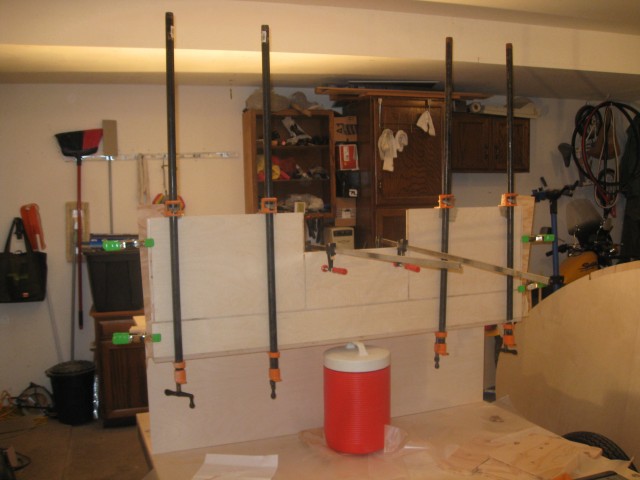
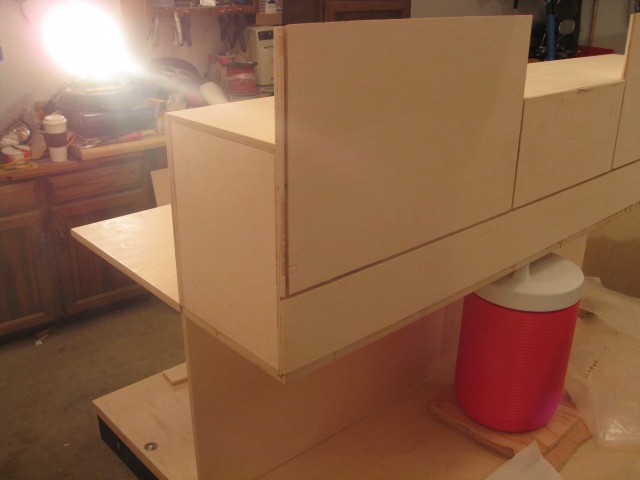
    IMG_5495 IMG_5471  IMG_5479 IMG_5490

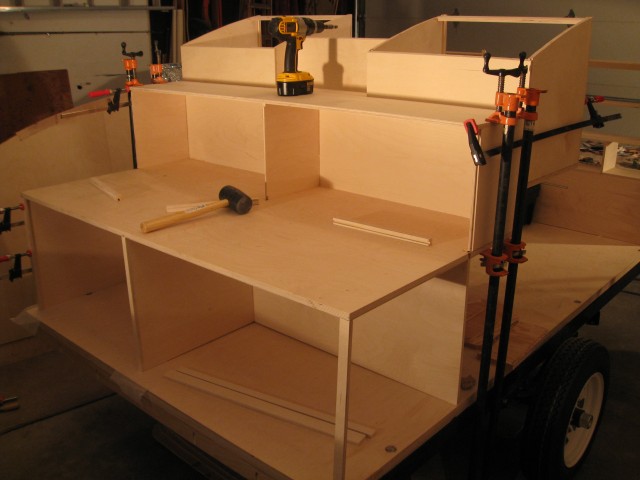
    The face frames covered the edges of the plywood and attached nicely with the tongue and groove joints.  At some intersections some tongue material had to be removed so the face frames could fit correctly. This following picture shows an example of this as the vertical grove in the cabinet was trimmed to make room for the horizontal face frame to meet flush with the vertical face frame.
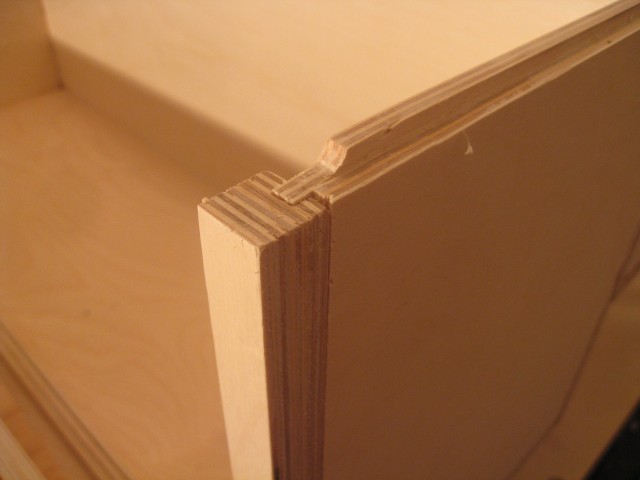
    IMG_5494

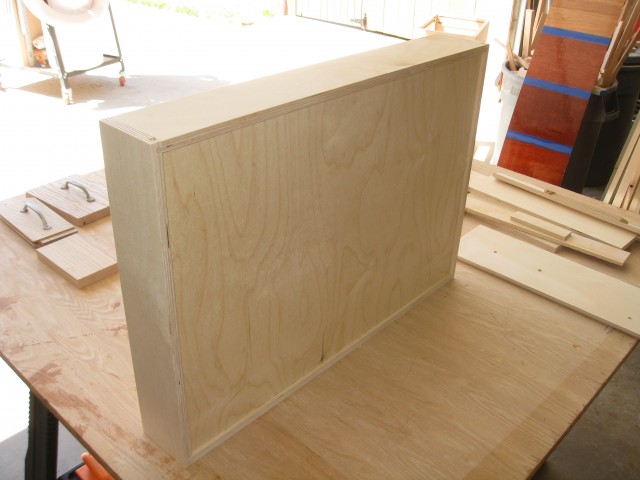
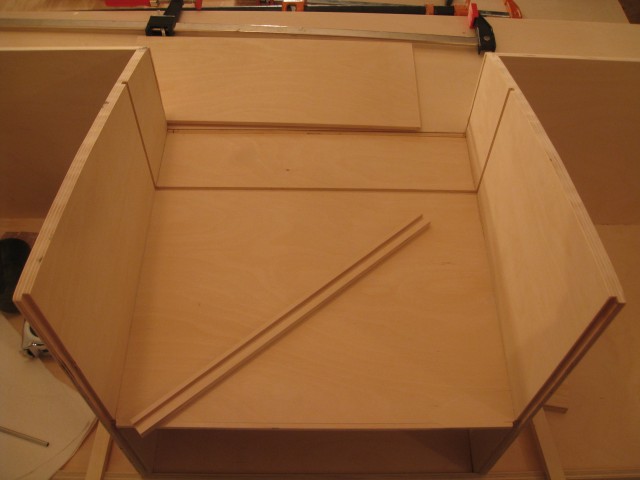
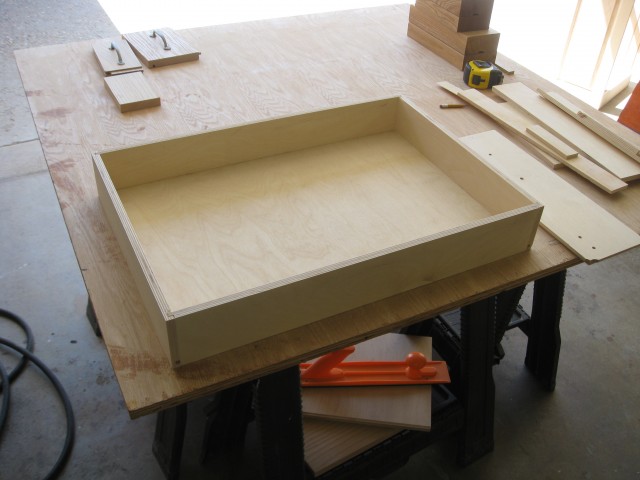
    With the cabinets fully assembled I could now build the box for the drawer.
    IMG_5671 IMG_5672

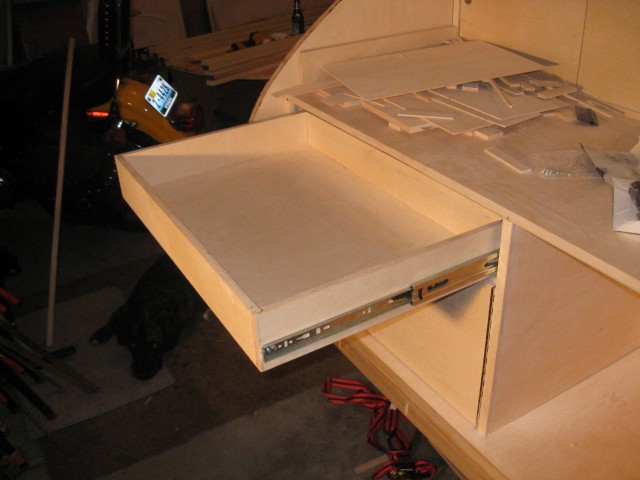
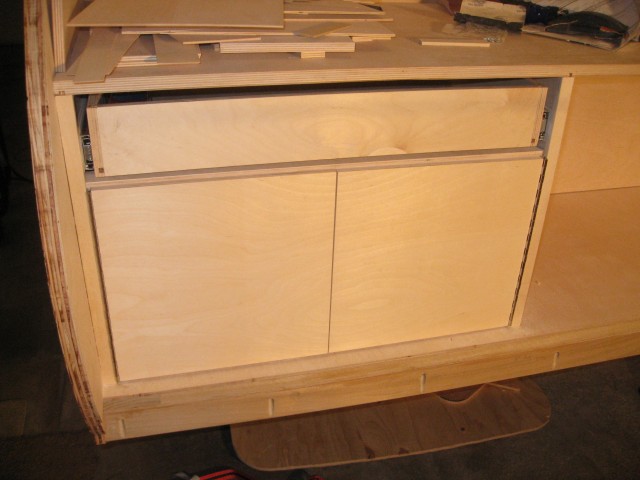
    I had to make 2 spacers in order to mount the sliders up past the lip and flush with the cabinet frame. I used Accuride sliders need very precise spacing to operate correctly so I had to sand the sliders a bit to get it just right so it wouldn’t stick. The sliders are self closing and provide some resistance to being opened which works out great for a teardrop which is on the move.
    IMG_5699 IMG_5701

    1 2 3 4
    Share. Facebook Twitter Pinterest LinkedIn Tumblr Email
    Ryan

    Related Posts

    Installing Components and Final Details

    Finishing the Cabinets

    Installing the Outer Skins

    <span class="dsq-postid" data-dsqidentifier="1614 http://teardropbuilder.com/?p=1614">6 Comments

    1. Mark Ketting on November 15, 2015 5:56 am

      Hi Ryan

      I’m having difficulty seeing how much ply I need for the cabinets. It’s a little difficult to add up all the components of the cabinets to identify how many sheets of ply I should pick-up from the hardware store. Do you have any pointers for me?

      Thanks!

      • Ryan on November 16, 2015 8:28 am

        I had to go back and check my parts list page since I couldn’t quite remember. I used 1 5×5 3/4″ (18mm) and 4 5×5 1/2″ (12mm) sheets or baltic birch plywood for the cabinets.

        If you have been using my SketchUp model you can create the virtual plywood sheets and break each cabinet piece out of the model and overlay it on the sheet to plan your cuts. If you want to very clean look watch the grain on the wood and make sure the grain goes the same way for similar components. In my case horizontal surfaces the grain was side to side, for the vertical pieces the grain went top to bottom. With the cabinet and drawer front I used cuts from the same section so the grain lines matched across pieces.

        Good Luck!

    2. Michael on August 9, 2016 11:21 pm

      Hi Ryan-

      are there any concerns in your opinion using only 1/2″ thick baltic birch vs a mix of 1/2″ & 3/4″ thick baltic birch for the rear cabinets? I see you mixed both thicknesses, but I’m not sure why 3/4″ is needed after all?

      Thanks
      Michael

      • Mark Ketting on August 9, 2016 11:27 pm

        IIRC the 3/4″ is for the vertical weight-bearing walls and for the main bench. In both cases I’d not skimp on the 3/4″.

    3. Carlos Buendia on March 4, 2018 6:15 pm

      Great project, do you happen to have a cut list for all the cabinets?

      • Ryan on March 5, 2018 6:07 am

        Unfortunately no, nothing official but that would be a good addition. My plans do have all the dimensions you need, just not in one easy to use cut list.

    Most Commented
    September 19, 2013

    Installing Components and Final Details

    September 11, 2013

    Building the Galley Hatch

    September 20, 2013

    Wyoming Woody Teardrop Completed Pictures

    September 15, 2013

    Applying the Epoxy

    December 19, 2012

    Building the Deck

    Recent Comments
    • The Top Teardrop Trailer Plans - Tiny House Huge Ideas on Wyoming Woody Teardrop Plans
    • Can You Really Build Your Own Teardrop Camper from a Kit? on Wyoming Woody Teardrop Plans
    • Jonesy on Building the Deck
    • Yannick Autphenne on Building the Deck
    • Rob Reynolds on Applying the Epoxy
    © 2026 TeeardropBuilder Designed by ThemeSphere.

    Type above and press Enter to search. Press Esc to cancel.