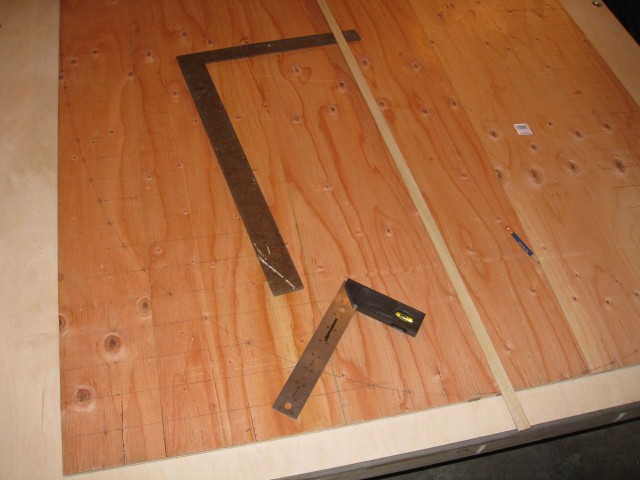
Making the sidewall profile templates out of 3/8″ plywood. I made 2 section templates for both the of the wall as well as the outside. Each template needed one and a half sheets as they are just over 9′ long. I used a 2 inch grid and drew the curves connecting the marks with a thin piece of scrap.
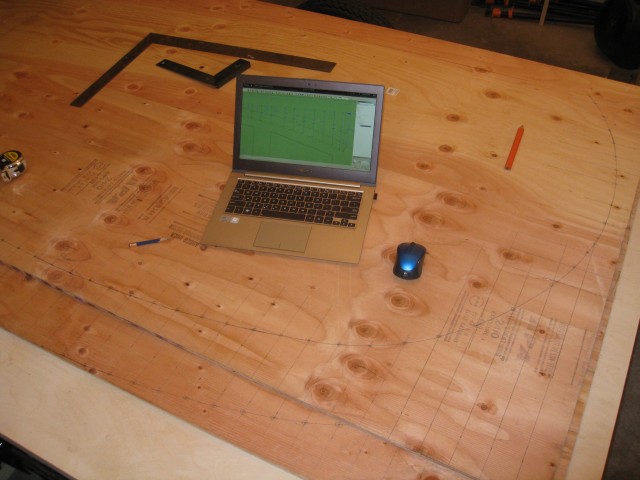
I marked the profile lines with a sharpie.
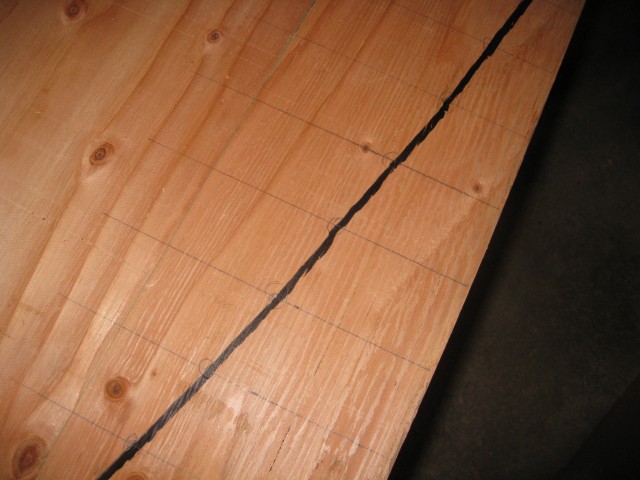
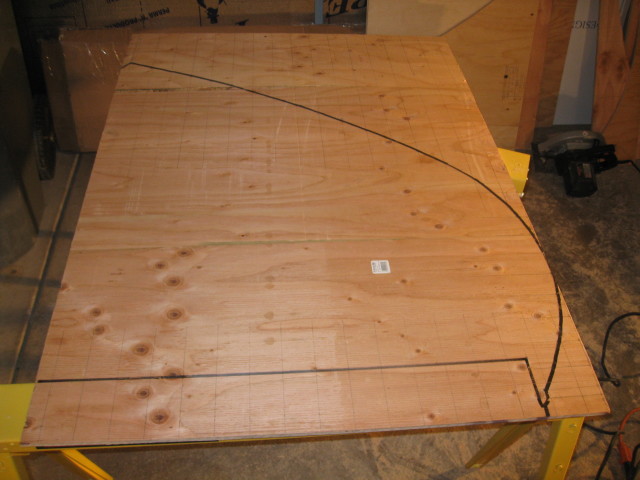
A jigsaw was used to cut the profile. The lines were drawn to the outside edge of the line so the saw could cut up against the inside edge and get a very exact line.
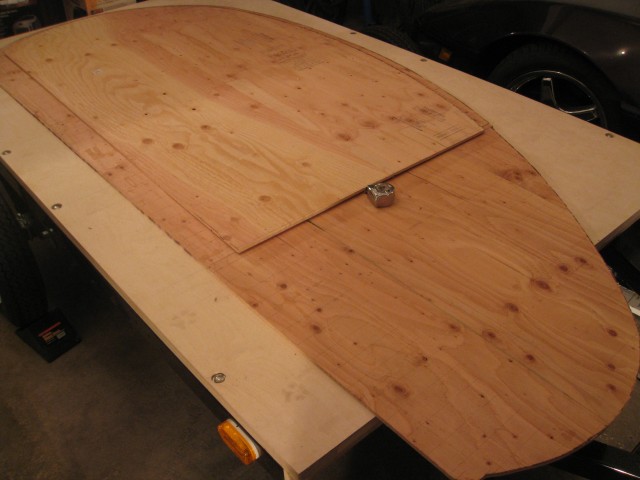
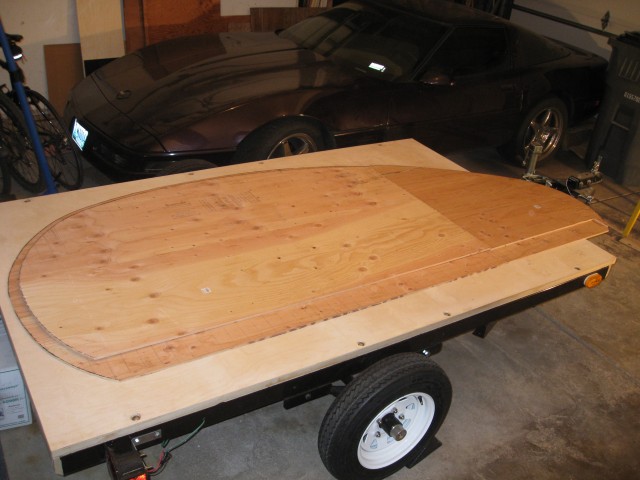
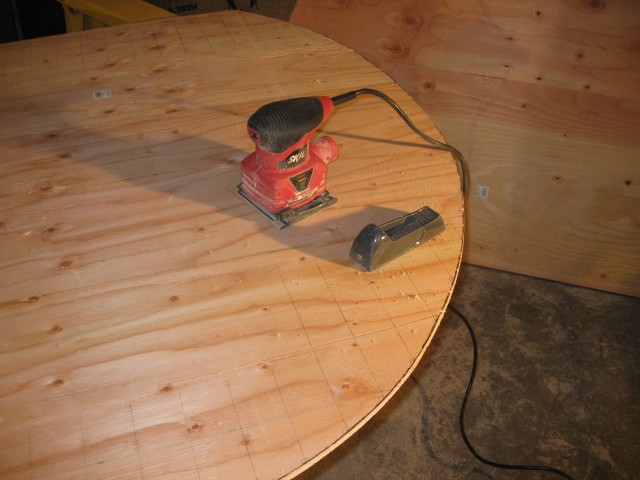
I used a shureform and a sander to smooth the edges a bit. Since the black line was marked to the outside of the cut, it allowed me to easily see if I needed to take extra material off with the hand plane. Make sure you keep the edges 90 degrees to the surface or your template or you will have difficulty later when you transfer the template to the wood.

<span class="dsq-postid" data-dsqidentifier="1699 http://teardropbuilder.com/?p=1699">9 Comments
Why is there a 3/8 inch notch in the side wall where the hatch meets the roof?
The gap is needed so that there is space to install the hatch seals and trim. That way the outer hatch skin lays flush with the rest of the trailer roof. A better picture to describe what I’m talking about:
http://teardropbuilder.com/build-journal/gluing-outer-skins/attachment/img_6307
what is the measurement of the bottom of the door and all of the cut outs for the foam. to the bottom edge
I had to go back and look at the SketchUp model for this one. The distance from the cutouts to the bottom edge is 1-1/2″ and the door is 2″.
These are basically arbitrary, however you should be mindful of your wiring if you are planning to run them through your frame. Also 2″ worked well for the 4″ HD foam mattress I used because I can sit on the edge with my legs hanging out and the mattress compresses down to be flush with the door frame. This way the door frame won’t dig into your legs.
Hi Ryan, I’m having difficulty finding measurements in your PDF etc for where the roof and hatch meet. Ref the red arrows in the image. What’s the coordinates for the top point? Page C5 indicates a 3/8″ notch, but not how far from either of the nearest 2″ grid-lines.
My apologies, your comment slipped through the cracks. Hopefully I’m not too late, and if so this will help others with the same issue.
You stumped me on this question, so I had to go back to the model and take some measurements.
Top Point (top of notch): 6 5/16″ from top line, and 1/2″ in from the right grid line.
Inner Point (bottom of notch): 6 5/8″ from top line and 5/8″ in from the right grid line.
In reality, and what I actually did, was to eyeball it. As long as you continue the profile curve from the previous points and the notch itself is exactly 3/8″ and perpendicular to the profile curve you can’t go wrong. You are building your template here, and since its dimensions will be used directly to construct the walls and skins a minor deviation from spec in the notch location will be fixed naturally through the rest of the process.
Ryan,
I’ve been following right along (albeit slowly) and I am at the point of wall construction. I’m trying to conceptualize the need for a separate set of templates. I was thinking of simply making my first wall a template for the next.
What advantages did you see by making the separate CDX templates before creating your 2 real walls?
Good question! Looking back over my build, you could definitely get away without the separate templates. However there are some advantages to using them.
To start off I created 2 sets of templates, one for the other wall and one for the inner. I would not recommend creating an inner set as it proved almost useless.
The outer set helped greatly because the templates were lighter and far less expensive. If mistakes were made then they were easy to correct. For example if you took the time to splice the walls together and made a mistake it would set you back quite a bit. Also the templates are thin and easy to cut with a jigsaw. By using a template as a guide you can then use a router and a flush trim bit to produce a nice straight and perpendicular cut for the walls, far more precise than a jigsaw could ever produce. The same goes for the wall voids and door opening which were cut the same way.
Also when I went to glue the skins, I strapped the template down over them to apply even pressure to the entire wall.
Finally knowing what I do now I would have probably used Masonite instead of CDX for the templates.
Good luck on your build!
This has been some very useful feedback. I appreciate your insights!