Facebook Twitter Instagram
    Teardrop Builder
    • Build Journal
      • Planning and Design
      • Trailer Assembly
      • Building the Deck
      • Sealing the Deck
      • Sidewall Templates
      • Building the Walls
      • Building Cabinets
      • Walls and Cabinets to Deck
      • Insulation and Headliner
      • Roof Spars and Blocking
      • Building the Hatch
      • Wiring and Insulation
      • Gluing Outer Skins
      • Dying
      • Epoxy
      • Varnish
      • Finishing Cabinets
      • Toungebox
      • Trim and Final Details
      • Completed Pictures
    • Plans
      • Wyoming Woody Teardrop Plans
      • Wyoming Woody Teardrop SketchUp Model
      • Wyoming Woody Profile
      • Northern Tool Trailer SketchUp Model
      • Wyoming Woody Parts List and Cost Breakdown
      • Wyoming Woody Teardrop CNC files
    • Components
      • Vintage Technologies
      • Li’l Bear Tagalongs
      • superbrightleds.com
      • rvvent.com
      • Jamestown Distributors
      • McMaster-Carr
      • Hobby King
      • The Foam Factory
      • Northern Tool
      • etrailer.com
      • Woodcraft
    • Builder Resources
      • tnttt.com
      • Tear Jerkers
      • Teardrop Trailers Reddit
      • Little Swiss Teardrop
      • Camping Classics
    • Commercial Teardrops
      • Camp Inn
      • Little Guy Trailers
      • TC Teardrops
    • About
    Teardrop Builder

    Finishing with Aniline Dye

    0
    By Ryan on September 14, 2013 Build Journal

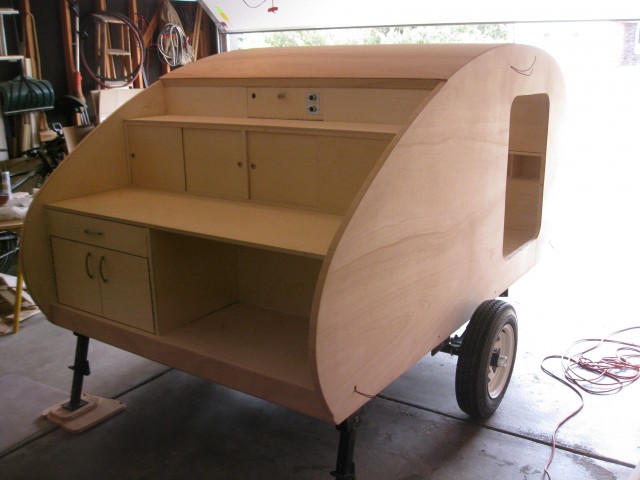
    Since I planned to use epoxy and spar varnish to protect the outside of the trailer I had to use something compatible with that underneath to color the wood. Oil based stains prevent the epoxy from adhering so I had been given some helpful advice to try aniline dye. In my tests the aniline dye worked great. Since it is water based and stays near the surface of the wood it is easy to blend even after it has dried. This helps since I had a large surface area to cover.

    I have only been able to find 2 sources for the powder dye. Transfast from Woodcraft, and J.E. Mosers from Woodworkers Supply. I ended up choosing J.E. Mosers Dark Colonial Red Mahogany color. Be careful, as I had wide color differences between batches. It ended up taking less than 1 quart (1oz powder) to do the whole trailer.
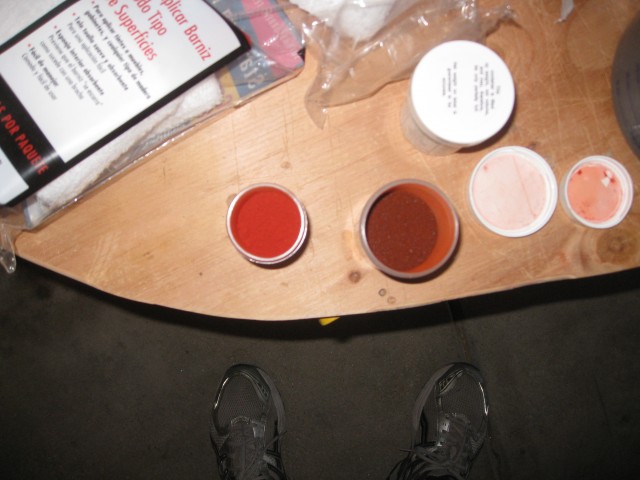
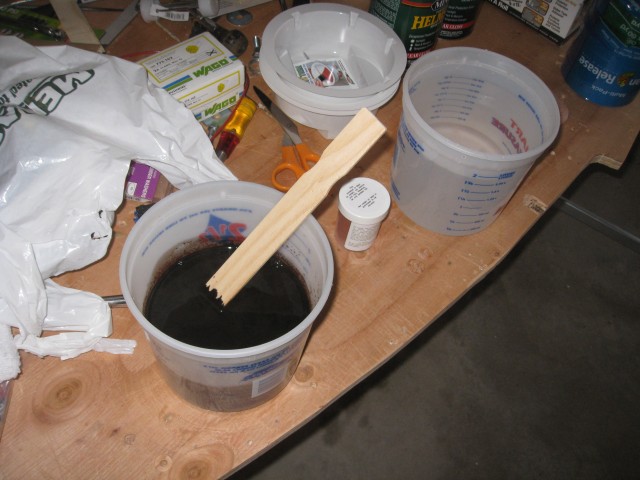
    IMG_6336IMG_6333IMG_6327

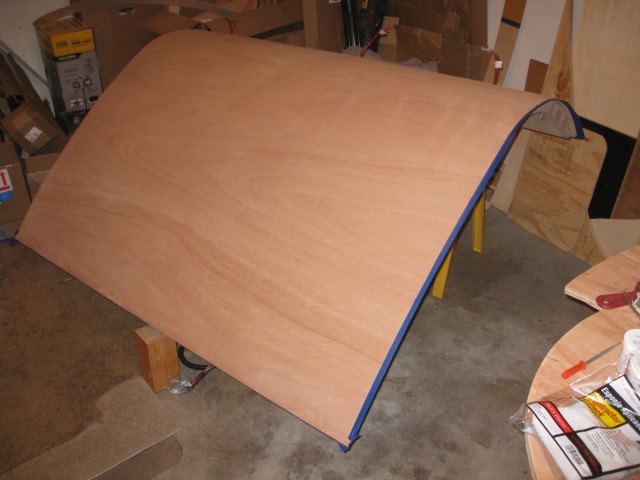
    To get the aniline dye applied correctly it is necessary to raise the grain on the wood. This involves wiping the wood down with a wet rag to raise the grain, followed by a light sanding to knock it back down.
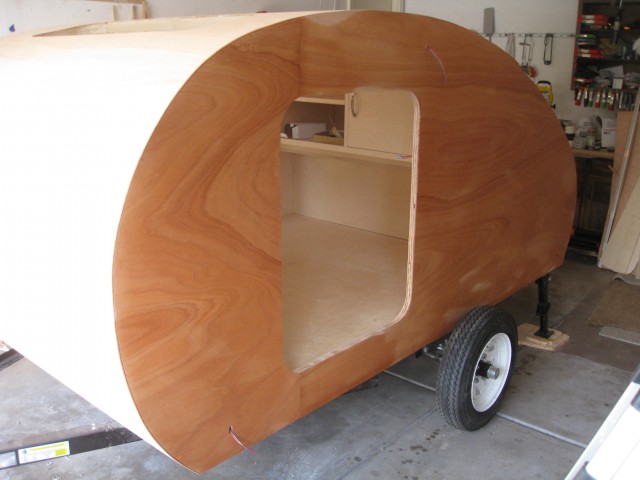
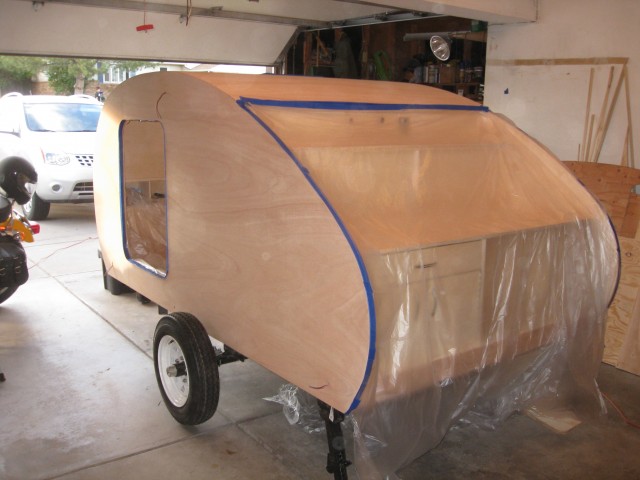
    IMG_6329IMG_6330IMG_6338

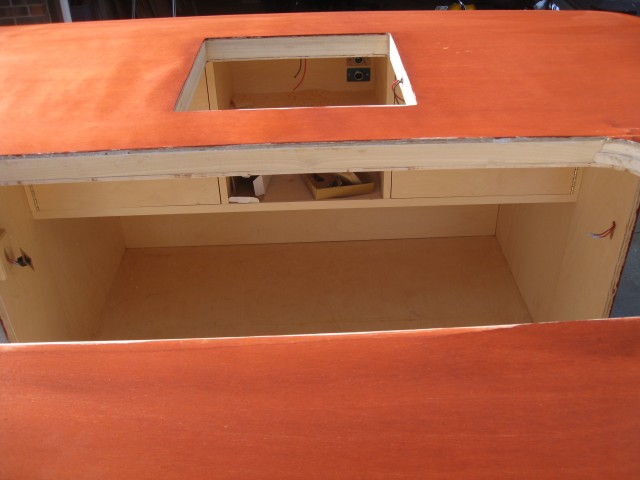
    Using a damp cloth pad I started applying the dye on the trailer.
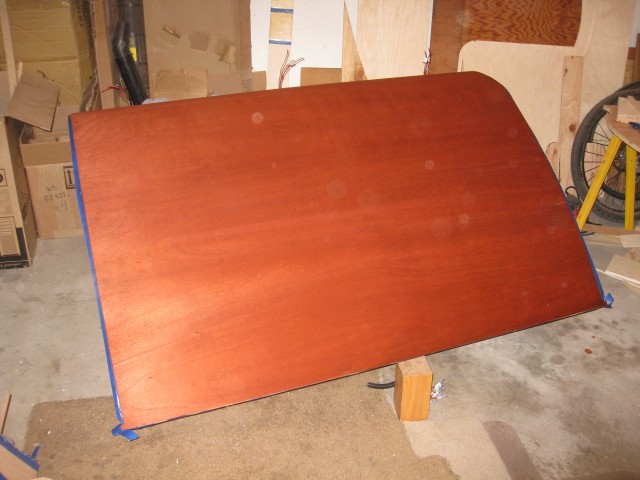
    IMG_6339

    The last application drying. If you find any areas that are too light or dark you can go back and even out those areas even after it has dried.
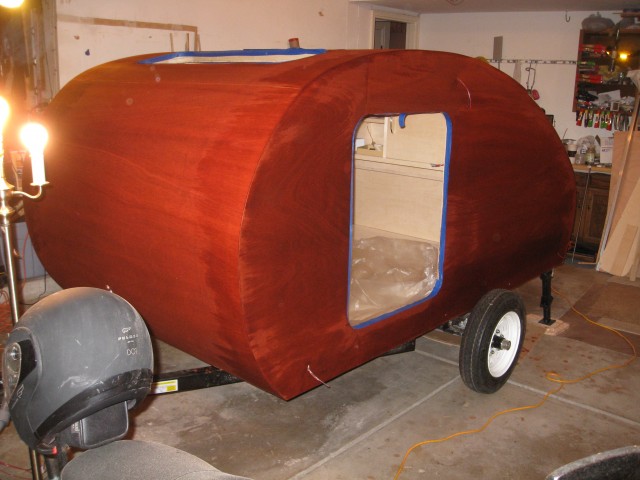
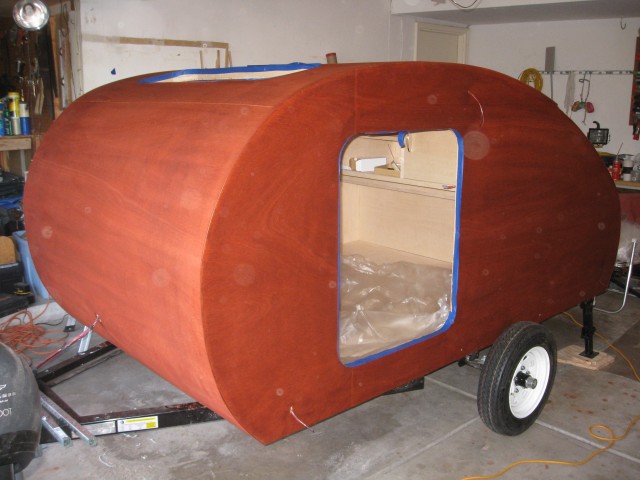
    IMG_6342IMG_6343

    When I pulled up the painters tape I had some bleed from the dye. Luckily a light sanding cleaned it up as the dye stays near the surface.
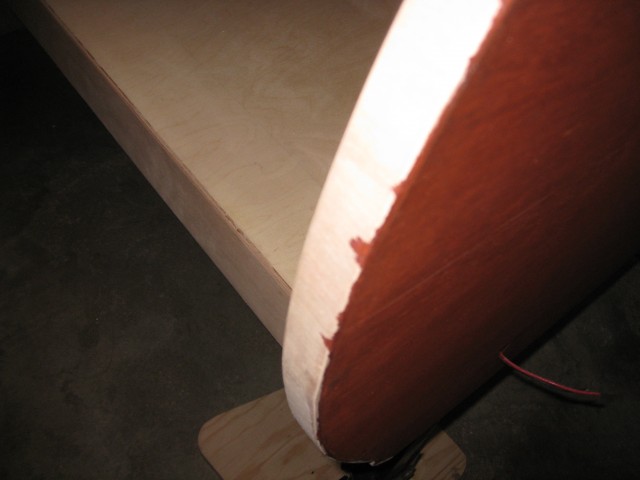
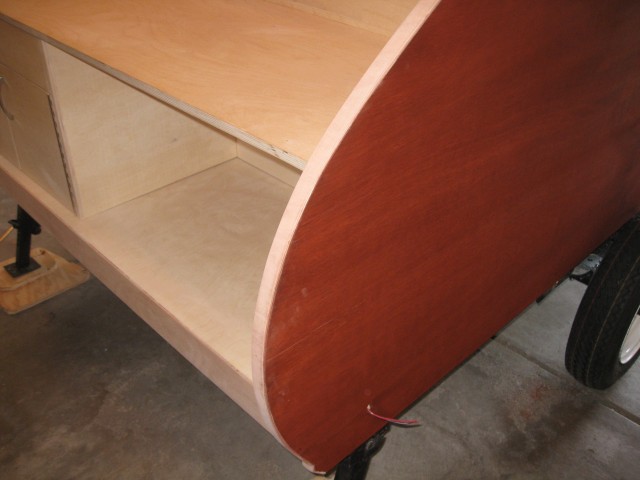
    IMG_6344IMG_6346

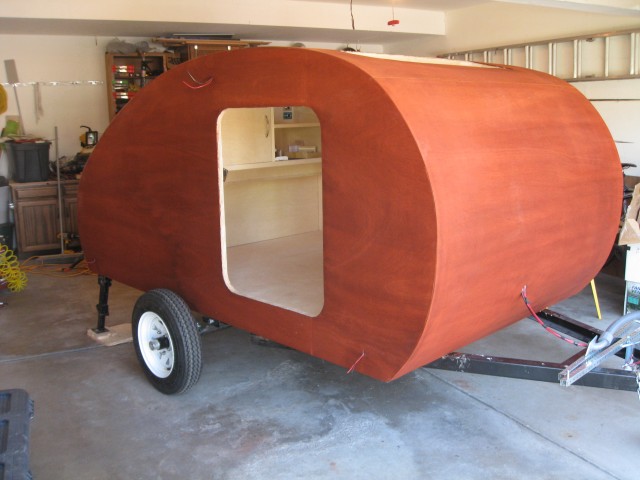
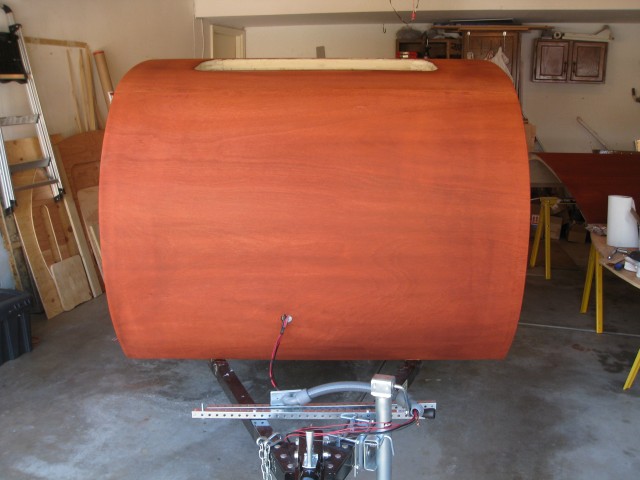
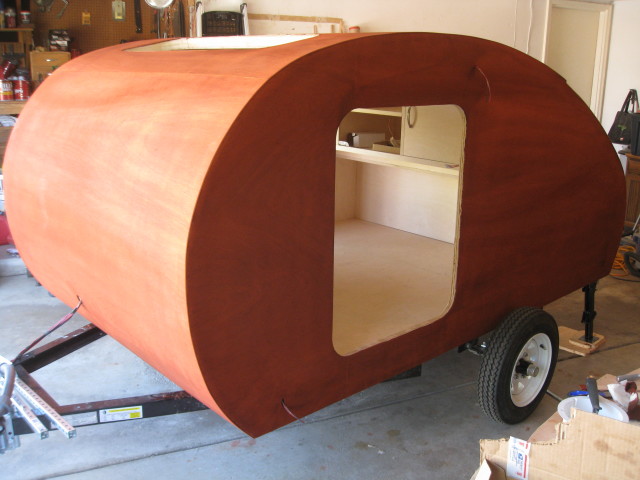
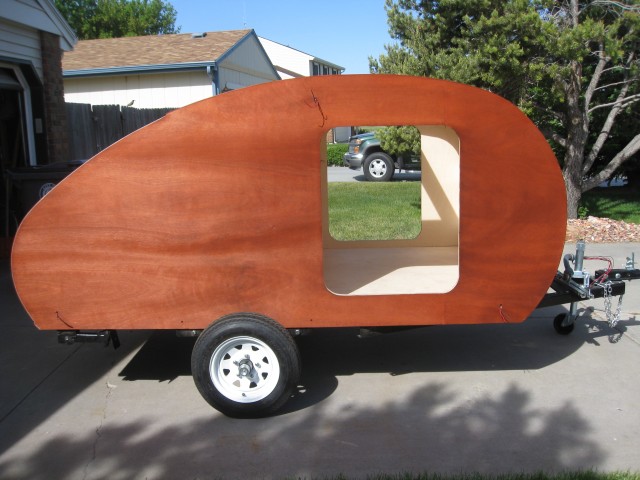
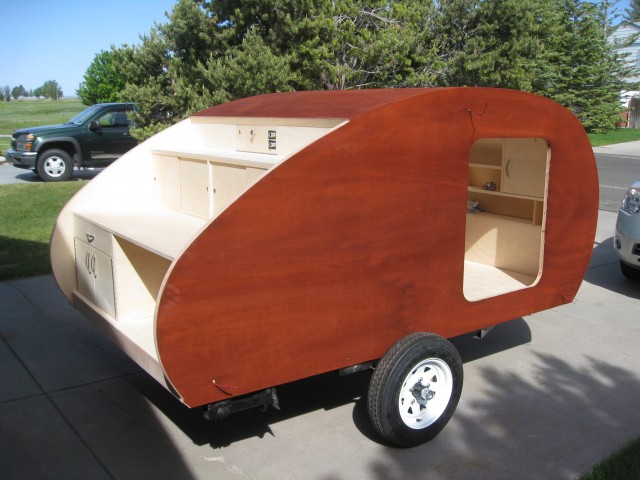
    Here is the final result after the dye was applied.
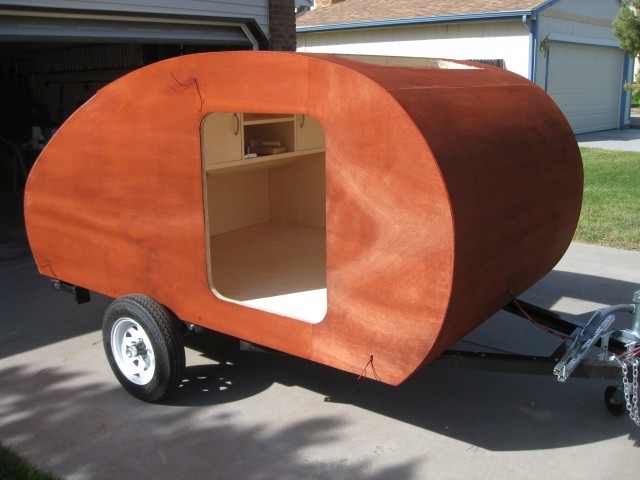
    IMG_6347IMG_6354IMG_6356IMG_6358IMG_6359IMG_6351IMG_6348

    1 2
    Share. Facebook Twitter Pinterest LinkedIn Tumblr Email
    Ryan

    Related Posts

    Comments are closed.

    Most Commented
    September 19, 2013

    Installing Components and Final Details

    September 11, 2013

    Building the Galley Hatch

    September 20, 2013

    Wyoming Woody Teardrop Completed Pictures

    September 15, 2013

    Applying the Epoxy

    December 19, 2012

    Building the Deck

    Recent Comments
    • The Top Teardrop Trailer Plans - Tiny House Huge Ideas on Wyoming Woody Teardrop Plans
    • Can You Really Build Your Own Teardrop Camper from a Kit? on Wyoming Woody Teardrop Plans
    • Jonesy on Building the Deck
    • Yannick Autphenne on Building the Deck
    • Rob Reynolds on Applying the Epoxy
    © 2026 TeeardropBuilder Designed by ThemeSphere.

    Type above and press Enter to search. Press Esc to cancel.