
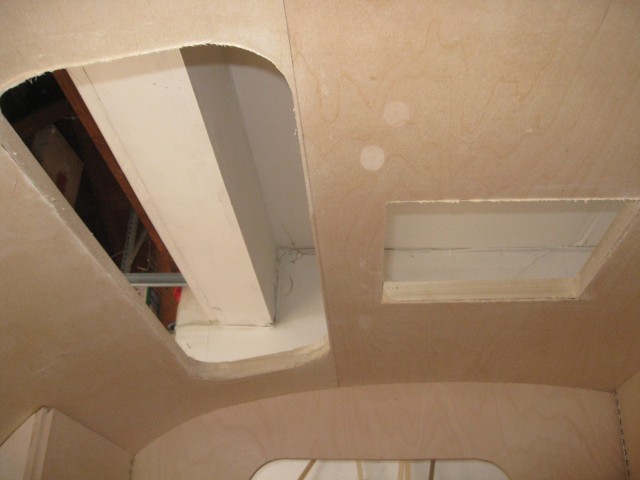
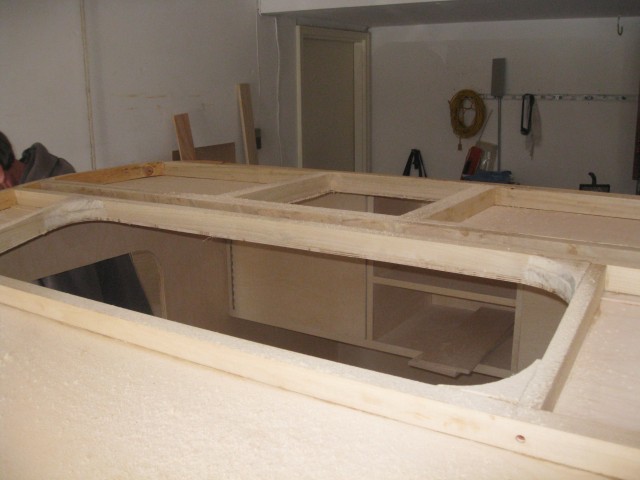
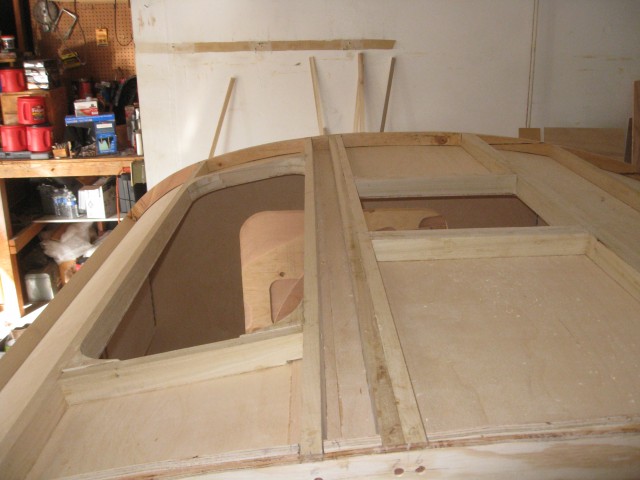
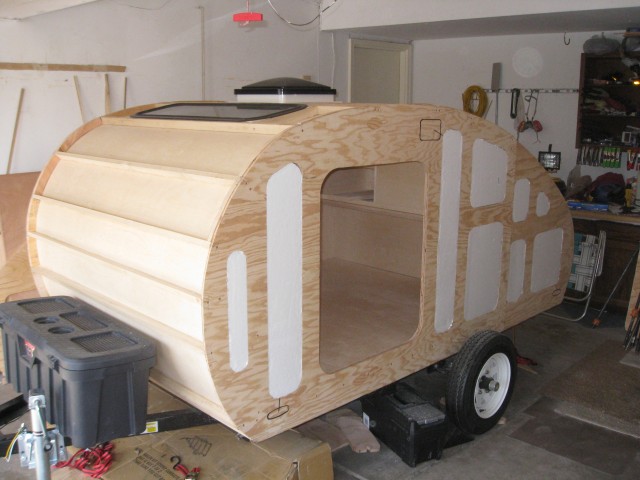
With the roof spars and blocking installed I cut out the window and vent holes with a small hand router and a 1/2″ flush trim bit. Do yourself a favor and make sure you are wearing a dust mask and eye protection.


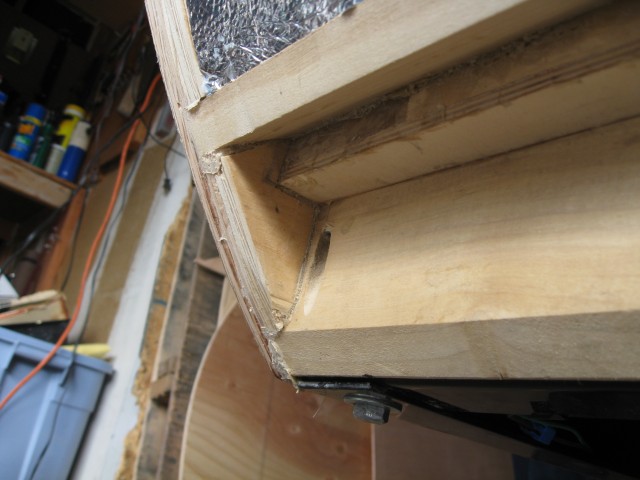
Here you can see the headliner seam but it will be covered by the window trim ring.
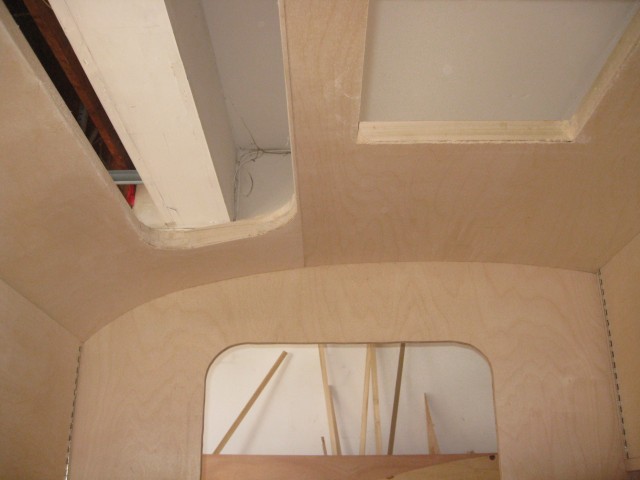
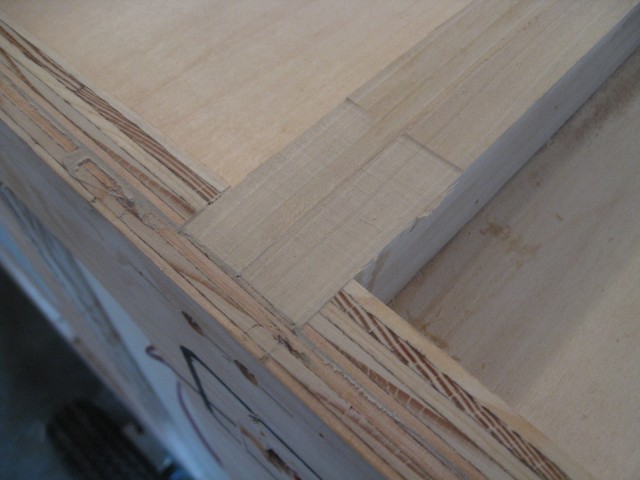
A close up picture of the blocking below the last spar on the front of the teardrop. The headliner is secured by this final spar to the deck.
Using a belt sander I cleaned up the edges of the wall, blocking, and spars to get a crisp 90 degree angle for the outside skin later on.


<span class="dsq-postid" data-dsqidentifier="1620 http://teardropbuilder.com/?p=1620">4 Comments
What was your reasoning behind choosing poplar 4/4’s instead of using another material such as 3/4″ plywood?
The main reason is stability. Plywood is made up of many laminated sheets, and when you cut smaller strips it bends very easily in the direction of those laminations. Poplar is ridged in both dimentions and is best used for framing. In reality any solid wood such as oak could be used but poplar is cheap and light.
I’ve been studying your plans and pictures for quite a while. The blocking is actually backing for the inner roof material where it meets the wall. The poplar you used looks like you started with a plank not a 4″x 4″, am I missing something?
4/4 is “four quarter” rough cut board not 4×4, so you are correct.