
With the trailer nearing completion it was time to permanently instal the lights and accessories and reattach the fenders.
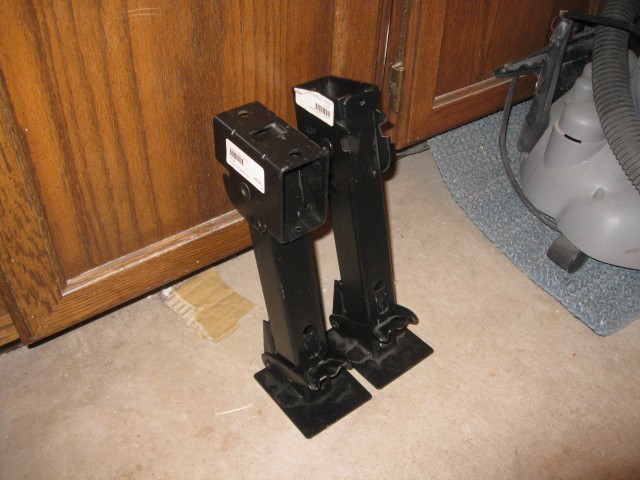
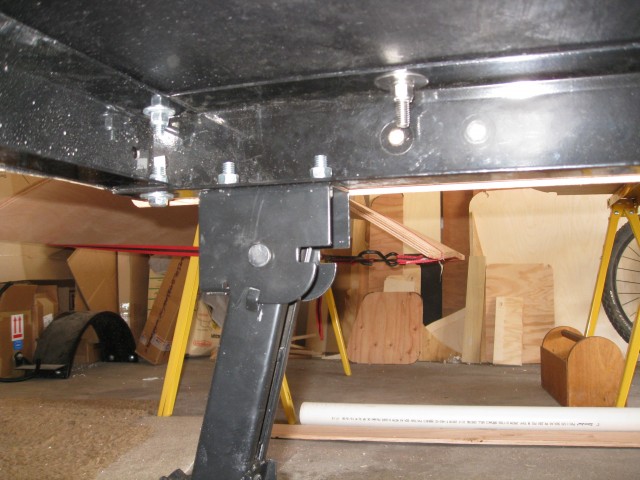
First of all the stabilizer jacks were installed in the rear. I mounted them to existing holes in the trailer frame.

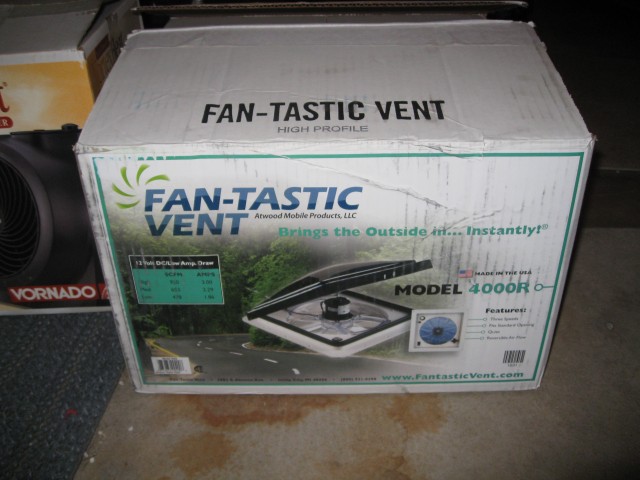
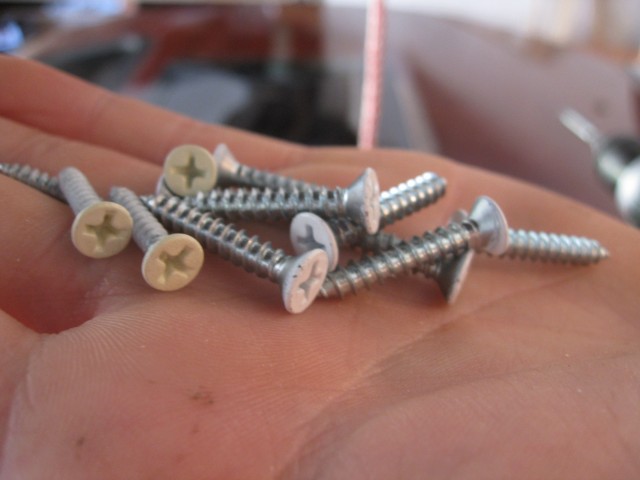
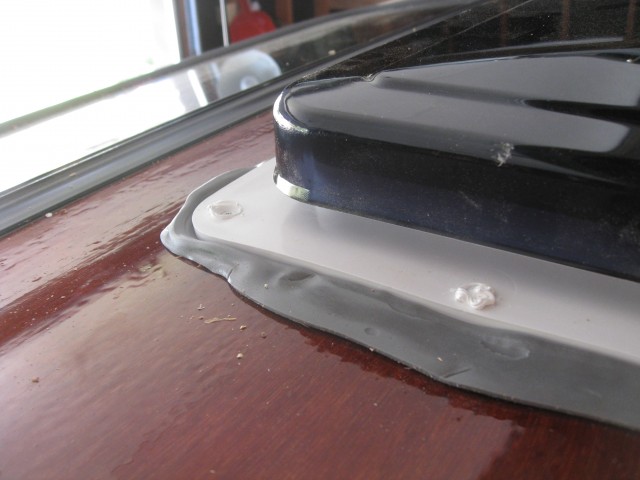
The fantastic vent was installed with butyl tape to seal it form the elements. I then filed the screw holes with white 3M 4000 and tightened it down a bit but not all the way so the butyl tape would get seated correctly. After an hour I came back and fully tightened the screws.
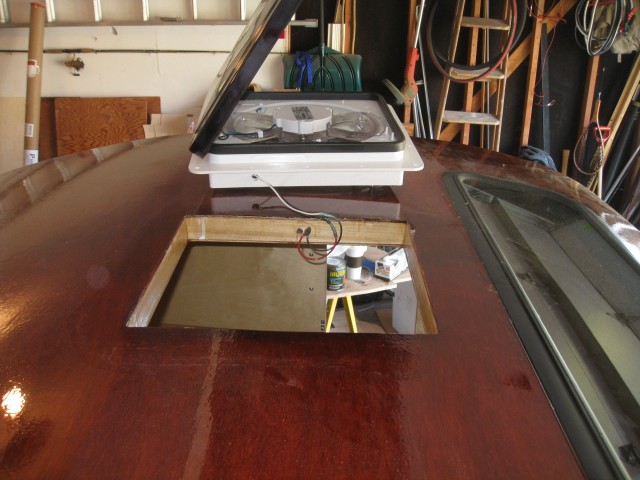
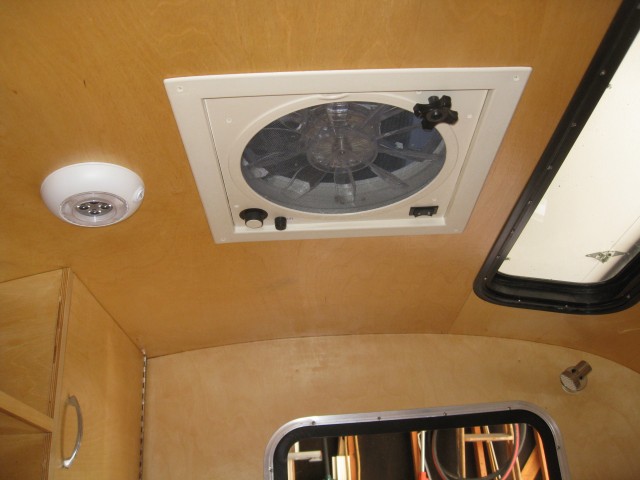
The fan after the trim ring was installed.
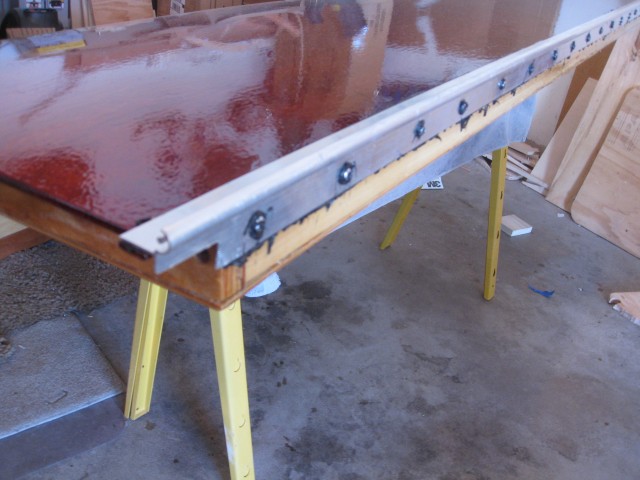
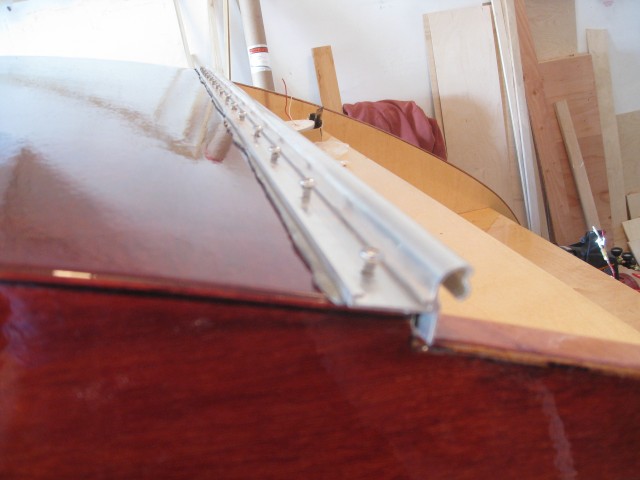
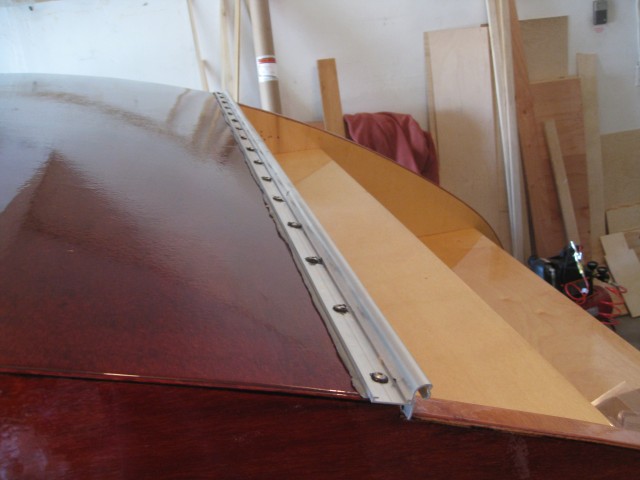
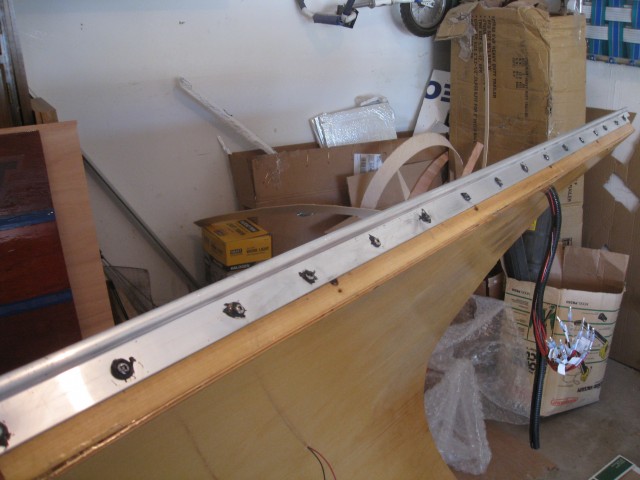
I attached the hatch hurricane hinge with butyl tape under the top flange on the body side and black 3M 4000 UV under the flanges on the hatch sides. I then sealed the screw heads with more 3M 4000. The screws were spaced 6″ apart to even the pressure distribution. Between the weight of the hatch and the 130# gas struts I had to make sure the hatch was secured correctly.
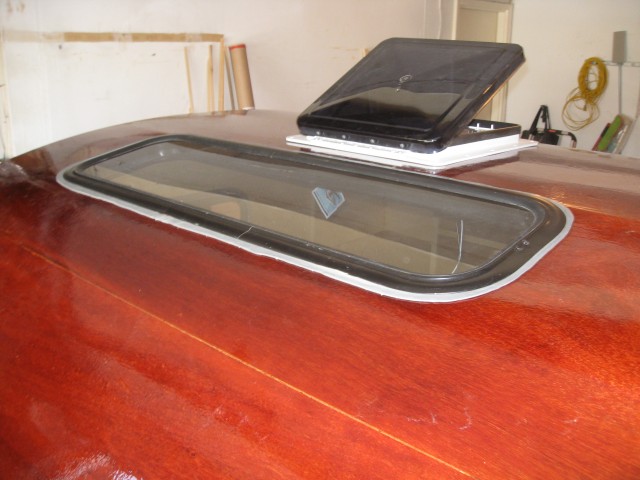
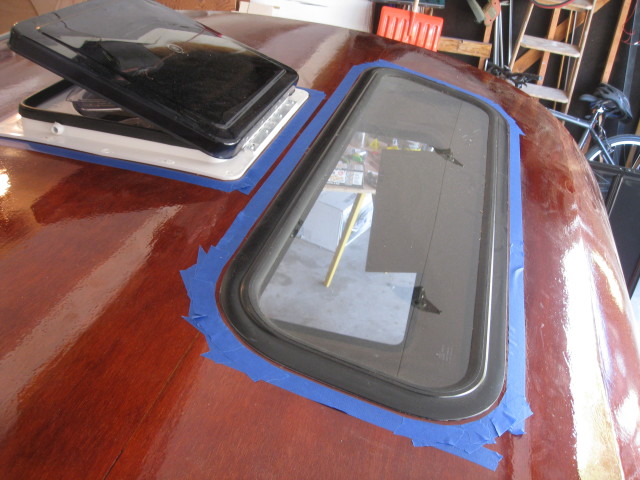
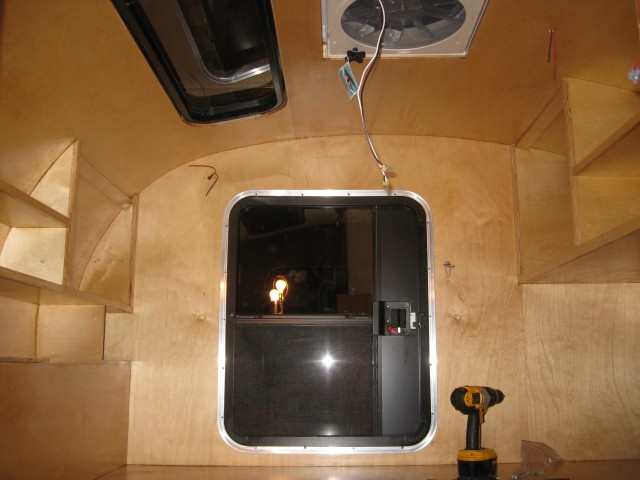
Similar to how the fan was installed I went about installing the skylight window. Butyl tape was used to seal it from leaks.
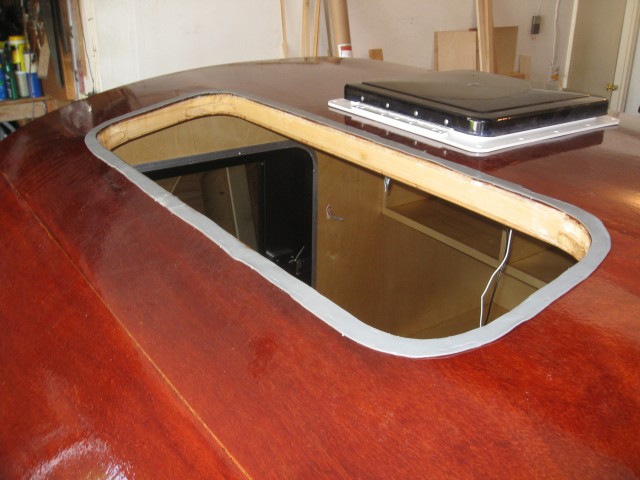
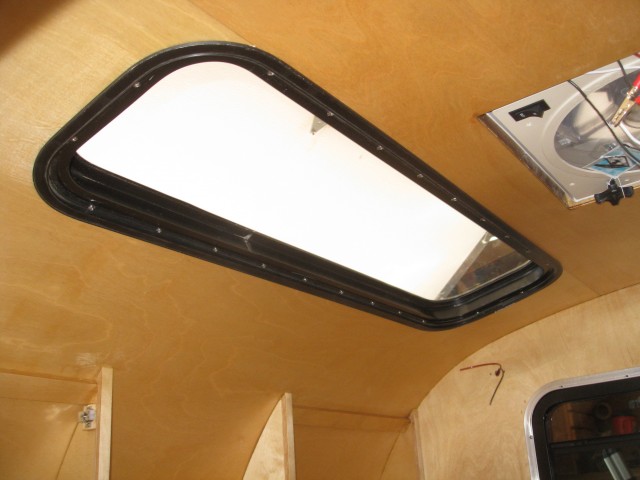
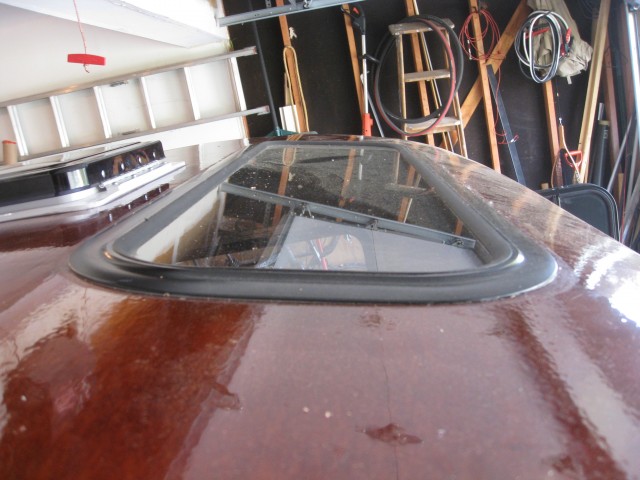
After the inside trim ring was installed I scraped off the excess butyl tape and ran a bead of black 3M 4000 around the edge on the outside.
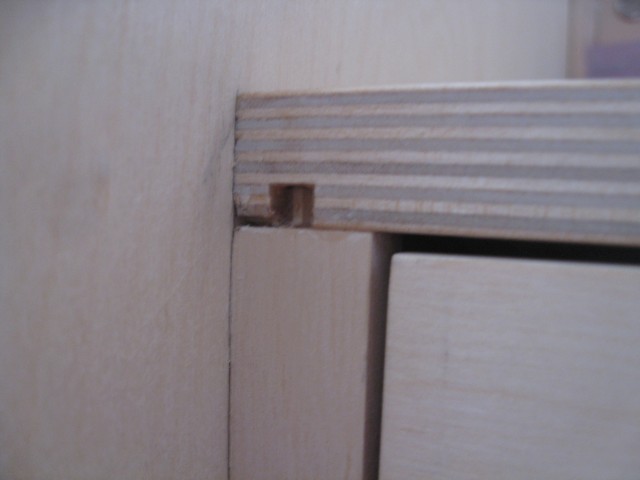
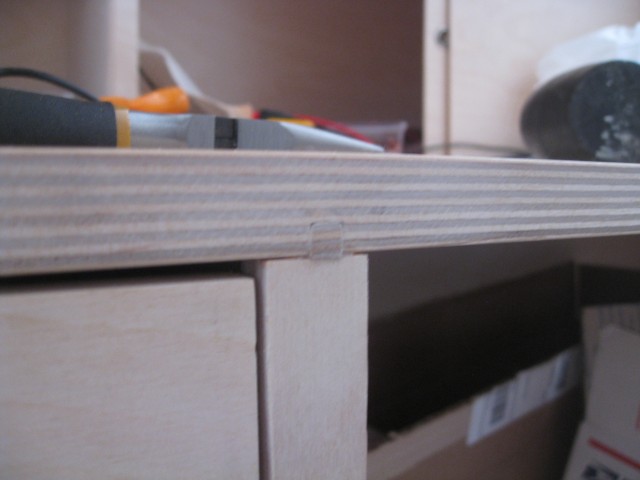
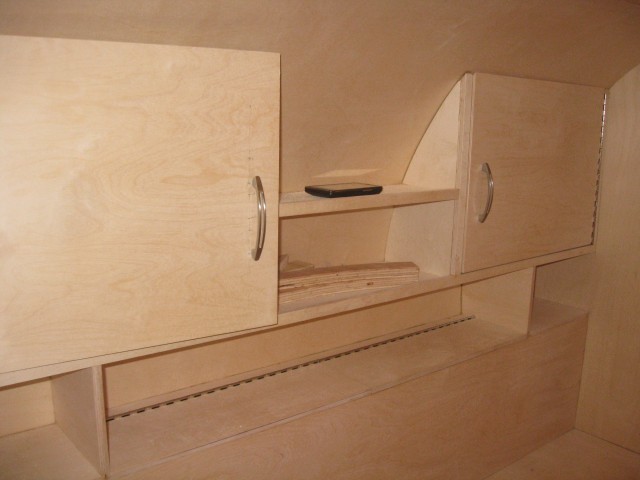
To hide a few of my exposed grooves in the cabinetry I made plugs which matched the end grain and installed them with some Titebond III wood glue.
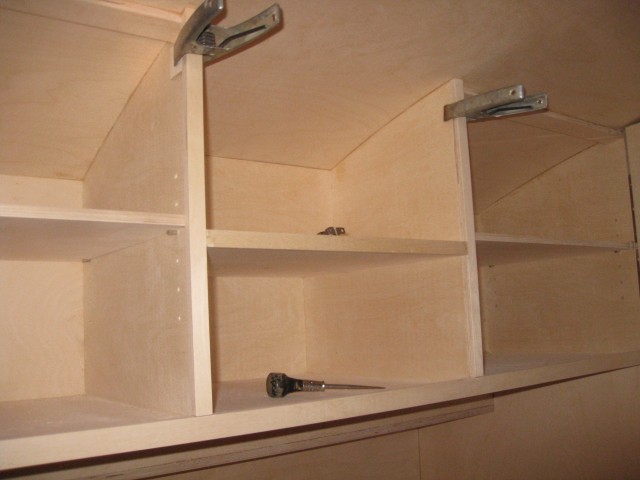
The cabinets have a 1/4″ lip around the face frames which helps keep items stored inside the cabinets from falling out when the trailer is moving. I installed spacers to mount the cabinet catches so they were flush with the face frames.

I installed all the brushed nickel cabinet pulls in all the drawers and cabinets.
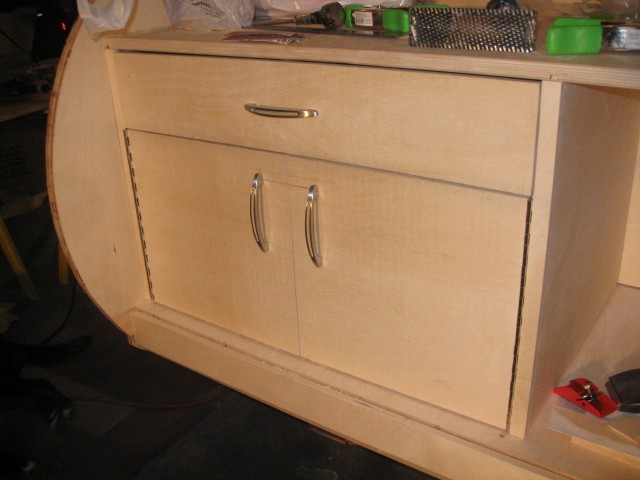
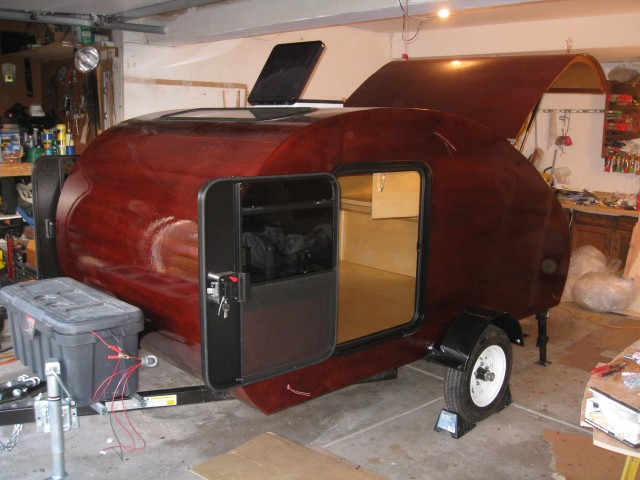
Next up was to install the doors. They were fairly easy and only required installing the inside trim ring. The inside of the door has weather stripping and when compressed by the trim ring created a nice weather proof seal with the trailer.
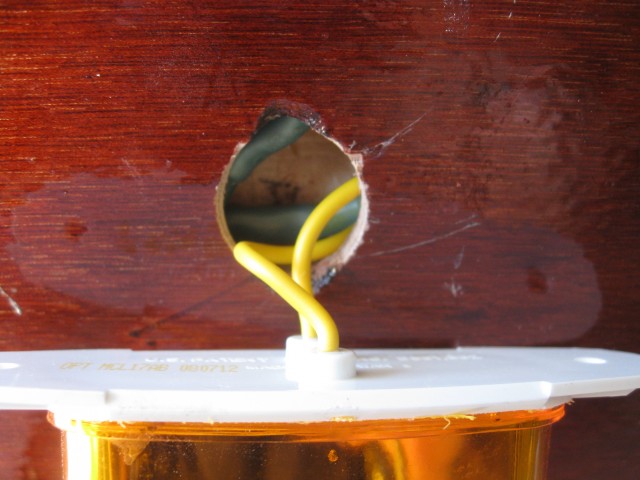
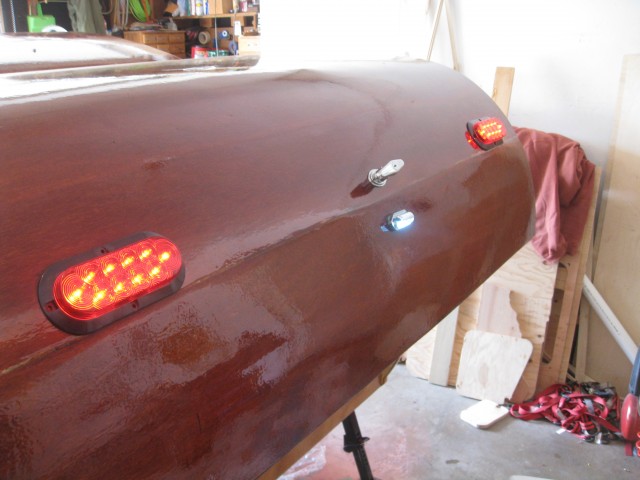
Next up were the lights. I used waterproof heat shrink butt connectors which I had to crimp and will provide a good connection.
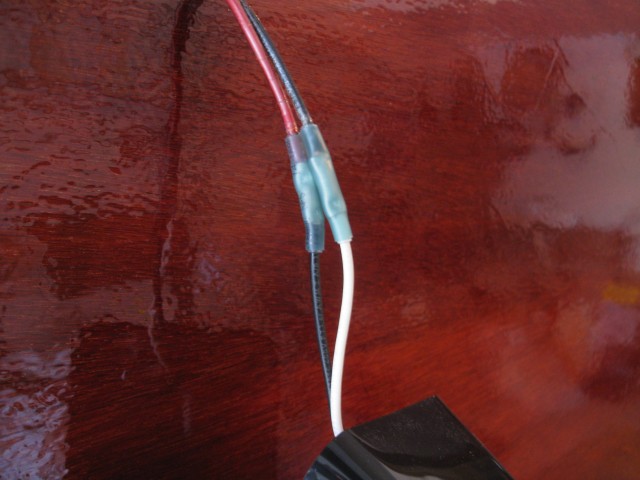
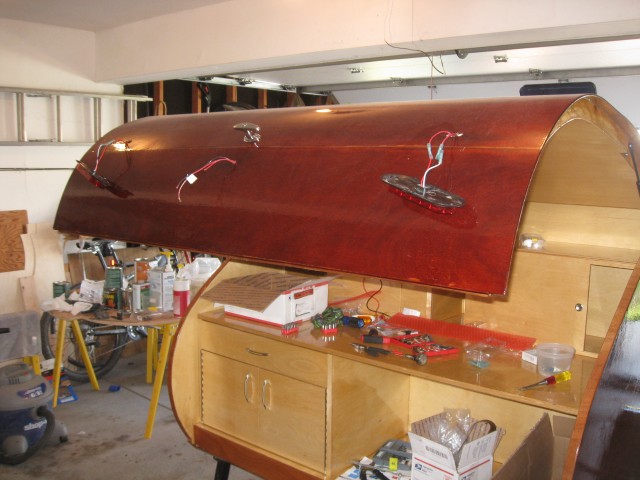
The wires were hidden inside a small wall cavity behind the fixtures or behind the fixtures themselves i there was room. All butt splices will be accessible down the road if I need to get to them.
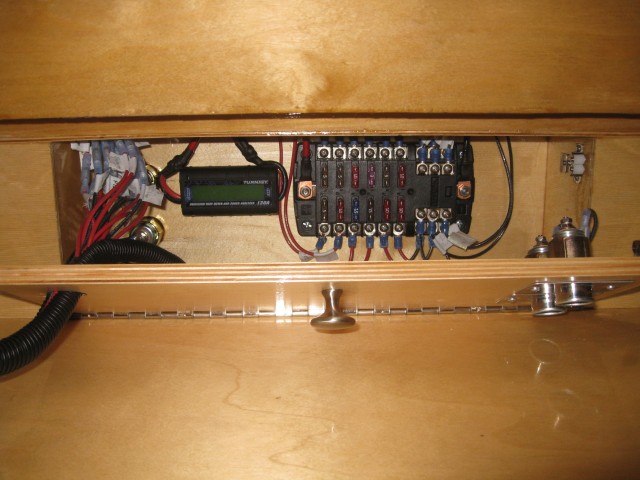
The electrical compartment almost complete. I had to connect the bullet connectors from the galley hatch umbilical and then push them up into the hidden splice cavity above the compartment.
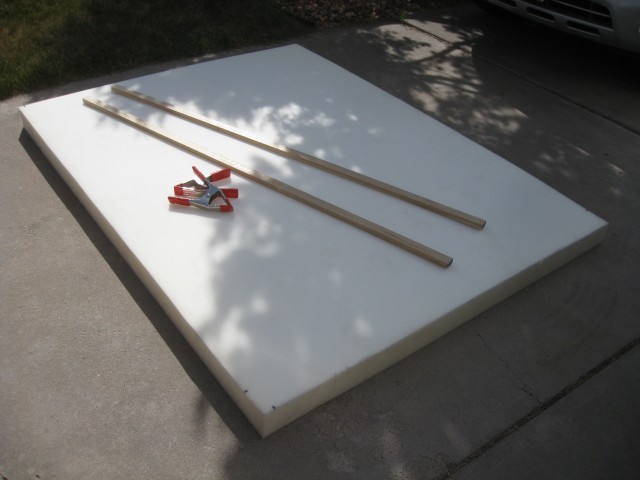
I ordered a queen size HD foam mattress online. It was a bit too large so using a straight edge and an electrical carving knife I trimmed off a couple inches on end and one off the sides. When finished the mattress fit snugly inside the cabin.
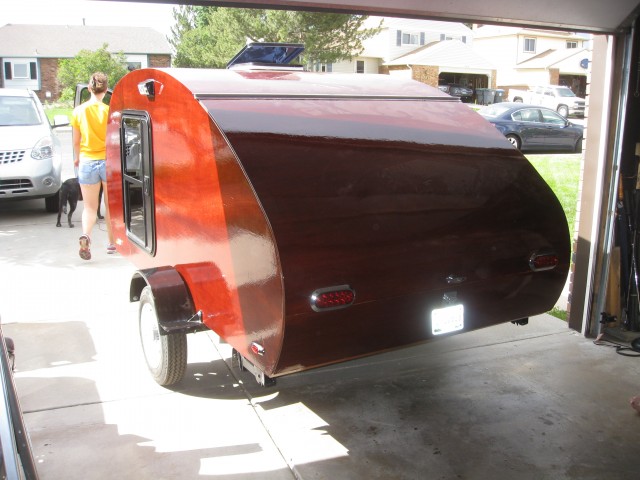
THe last thing to do was attach the license plate and we are good to go!


<span class="dsq-postid" data-dsqidentifier="1642 http://teardropbuilder.com/?p=1642">35 Comments
I am having trouble finding a skylight like the one you installed. Can you tell me what vendor you sourced it from?
Thanks,
I got it on ebay from a seller called “customrvwindows”. They have a ton of options and their selection is always changing. Here is a link to their web store.
http://www.auctiva.com/stores/viewstore2.aspx?id=1640272&styleid=12
Excellent ! I was hoping that was the case. Now I can start trolling ebay for a surplus window.
Is the skylight a special window or just a non-opening RV window? Is sure looks like a standard RV window.
It is a picture window originally intended for an RV, not sure what type exactly as it was a surplus part of some sort. It was intended to be installed lengthwise vertically as it has weep holes on one end that I had to seal.
The key thing to look for is that it comes with an included trim ring, and that the trim ring matches the thickness of wall you are installing it into.
I must say Ryan, this is spectacularly beautiful! Stumbled across this on reddit and just went through every picture of the build. So amazing and inspiring. What was your skill level of carpentry going into this may I ask?
Thank you very much! My skill level was fairly low at the very beginning. My buddy Ed who gave me access to his woodworking shop thought I was a bit crazy for tackling such a large project. At one point he suggested that I start out with an end table or something instead. Undeterred I continued on, but it was only because of my extensive planning beforehand and Ed’s woodworking knowledge that I succeeded.
Ryan, Thank you so much for providing such detailed plans. Your construction skills have set the bar high! I’ve never used a teardrop, but see that some galleys have a pull-out stove, water tanks, and even a sink. I’m curious how the galley in your design works without the built-ins. Do you keep a stove and water tank in the cabinets or vehicle, and then just set them up separately? Curious about your thoughts on both design and use of galley, with respect to built-ins.Thanks.
At first the extras like a sink, refrigerator, or a built in stove sounded like a great idea, but looking a bit more closely and reading about others who have them we decided they would be more hassle than they are worth. The galley with its limited space we wanted to maximize what we could do with it. Water tanks, sinks, pipes, really get in the way while providing limited functionality, not to mention cleaning.
In our setup we have a space for a cooler or water tank in the lower right section under the counter. It was built to the specific size of a cooler so it fits perfectly. In the cabinets there is a shelf for our slim Coleman stove which we pull out and place on a side table. I am happy that we did this since grease tends to splatter and if it were in the back of the galley surrounded by wood you could imagine the problems that would cause. On this table we sometimes put a container of water to wash pots or hands that drains onto the ground. If this were in a tiny sink you wouldn’t be able to do this easily.
In the end we went with functionality vs style and ultimately what works for us, but everyone uses their teardrops differently and may disagree. There is no one right way, and that’s the great thing about these custom teardrops!
Thanks for the reply, Ryan. There is a lot to be said for simplicity. With limited space, I can now see that it would be easier to pull out the stove and tub and set up a table, and keep more cabinet space for pots and pans and pantry items.
I’ve started my build. Mostly just gathering materials at this point. But trailer arrives here in Denver next week…
Beautiful work! How is the trailer holding up? Anything you’d do differently?
3 camping seasions and 6,000 miles later and not one problem so far! The only thin I would do differently would be to make the hatch a bit lighter, the struts don’t work 100% on cold mornings.
Where did you find the little camper side door?
I ordered the door from Frank at Vintage Technologies.
http://teardroptrailerparts.com/Windows___Doors.html
What size trim rings did you order on the doors? Also, what about the stargazer window?
Also, I assume these are WD11 on the Vintage Technologies site?
I ordered 1″ trim rings for the doors, they were the 36″ x 32″ ones. The window was 40″ x 12″ off ebay and I believe the trim ring was 1 1/4″ for that.
Thanks Ryan. Not sure if they offer that window with the 1 1/4 trim ring. Are they flexible enough to cut down to size if you order bigger than what you need?
Usually modifying a trim ring is pretty difficult. You should send Frank at Vintage Technologies an email and see what he can do about a custom trim ring, he was pretty good at responding to my questions. Good luck with your build!
Amazing camper. Where did you purchase the rear stabilizer jacks? I can’t seem to find anything like those out here. Thanks.
I bought them from a local RV store. They are actually very common, google “Atwood Stabilizer Jack” and you will find tons of places that sell them online.
I purchased a used trailer just like the one you bought a couple of days ago. It had rails and a plywood deck on it and was used to haul motorcycles. I stripped it all down to get ready to build mine. I love your design and the trailer is really beautiful. Did you weight the trailer after it was completed? Curious to know what it came out to. Thanks!
Dry weight of the teardrop before any of our gear goes in is right around 1000 pounds, and 160 of that is at the tongue.
Good luck on your build!
Thanks Ryan. I figured it would be around that. I will be towing mine with a 1963 Plymouth Fury so it should be perfect for it.
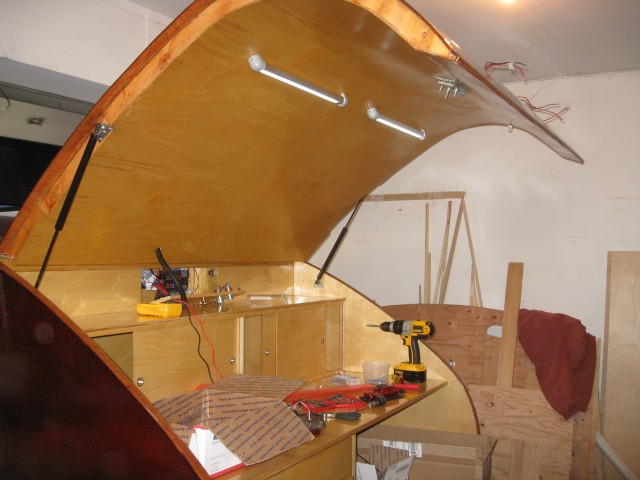
Thank you for creating this website. Great Job! I was wondering about the gas struts. I can see in the pictures that there was some difficulty mounting them to the galley walls. I’m wondering if this is because you couldn’t tell where the voids were in the wall, or because there is a trial an error period when getting the struts to fully extend? What pitfalls should I be looking for when mounting them?
Haha, yep there were a couple problems as you can see by the extra holes… The main problem was that the struts are fully extended and the only way to close them is to mount them and cross your fingers. That is not to say that they don’t list the collapsed dimensions, but it is extremely difficult to calculate the exact mounting location given the tight quarters within the galley.
My first attempt they were mounted about 1/4″ to close and bottomed out before the hatch would close, the second time they closed but both sides were not aligned if I remember correctly. If you look at the strut action they push out to keep the door up, but they are also positioned to push down slightly to help keep it shut. To do this you have to have the angles and the distances just right and it is more difficult than it appears!
The bottom line is that you shouldn’t be intimidated but make sure you have a good plan when you go to mount them. Good luck!
Ryan, Thank you for such detail. It helps to validate my ideas (or correct dumb assumptions!)
It looks like you didn’t use any weather stripping on the sides of the hatch. What keeps water from going between the hatch and wall it sits on? especially when driving in the rain?
Hey Doug! I did use rubber compression weatherstripping for the hatch sides and bottom but I guess I didn’t get a good picture of its installation. Check out the final pic here to see the details: http://teardropbuilder.com/wp-content/uploads/2013/09/IMG_6741.jpg
Thanks Ryan,
That step wasn’t included in the final details page, so I wasn’t sure.
That’s much easier than some of the designs around with interlocking layers. I was going to go with some sort of weather stripping anyway. 🙂 Seriously thinking about rabbiting a water channel on top of the wall as well if there’s room.
Thanks a lot for these detailed descriptions. I’d like to know the supplier/builder for the doors. Want to source them in Germany or Europe.
Thanks in advance for a hint!
Check out teardroptrailerparts.com
Ryan … What was the model number of the doors you used?
I believe they were the WD11 model, but that was a few years ago now. They were 26″ x 32″ size.
Did you find it in Europe ? (2years ago?)
Ryan, just for other readers, I am building the same thing with a few other features. 1) I made the panel at the rear of the mattress removable and have no cabinets that go all the way to the floor. I can slide in a new mattress if needed. 2) I put a USB and cigarette outlet in the kitchen and in the rear inside cabinet. Expect to use a 12 volt heated blanket inside and a 12 volt thermo cooler outside. I ordered a 50 watt flexible solar panel and controller and put a lithium battery in the fuse compartment.
Great documentation! Thank you so much.
My wife and I really want to add a similar skylight. Where did you get it? Thanks