
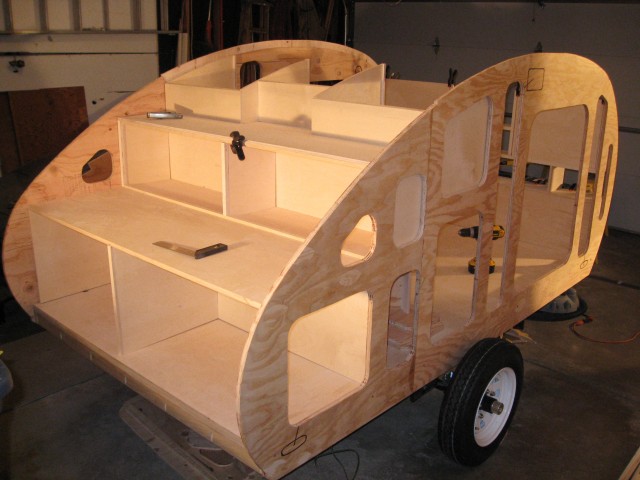
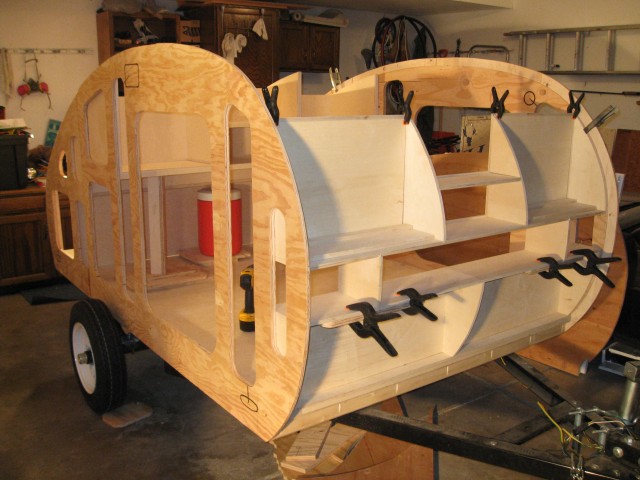
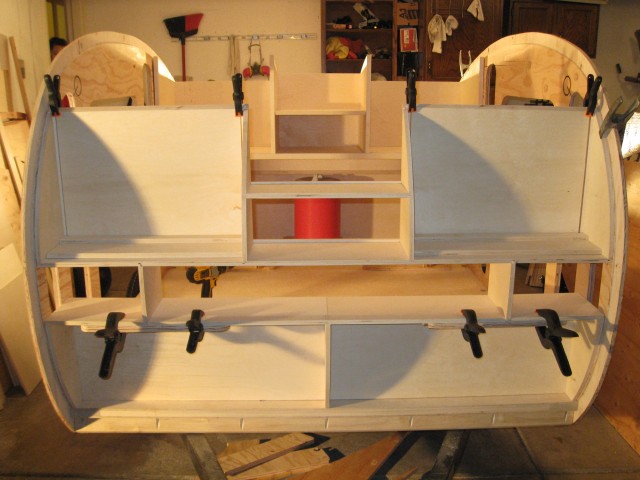
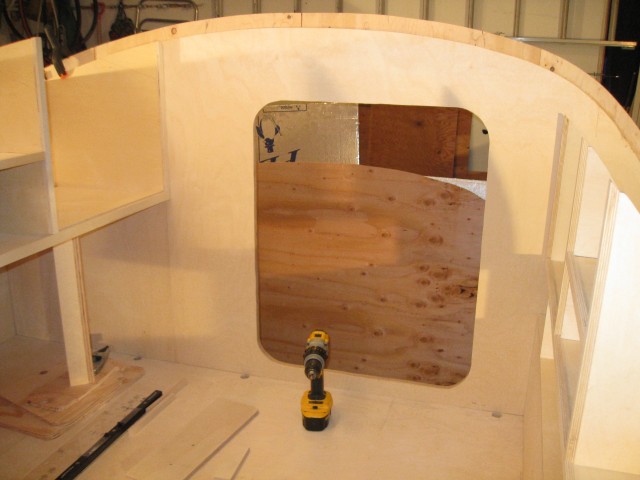
The cabinets are held together with only the tongue and groove joints and a few braces and clamps. One good thing about getting them completely assembled was that it allowed me to spot a couple places where I will need to spend some time getting everything flush with the mortise in the walls.
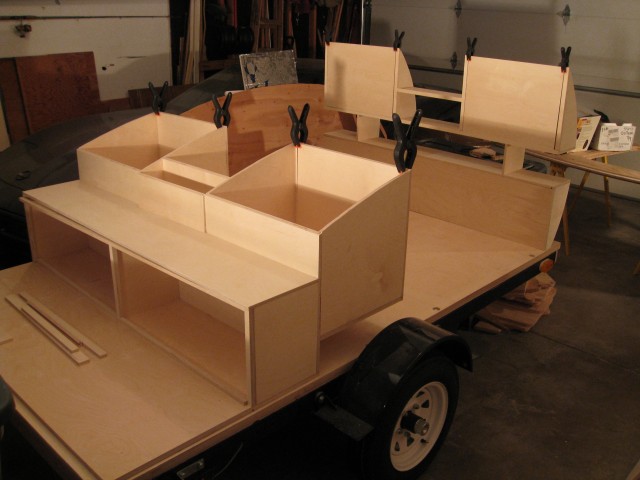
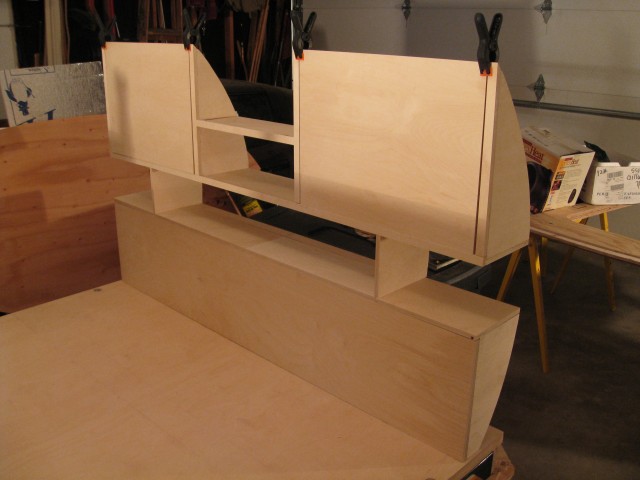
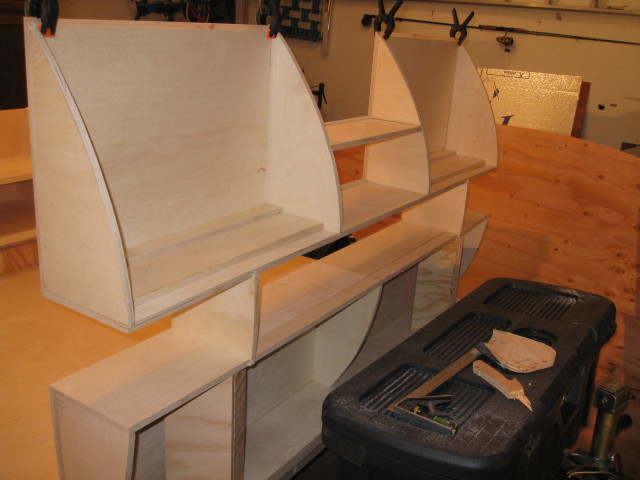
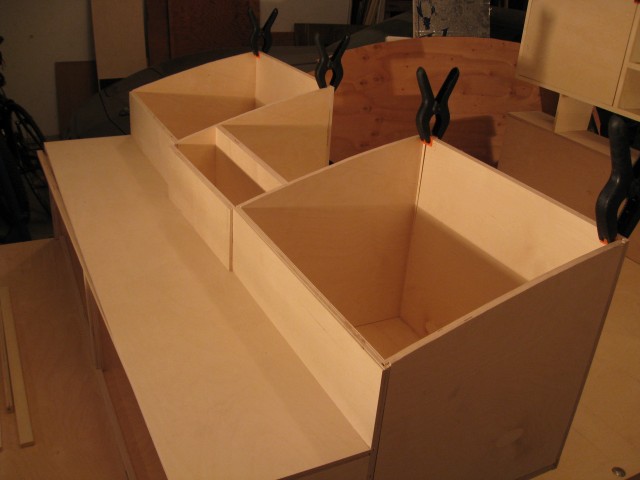

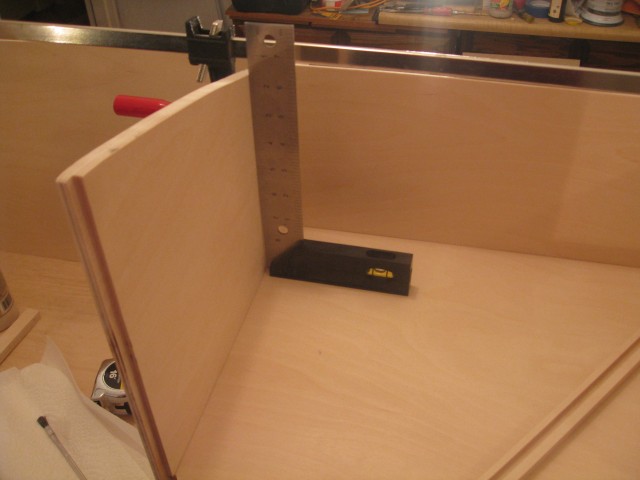
Making sure everything is square as possible. Although it took a bit longer, it was good to the pieces beforehand.
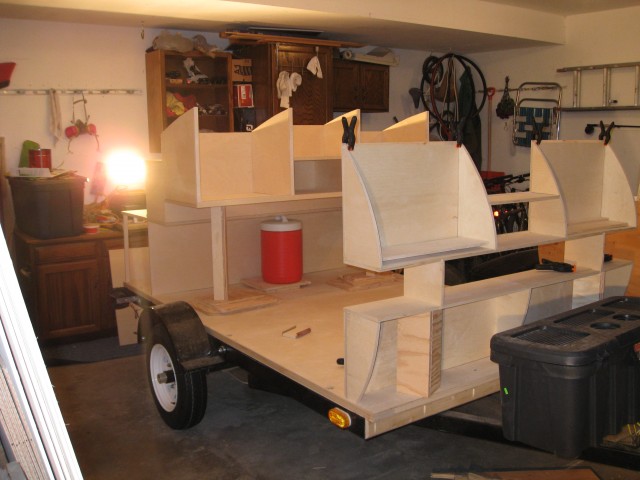
Later on the headliner will be draped over the cabinets and fit snugly between the walls on the shelf created by the wall mortises.
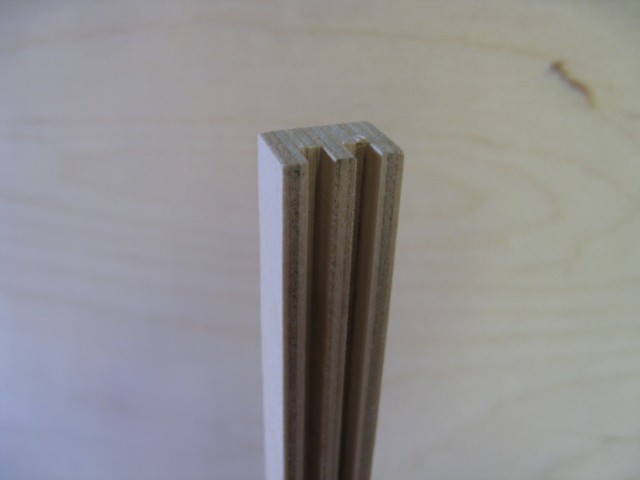
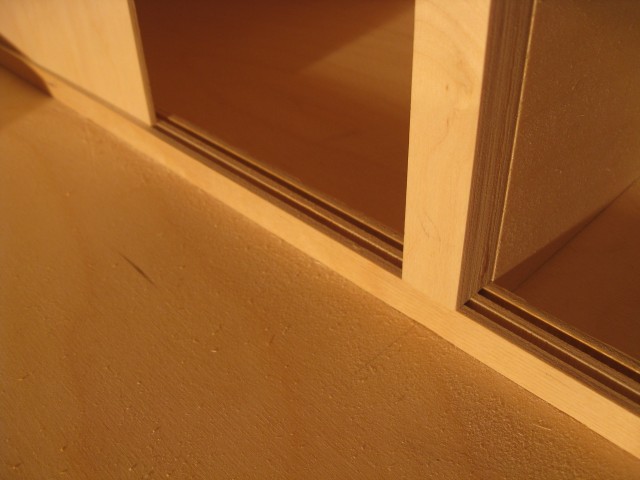
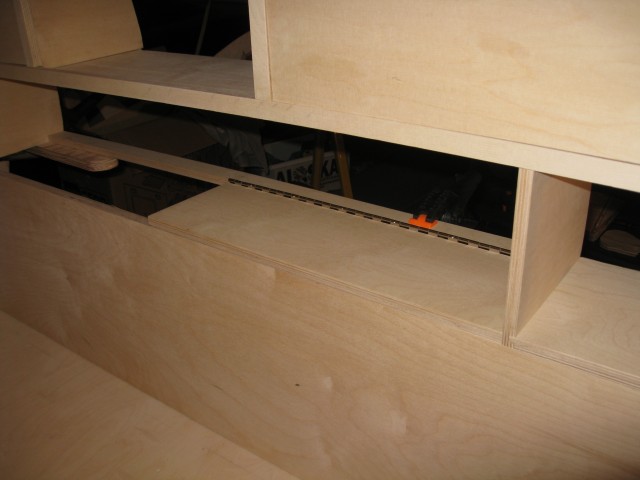
I cut the tracks for the sliding doors on the table saw was as well as the doors themselves which are 1/8″ birch left over from the skin. After I cut the tracks to the width of the table saw blade I ran some sandpaper through the tracks to smooth them out so the doors would slide effortlessly.
I started attaching the hinges to make sure everything is square before permanently assembling the cabinets with Titebond III wood glue.
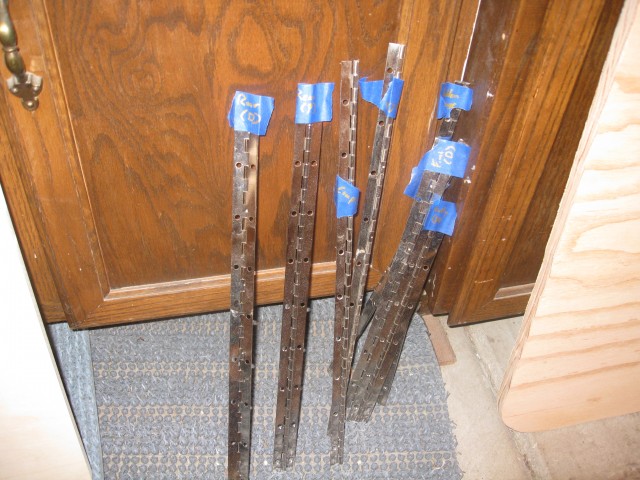
Removed all the hinges and labelled them so I don’t get them mixed up on final assembly.
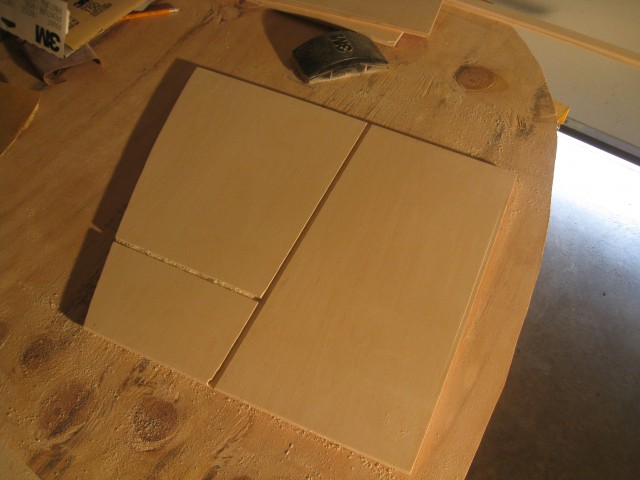
I disassembled the cabinets and did a quick sand of the pieces before final assembly.
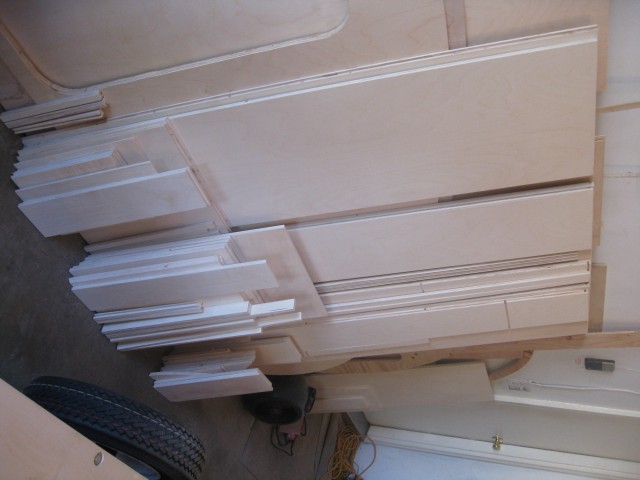
Here are all the 72 pieces of my cabinets sanded and ready for final assembly.


<span class="dsq-postid" data-dsqidentifier="1614 http://teardropbuilder.com/?p=1614">6 Comments
Hi Ryan
I’m having difficulty seeing how much ply I need for the cabinets. It’s a little difficult to add up all the components of the cabinets to identify how many sheets of ply I should pick-up from the hardware store. Do you have any pointers for me?
Thanks!
I had to go back and check my parts list page since I couldn’t quite remember. I used 1 5×5 3/4″ (18mm) and 4 5×5 1/2″ (12mm) sheets or baltic birch plywood for the cabinets.
If you have been using my SketchUp model you can create the virtual plywood sheets and break each cabinet piece out of the model and overlay it on the sheet to plan your cuts. If you want to very clean look watch the grain on the wood and make sure the grain goes the same way for similar components. In my case horizontal surfaces the grain was side to side, for the vertical pieces the grain went top to bottom. With the cabinet and drawer front I used cuts from the same section so the grain lines matched across pieces.
Good Luck!
Hi Ryan-
are there any concerns in your opinion using only 1/2″ thick baltic birch vs a mix of 1/2″ & 3/4″ thick baltic birch for the rear cabinets? I see you mixed both thicknesses, but I’m not sure why 3/4″ is needed after all?
Thanks
Michael
IIRC the 3/4″ is for the vertical weight-bearing walls and for the main bench. In both cases I’d not skimp on the 3/4″.
Great project, do you happen to have a cut list for all the cabinets?
Unfortunately no, nothing official but that would be a good addition. My plans do have all the dimensions you need, just not in one easy to use cut list.