I love what you have done. So much so that I am planning my build using your layout and plans.
I know that I will have questions from time to time or to seek advice from you so I hope that you would agree to let me email for clarification on certain items.
Hi, sorry I must have missed your comment. I would be happy to help but I would prefer posting to the comments as it allows others to take advantage of the questions asked. You wouldn’t believe how many people hit the same issues during their build.
Good luck!
Johnny Swindle on
I debated for a long time whether to build or buy…..I broke down and bought a T@G Max. But maybe some day I will build.
Tom S. on
I am new to the teardrop trailer movement but love the idea and want to build one. I think your design and the incredible detail in the plans is the best thing on the internet. I would like more info on how you weatherstripped the hatch door. I am concerned that the 1/8″ lip is too flimsy and will break or splinter with pressure.
The 1/8″ strip is surprisingly strong with its curved shape and after the epoxy and varnish is applied. The key thing is that it doesn’t support any of the hatch weight. The bottom of the hatch rests against the back of the deck so that it and the hurricane hinge supports all its weight. The Neoprene Galley Hatch Seal is .4″ thick very soft and compresses slightly in the 3/8″ gap to provide a nice seal.
Tom S. on
Thanks for the response. Did you place the seal where the bottom of the hatch rests against the deck? Do you have a source for the seal?
Yes there is one across the bottom as well. I ordered them from Vintage Technologies, I also purchased the doors and hinge from them. I have them listed in the Components section on my site. Here is the link to the part:
I have completed my teardrop build and have a question regarding ventilation. Do you have to leave the window a little bit open at night to get enough oxygen into the teardrop? On our last trip we closed the vent and windows during the night since it was close to freezing temps, but then found ourselves waking up at night gasping for air. Just wondering what you have encountered on your trips and if you can share some best know methods. Thanks!!!
HAHA YES! Exact same thing happened to us on our first cold night. We usually crack a side window or the roof vent. I should put a disclaimer or something as it is the kind of thing you would not expect to happen.
If you have some time send me some pics of your teardrop, I would love to see it and post some pics on here!
Will Rothfuss on
Hi Ryan, Great teardrop! Really like the top ‘skylight”. Can you tell us the source for that?
Randy on
Ryan, this is awesome workmanship and documentation! Do you have pictures of the teardrop loaded? I’m curious how you outfit the galley. Cooler and Coleman stove? Thank you for taking the time to do such a fantastic job of documenting your design and build. Also, I have recently been looking into wood dye and now I see an amazing example of it.
Cassandra Clark on
Ryan, would you be willing to share all the measurements, list of supplies ECT… I absolutely love your teardrop and would like to build one myself. Do you have plans written out?
Thank you, Ryan. It was great to find this information after hours and hours searching in the web. Gracias, desde Chile.
Mike Anderson on
Ryan,
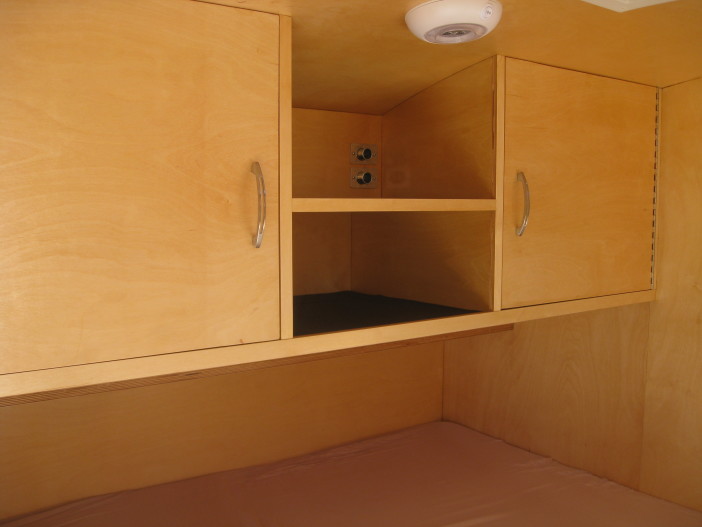
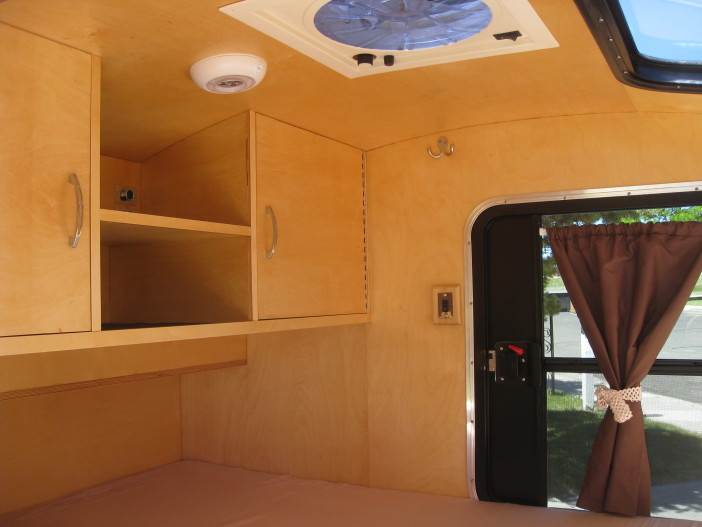
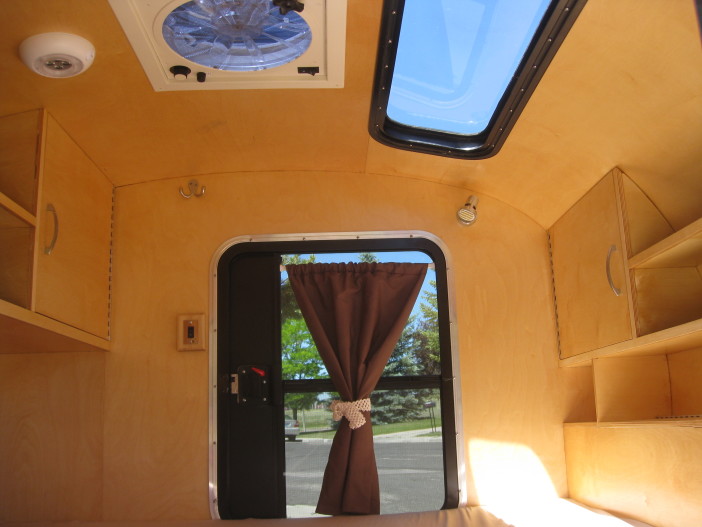
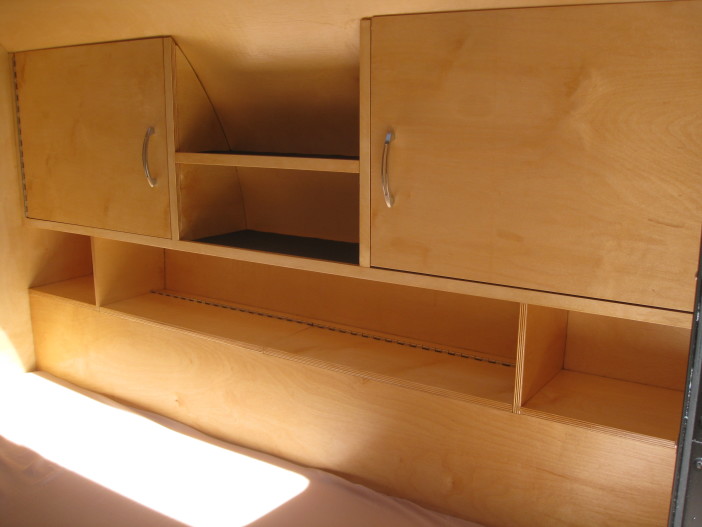
Thank you so much for sharing all of this. I completed our teardrop last week and can’t wait for restrictions to ease up and take it out. I couldn’t have done it, achieving the results I have, without the design and journal you shared. I loved the lines and finish or your build. As you can see from the photos, my wife and I chose to incorporate several more systems & amenities. I added: 12V & 110V (shorepower) electrical systems; water systems with 16 gal. tank, pump, city hookup, gas/elec water heater, sink & exterior shower; propane system with stove & external hookups; as well as a small A/C unit. I was elated when the systems were all tested last weekend, everything works and no leaks.


<span class="dsq-postid" data-dsqidentifier="1634 http://teardropbuilder.com/?p=1634">19 Comments
Pingback: How to Build Your Custom Teardrop Trailer Quickly and Easily
Pingback: 11 Teardrop Trailer Builds to Inspire Your Haulable Home | Make: DIY Projects, How-Tos, Electronics, Crafts and Ideas for Makers
Pingback: 20 Best Tear Drop Trailer Tutorials And Ideas
Hi Ryan…
I love what you have done. So much so that I am planning my build using your layout and plans.
I know that I will have questions from time to time or to seek advice from you so I hope that you would agree to let me email for clarification on certain items.
I promise that it will only be few questions.
Let me know your thoughts
Hi, sorry I must have missed your comment. I would be happy to help but I would prefer posting to the comments as it allows others to take advantage of the questions asked. You wouldn’t believe how many people hit the same issues during their build.
Good luck!
I debated for a long time whether to build or buy…..I broke down and bought a T@G Max. But maybe some day I will build.
I am new to the teardrop trailer movement but love the idea and want to build one. I think your design and the incredible detail in the plans is the best thing on the internet. I would like more info on how you weatherstripped the hatch door. I am concerned that the 1/8″ lip is too flimsy and will break or splinter with pressure.
Thank you!
The 1/8″ strip is surprisingly strong with its curved shape and after the epoxy and varnish is applied. The key thing is that it doesn’t support any of the hatch weight. The bottom of the hatch rests against the back of the deck so that it and the hurricane hinge supports all its weight. The Neoprene Galley Hatch Seal is .4″ thick very soft and compresses slightly in the 3/8″ gap to provide a nice seal.
Thanks for the response. Did you place the seal where the bottom of the hatch rests against the deck? Do you have a source for the seal?
Yes there is one across the bottom as well. I ordered them from Vintage Technologies, I also purchased the doors and hinge from them. I have them listed in the Components section on my site. Here is the link to the part:
http://teardroptrailerparts.com/Neopr_Galley_Hatch_Seal.html
Hi Ryan-
I have completed my teardrop build and have a question regarding ventilation. Do you have to leave the window a little bit open at night to get enough oxygen into the teardrop? On our last trip we closed the vent and windows during the night since it was close to freezing temps, but then found ourselves waking up at night gasping for air. Just wondering what you have encountered on your trips and if you can share some best know methods. Thanks!!!
HAHA YES! Exact same thing happened to us on our first cold night. We usually crack a side window or the roof vent. I should put a disclaimer or something as it is the kind of thing you would not expect to happen.
If you have some time send me some pics of your teardrop, I would love to see it and post some pics on here!
Hi Ryan, Great teardrop! Really like the top ‘skylight”. Can you tell us the source for that?
Ryan, this is awesome workmanship and documentation! Do you have pictures of the teardrop loaded? I’m curious how you outfit the galley. Cooler and Coleman stove? Thank you for taking the time to do such a fantastic job of documenting your design and build. Also, I have recently been looking into wood dye and now I see an amazing example of it.
Ryan, would you be willing to share all the measurements, list of supplies ECT… I absolutely love your teardrop and would like to build one myself. Do you have plans written out?
There is a link in the nav for plans
Thank you, Ryan. It was great to find this information after hours and hours searching in the web. Gracias, desde Chile.
Ryan,
Thank you so much for sharing all of this. I completed our teardrop last week and can’t wait for restrictions to ease up and take it out. I couldn’t have done it, achieving the results I have, without the design and journal you shared. I loved the lines and finish or your build. As you can see from the photos, my wife and I chose to incorporate several more systems & amenities. I added: 12V & 110V (shorepower) electrical systems; water systems with 16 gal. tank, pump, city hookup, gas/elec water heater, sink & exterior shower; propane system with stove & external hookups; as well as a small A/C unit. I was elated when the systems were all tested last weekend, everything works and no leaks.
Thank you,
Mike & Heidi
https://uploads.disquscdn.com/images/bcdb528981c14fac258ab31c8f7dabfed8d39a76823fde3a18d25bc7a1dffc2e.png https://uploads.disquscdn.com/images/76677f7490c29f4518b5088121a30ddd1dd3cbb37a73594ee1b6f495c7a43744.png https://uploads.disquscdn.com/images/268e19b2eb132c572b14fd592900f15522c34a9060142e2ddce1ba86525f2c9c.jpg https://uploads.disquscdn.com/images/5d7b065b83e286d266d915f12537045a62cc44ccfb2510945e8b1f02c7a7ea71.jpg https://uploads.disquscdn.com/images/dc9c37a082db8c674df97cf45ac76eab13dea678c40830df3c1cfc207a131a88.jpg Steilacoom, WA
Curious as to the dry weight of this trailer?